Today we are going to look at the quick and easy ways to view, edit and save files using the command line terminal. As MacOS is a flavour of UNIX and very similar to Linux, this tutorial applies to both MacOS and Linux!
There are a number of ways that we can view, edit and save files directly in the terminal, including several editors that can be called with a single command.
- Why Edit Files Directly In The Linux Command Line?
- How To Edit Files With The Command Line
- Editing Files Directly With Commands
- Editing Files With Vi
- Editing Files With Nano
- Conclusion
Why Edit Files Directly In The Linux Command Line?
In today’s day and age it is very unlikely that you will be working without a GUI and access to a text editor program, so why use the terminal?
Well firstly that last statement isn’t entirely true. With the uprising of embedded electronics and the popularity of Raspberry Pi, you may very well be using something like the Pi without a GUI.
A GUI can be an unnecessary overhead for a small computer like the Pi, especially the Pi Zero. In which case you may opt to run only the Linux command line.
Secondly, if you are working with the terminal it can just be more efficient to use the terminal to edit or save a file.
It is far quicker to type a quick command than it is to click through a series of menus in order to locate a text editor program!
This is especially true for Linux users who might be using a virtual terminal and are in a full screen terminal window, unable to access elements from the GUI.
How To Edit Files With The Command Line
There are several ways to edit files using the command line. First we will look at some commands that allow us to manipulate files directly from the command line, then we will look at some file editor programs.
Go ahead and open a terminal window if you haven’t done so already. Navigate to a directory whereby you don’t mind creating a few test files. I will be using a MacOS terminal and the desktop.
cd ~/Desktop
First we will look at how to create files and input information into them directly from the terminal prompt. If you specifically wanted to use an editor, you may want to skip ahead to here.
Editing Files Directly With Commands
It is possible to input and read data from files using terminal commands directly. It is even possible to create new files. This can be useful knowledge if you need to automate such a process with BASH scripts.
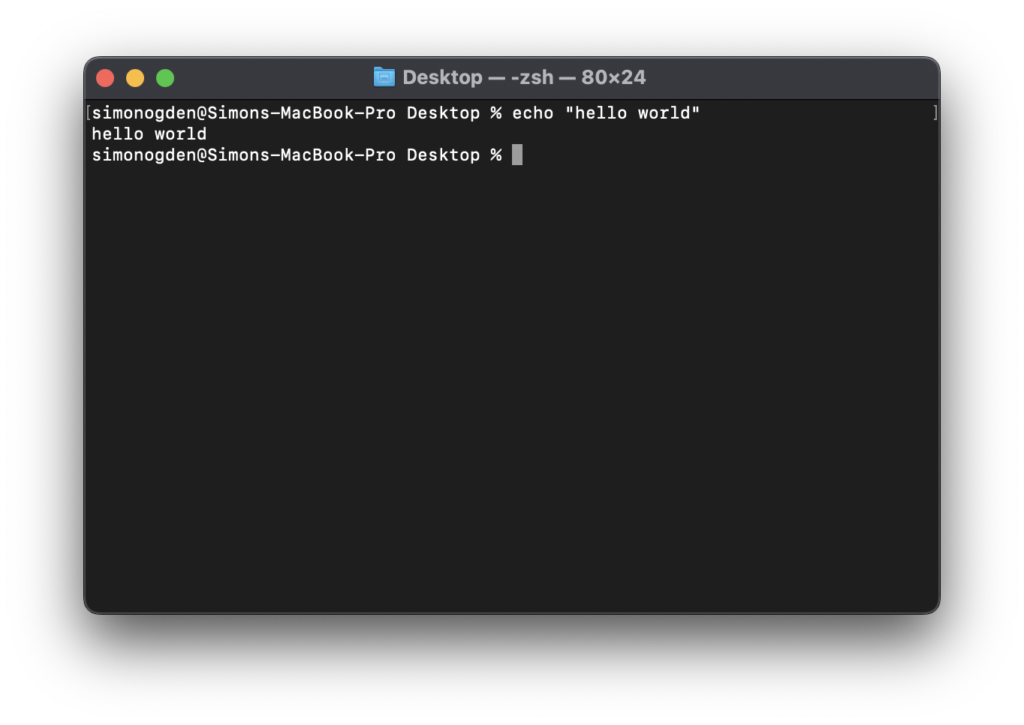
You may already be familiar with the echo command. When used in its most raw form, this command simply echos the following string to the screen.
However we can also use this command to create and edit files! To do this we can use a redirection operator to redirect the output to a file.
echo "hello world" > hello.txt
This command will output the string to the file hello.txt located in the current working directory, in my case the desktop.
If the file does not exist, it will be created. Be careful with this operator as it will overwrite an existing file. We can also use a different redirection operator to append the file instead.
echo "hello glorious world" >> hello.txt
This will create the file if it does not exist or if the file does exist then it will add it to the end of the existing file.
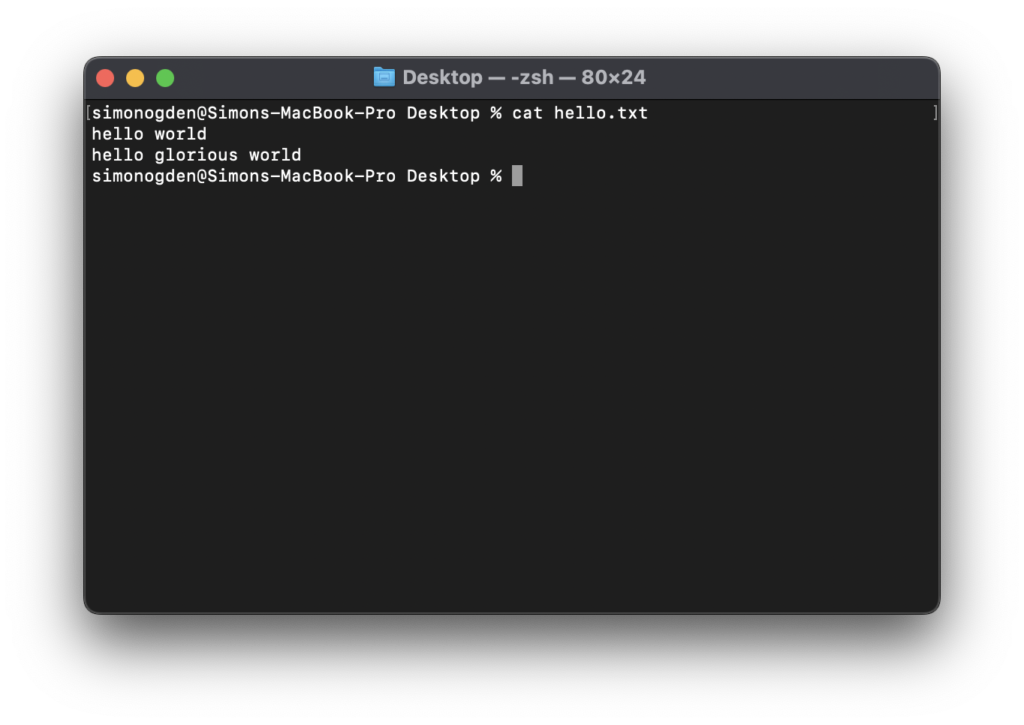
Next we can read the contents of the file that we have just created by using the cat command.
cat hello.txt
This will print the contents of the file to the terminal window.
This is a short introduction into what is possible with terminal commands. This method of editing files using the command line may seem a little long winded, however its real benefit comes when it is used in scripting.
If you just want to edit files manually with the terminal, it would be better to use an editing program. There are two editors that accessible with the terminal, Vi and Nano.
Editing Files With Vi
The VI editor is the most popular and classic text editor found in Linux. Here are some of the reasons why it is such a popular editor.
- It is simple to use. As a result, millions of Linux users love it and utilize it to do their editing tasks.
- It is compatible with all systems and distributions, including the MacOS terminal.
- It’s included in practically every Linux distribution.
Vi can seem a little unusual to use at first but once you get used to it, it is really quite straightforward. In order to launch Vi you can simply type vi at the terminal prompt.
You can also type vi followed by a file name, this will open the file directly in the Vi editor. If the file does not exist then the editor will adopt the name and a new file will be created if the file is saved.
vi somefile.txt
After entering this command into the terminal window you will be greeted with the following screen.
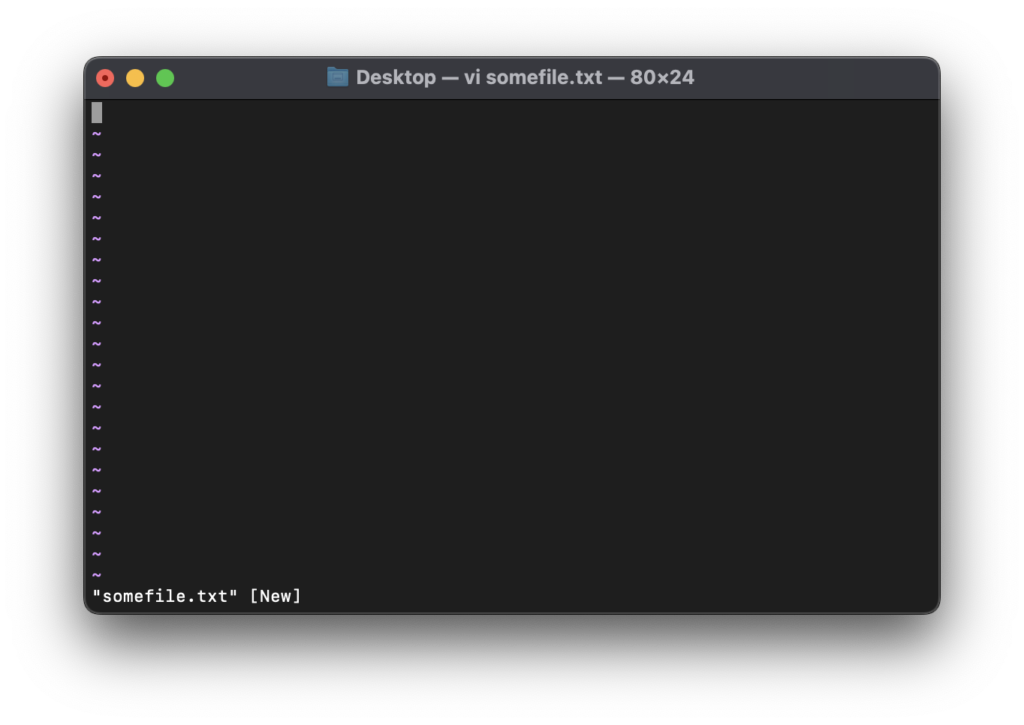
Vi operates in two different modes, editing mode and command mode. From here it is not possible to add anything to the file as Vi starts in what is known as command mode.
Vi command mode
This mode allows you to do administrative activities including saving files, running commands, moving the cursor, cutting (yanking) and pasting lines or words, and finding and replacing.
Whatever you type in this mode is regarded as a command. The following commands are the basic commands that you will most commonly need in order to use Vi.
| Command | Description |
|---|---|
:q | This command quits out of Vi and returns you to the command line. However this command will not work if you have made changes to the file. |
:w | This is the command to save changes to the current file. |
:w <file name> | Saves the current file with a new/different file name <file name> |
:wq | You can combine the previous two commands into this command, which will save your current file and then quit to the command line. |
:q! | This command will quit out of Vi and return you to the command line mode, ignoring any changes that you have made. Be careful as you will lose any changes if you have not saved the file! |
i | Inserts text before the current cursor location (puts Vi into editing mode) |
Vi editing mode
This mode allows you to add text to the file. In this mode, whatever you type is treated as input and added to the file. There are several ways to edit the file and insert text using the following commands. Note that these are case sensitive.
| Command | Description |
|---|---|
i | Insert text before the current cursor location |
I | Insert text at the beginning of the current line |
a | Insert text after the current cursor location |
A | Insert text at the end of the current line |
o | Creates a new line for text below the current cursor location |
O | Creates a new line for text above the current cursor location |
Once you have finished editing simply press the esc key to return back to command mode. Here you can save and quit vi using the :wq command.
These command should be enough for basic use of Vi within the terminal command window. For example if you just need to make quick edits to config files then you will be good!
However if you are interested in learning more about Vi and what other commands there are, go ahead and check out this resource.
Alternatively you can also check out a slightly more modern command line editor, Nano.
Editing Files With Nano
GNU nano is a simple command line text editor. It has all of the standard text editor features, such as syntax highlighting, multiple buffers, search and replace with regular expression support, spell checking, and UTF-8 encoding, as well as many others.
It is likely that Nano is already installed on your system. It comes pre-installed with many versions of Linux and also MacOS.
However if necessary you can install it with the relevant package manager.
Install Nano on Ubuntu and Debian
sudo apt install nano
Install Nano on CentOS and Fedora
sudo yum install nano
In order to start the Nano file editor, simply enter the command nano. You can also enter nano <filename> in order to begin editing an existing file. If the file does not exist then it will be created if saved.
This editor is a lot more similar to a modern text editor you find with GUIs. You can begin writing text straight away.
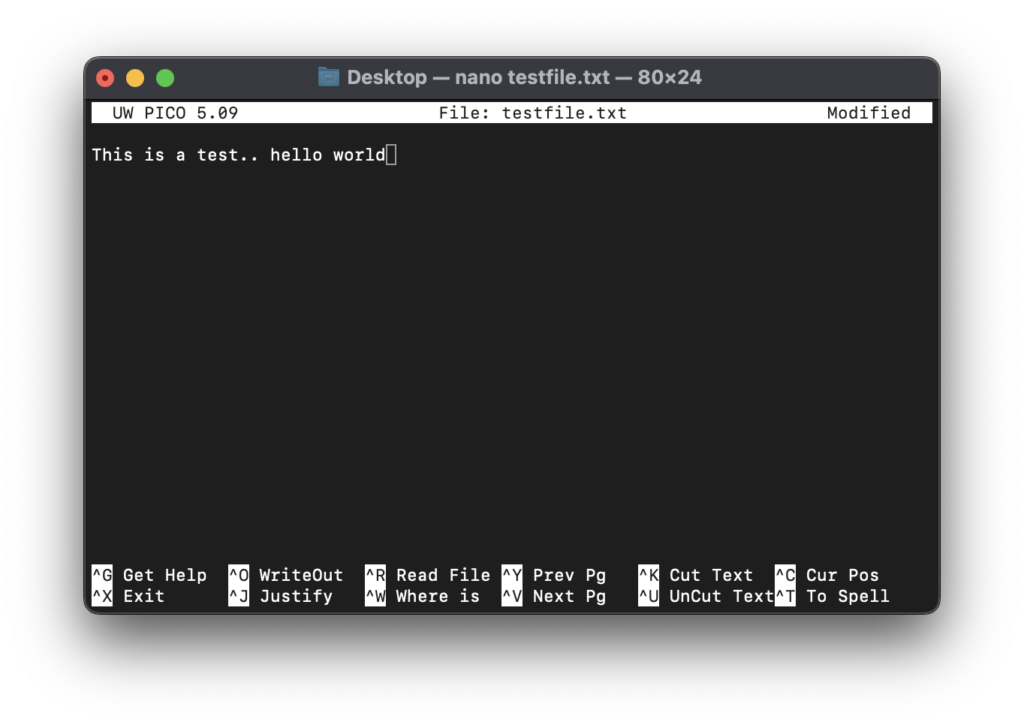
There are a series of commands listed at the bottom of the screen, accessible by holding the control key. In order to save a file, simply press control + X to exit and you will be prompted to save the file.
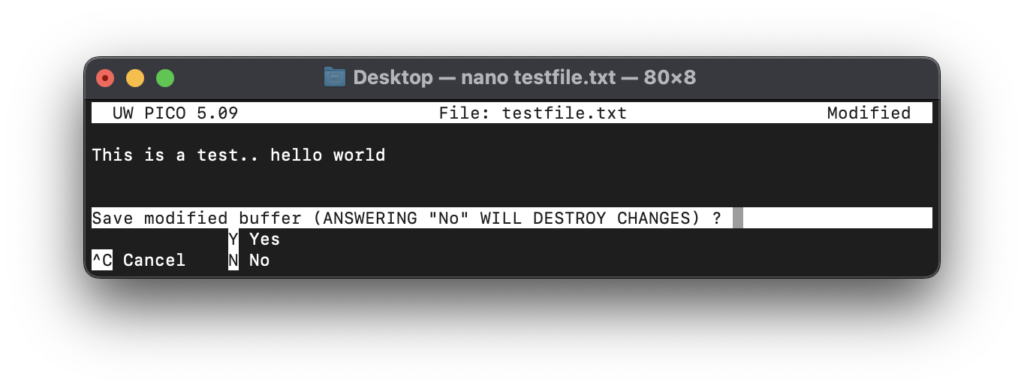
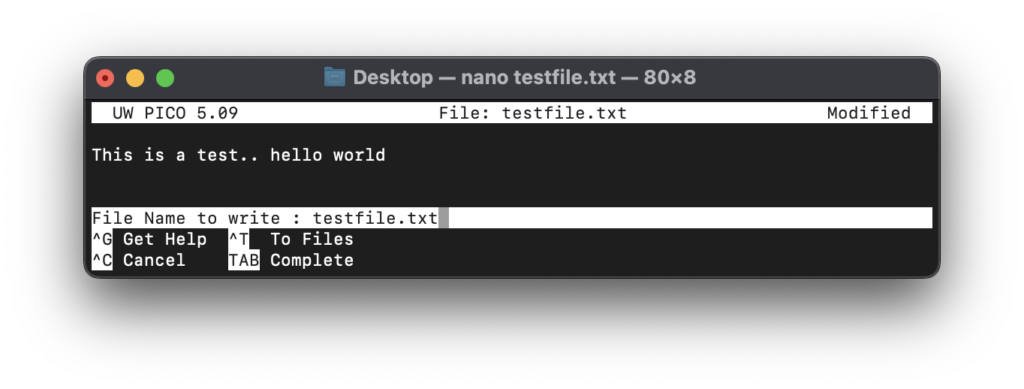
Simply type Y or N in order to decide whether or not to save the changes. If you choose Y then you will get an opportunity to change the file name. This means you can create a copy of the file if you wish.
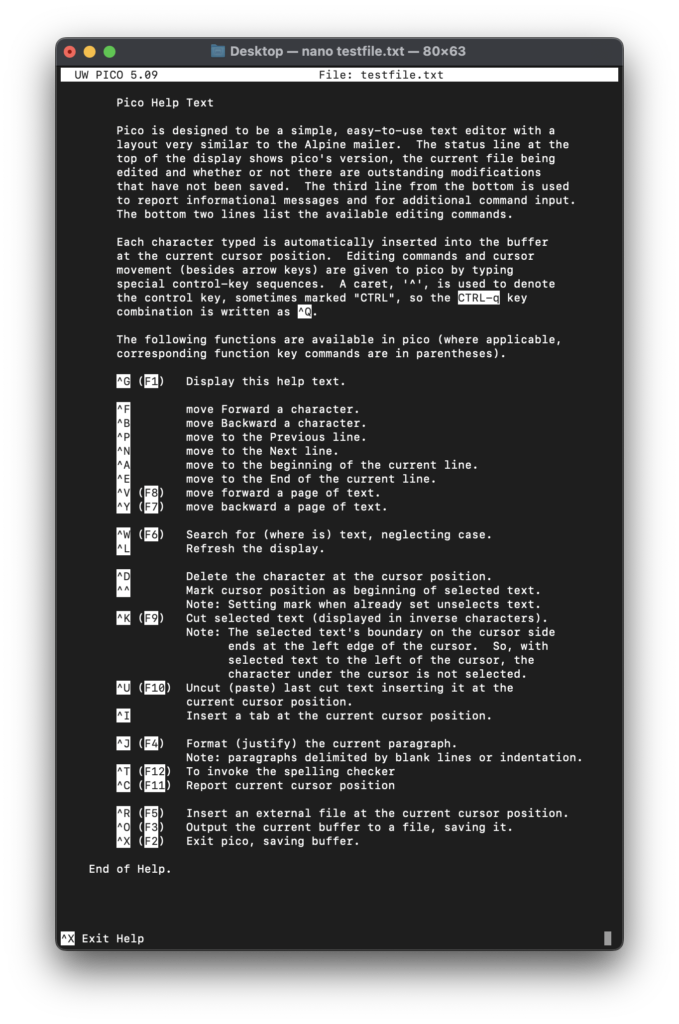
The basic commands are displayed at the bottom of the screen, however in order to see a full list of commands you can press control + G.
Conclusion
This article has given an introduction into three different ways a file can be edited via the command line. Files can be edited directly from the terminal, or by using an editor such as Vi or Nano.
Don’t forget that you can also apply these Linux tutorials to the fabulous Raspberry Pi platform!
For further reading you can go ahead and check out some more of my Linux-related tutorials.
Thanks so much for visiting my site! If this article helped you achieve your goal and you want to say thanks, you can now support my work by buying me a coffee. I promise I won't spend it on beer instead... 😏