
In this tutorial we will learn how to pass arguments from the command line to our script when executed either manually or by another program.
The list of uses for BASH scripting is next to endless.
In short BASH scripting is a very powerful tool to have in your toolbox and the use of arguments really helps get the most out it.
Personally I really like the BASH scripting language and once you gain familiarity with the staple syntax, it is very easy to create powerful scripts to run on your system.
So, you’re ready to take your BASH scripting to the next level?
Table of Contents
- Prerequisite
- What is a shell script argument?
- The number of arguments passed to a shell script
- Shell script arguments example
- Conclusion
Prerequisite
I will assume that as you have arrived here, you are already running some flavour of Linux.
In case you are looking for a platform, the Raspberry Pi is a great little device to hone your Linux skills and avoids having to dual boot your main computer.
If you are a complete beginner then no need to worry!
This tutorial is very simple and should be easy enough to follow for someone who has managed to get to the Linux command prompt in one way or another.
If you have already written some simple BASH scripts then feel free to skim over the introduction.
What is a shell script argument?
As with many things in programming, strange nomenclature is adopted to describe certain things.
To most common humans, an argument is something that you have with your partner or with some stranger at the pub regarding whether or not you were next to be served.
Passing arguments to the script
In computing an argument is a value that is passed to a program, subroutine or function.
When launching a shell script, the arguments follow the file name.
my_awesome_script.sh arg1 arg2 arg3
Each argument is stated sequentially and separated with a space.
When the script is executed, the values specified are loaded into variables that can be used in the script.
Arguments inside the script
So what happens to the arguments that are passed to the script?
Quite simply they are loaded sequentially into variables denoted with a “$” symbol, where the first argument is “$1” and the second “$2” and so on.
Let’s look at a very basic example and start with a hello world type script called hello.sh that utilises one argument.
As always we will begin the script with a shebang to identify the bash interpreter. You can go ahead and enter the following command to create the script.
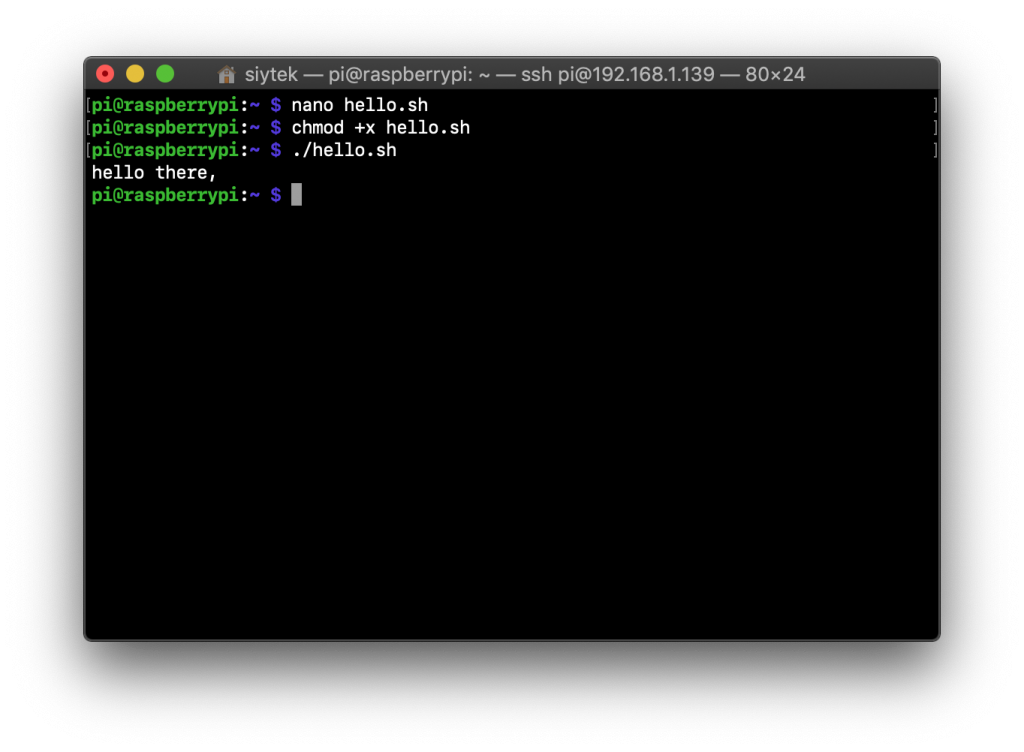
nano hello.sh
Once the nano text editor has opened, go ahead and copy and paste the example below, then press Ctrl + X to save and exit.
#!/bin/bash

echo "Hello there, $1"
Once we have created the script, we need to tell Linux that the script can be executed.
chmod +x hello.sh
Now go ahead and execute the script. You will notice that “Hello there” is printed as expected but the “$1” is not.
This is because it is being interpreted as an argument, for which we specified no value.
./hello.sh
Now lets try running the script with an argument, feel free to give it a try with different arguments.
./hello.py Peter
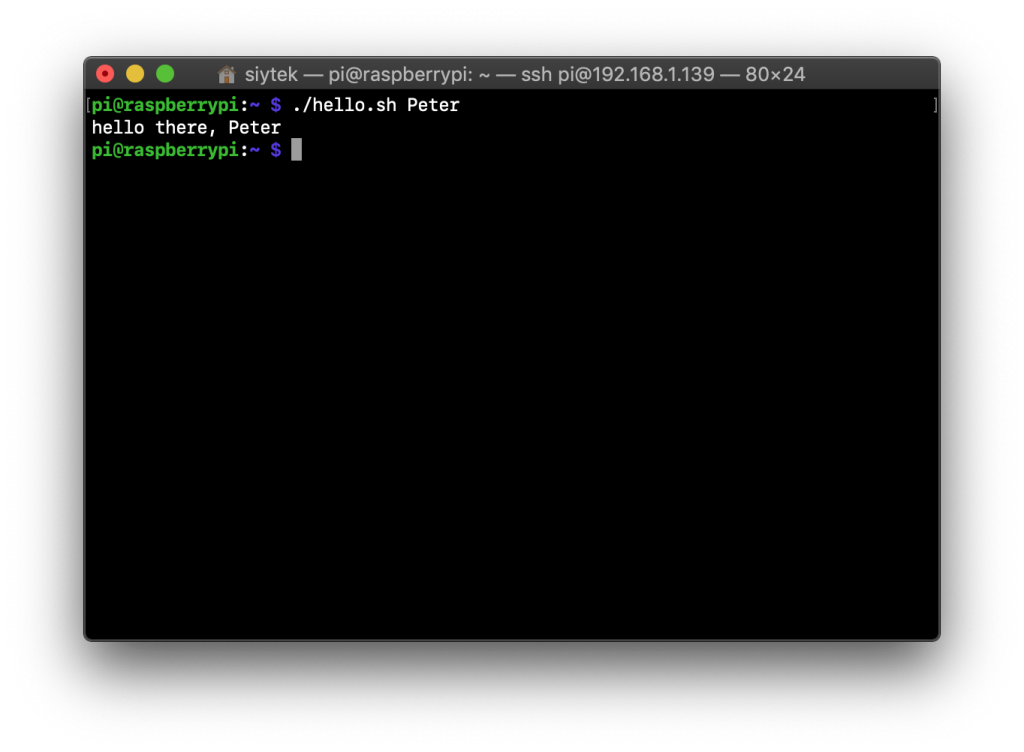
Now we can see that the “$1” is being replaced by the argument that we specified when we ran the script. Awesome!
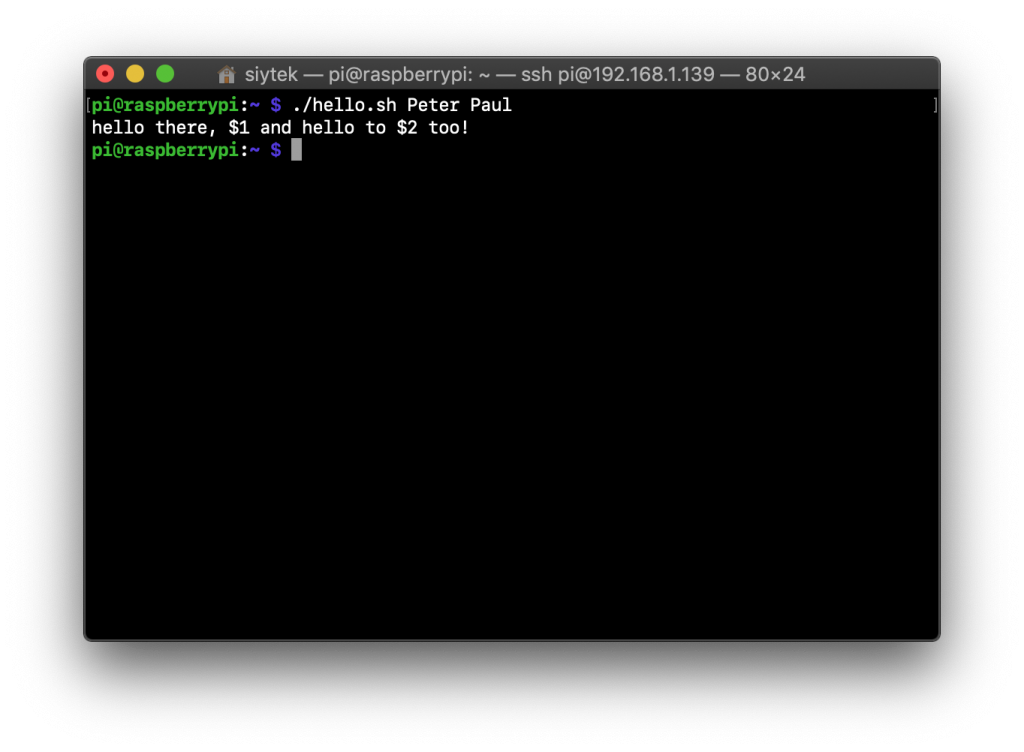
Lets go ahead and make some changes to the script. This time we will introduce a second argument.
#!/bin/bash

echo "Hello there, $1"
Now we can launch the script with two arguments and we will find that both of the arguments are passed to the script.
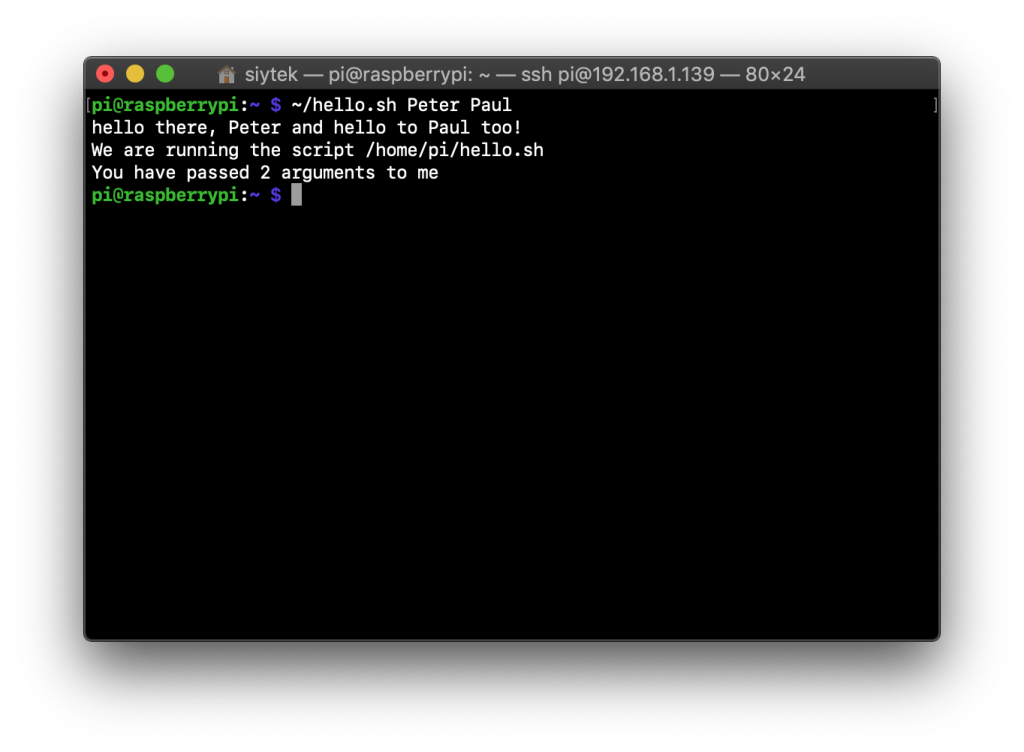
./hello.sh Peter Paul

It should also be noted that we are using “double quotes” because we want to expand the value.
If we were to use single quotes then the echo command would print the values literally.
#!/bin/bash

echo "Hello there, $1"
Passing the file name as an argument
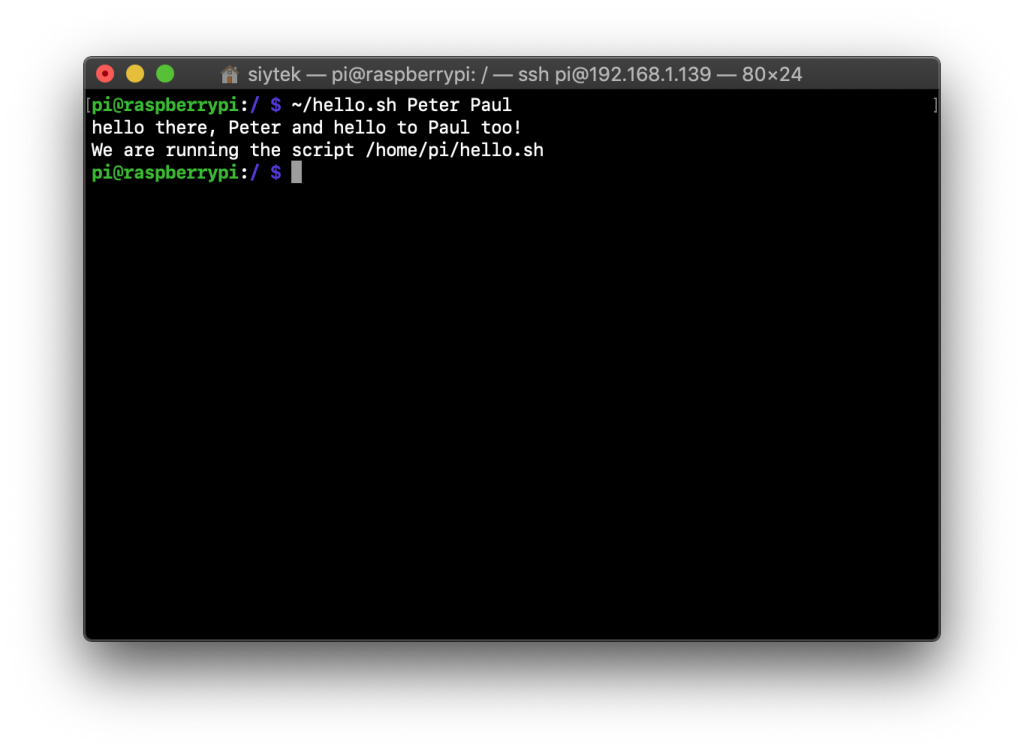
The more vigilant amongst us may have noticed that the first argument is passed to the variable “$1” but what about “$0?”
The path and name of the script is actually passed to variable “$0,” which can be very useful if we need it within the script.
#!/bin/bash

echo "Hello there, $1"
Now when we run the script we can see that the “$0” variable is replaced by the file path and name.
The number of arguments passed to a shell script
It is also possible to return the number of arguments passed by using “$#” which can be useful when needing to count the number of arguments.
#!/bin/bash

echo "Hello there, $1"
Shell script arguments example
So now that we have a good understanding of the basics, let’s look at a slightly more practical example.
The following script is a very simple calculator, which performs the calculation specified by the second argument on a number specified in the first and third argument.
#!/bin/bash

echo "Hello there, $1"
For example we can launch the script and use it to add the two numbers “2” and “3.”
./calculator.sh 2 add 3

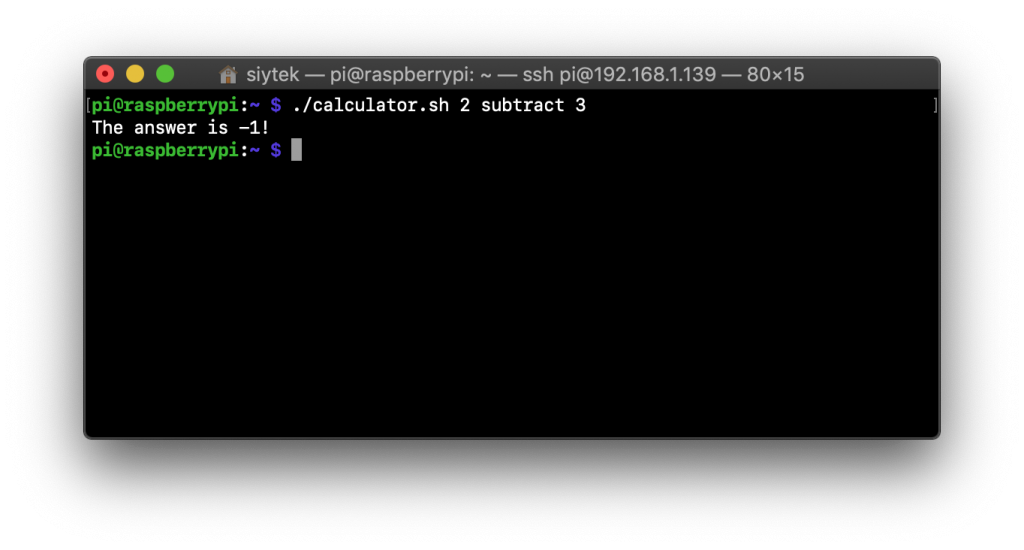
The script also supports negative numbers and will return the correct value if you subtract a greater value.
./calculator.sh 2 subtract 3
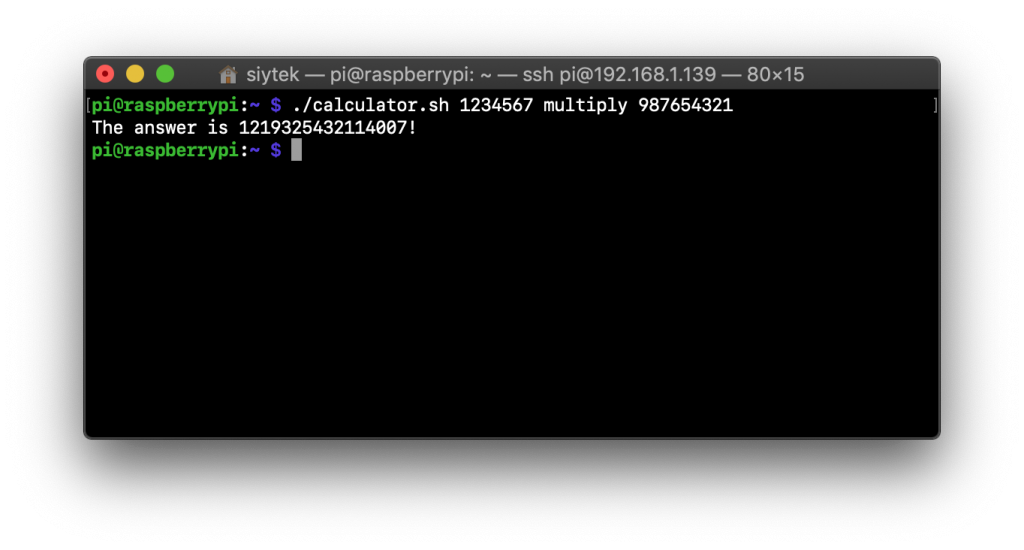
You can also use large numbers and produce even larger results!
./calculator.sh 1234567 multiply 987654321
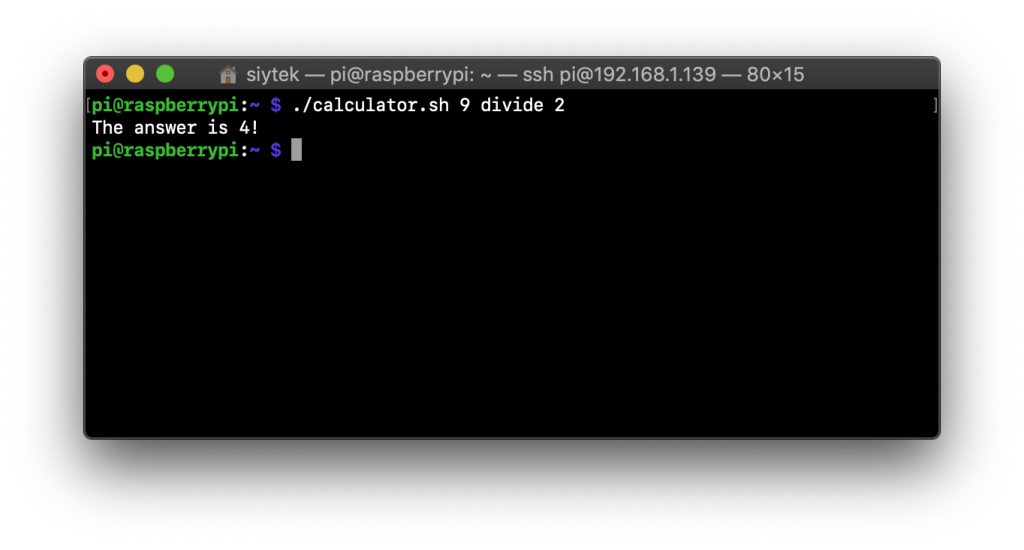
We do however reach the limitation of this basic program when trying to produce a float.
The result should be 4.5 but the numbers following the decimal are truncated.
Conclusion
As we have found in the examples given in this tutorial, it is quite simple to pass arguments to a BASH script.
We can also see that it is easy to use these arguments in several ways within the script.
It is important to remember that the order in which the arguments are passed to the script will become the sequence in which the arguments are loaded into the variables.
A more advanced way of managing this would be to parse the arguments and use flags.
So why not go ahead and check out some of my more awesome Linux-based and Raspberry Pi tutorials!
Thanks so much for visiting my site! If this article helped you achieve your goal and you want to say thanks, you can now support my work by buying me a coffee. I promise I won't spend it on beer instead... 😏