If you are like me and have chosen a beautiful Sony Bravia centerpiece for your living room wall, no doubt you will want to get it integrated in Home Assistant.
Almost all Bravia TV’s post 2013 support Home Assistant integration and this in this tutorial we will walk through the processes of setting up the media player entity and applying some cool automations!
Table of Contents
Prerequisite
You will need to have a working installation of Home Assistant up and running. You should also either have the file editor installed or be familiar with how to edit YAML files in Home Assistant using an external editor.
If you have not yet installed the file editor or edited any YAML files within Home Assistant then I would recommend reading the scripts and automations tutorials prior to working through this tutorial.
You will also need a compatible Sony Bravia TV connected to your network. The model I will use for this tutorial will be a Sony Bravia KD-65XE8596.
Bravia integration
In order to include the Bravia TV in our Home Assistant configuration we must add the Bravia integration as a media player using the platform braviatv.
In order to do this we need to edit the configuration.yaml file and add the media_player integration.
media_player:
If you already have the media_player integration you should add the code beneath any existing integrations and leave only one instance of the media player integration.
Specify the platform
Next we need to add the details about our Bravia TV. We need to specify the platform as braviatv. You should also give your TV a name of your preference.
media_player:
   - platform: braviatv
     name: Massive Sony
Find the IP address
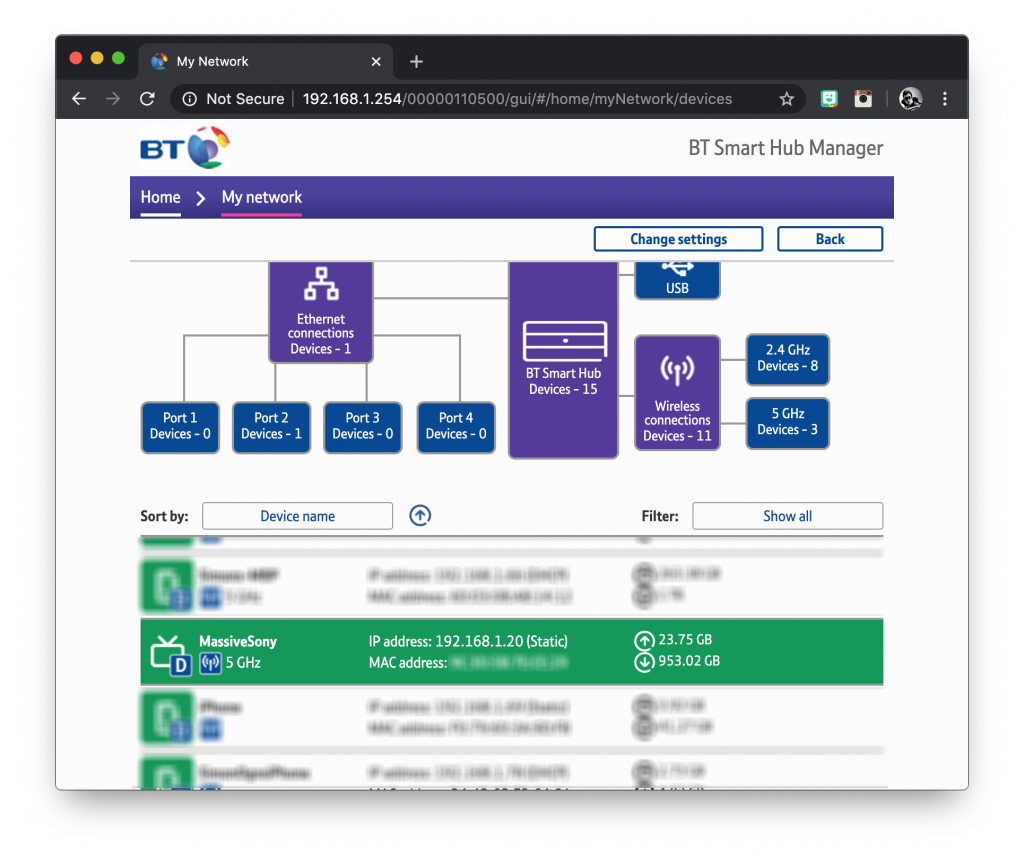
Next we need to find the IP address of the TV. There are two easy ways to do this, you can either check your router management page or you can fetch the information from the TV.
The router management page is usually accessed with the browser. It is common to find it by navigating to http://192.168.1.1, however I needed to use http://192.168.1.254. You will need to consult the individual documentation for your router.
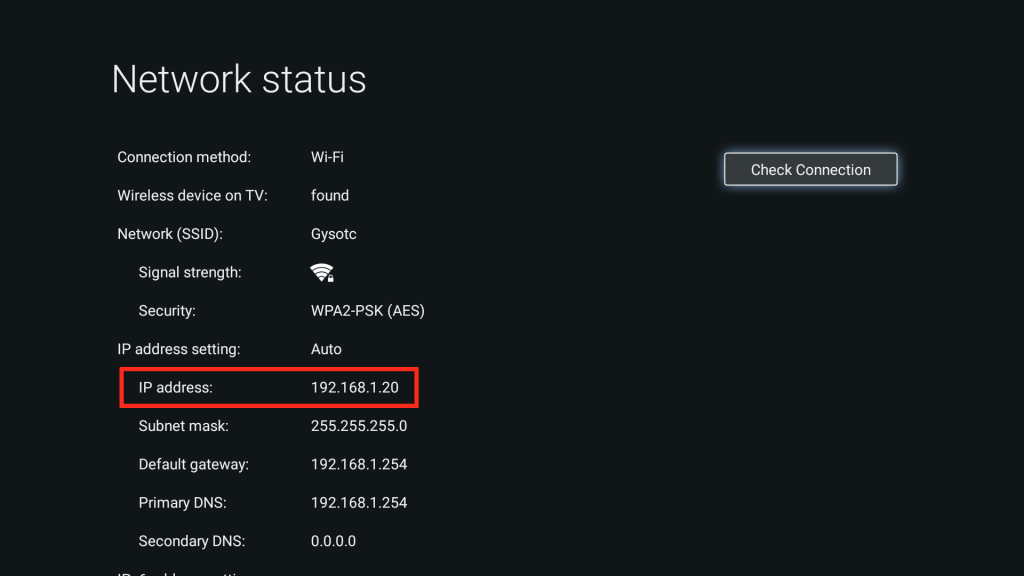
Alternatively you can get the IP address from the TV. From the settings page click on network, then advanced settings followed by network status. Here you will be able to see the IP address.
Add the IP address
Now that we have the IP address, we can add it to our configuration.
media_player:
   - platform: braviatv
     name: Massive Sony
     host: 192.168.1.20
Pair with the TV
Once you have added the configuration, go ahead and save the file. Then restart Home Assistant. Once Home Assistant has restarted you will have a new notification that will allow you to configure the TV.
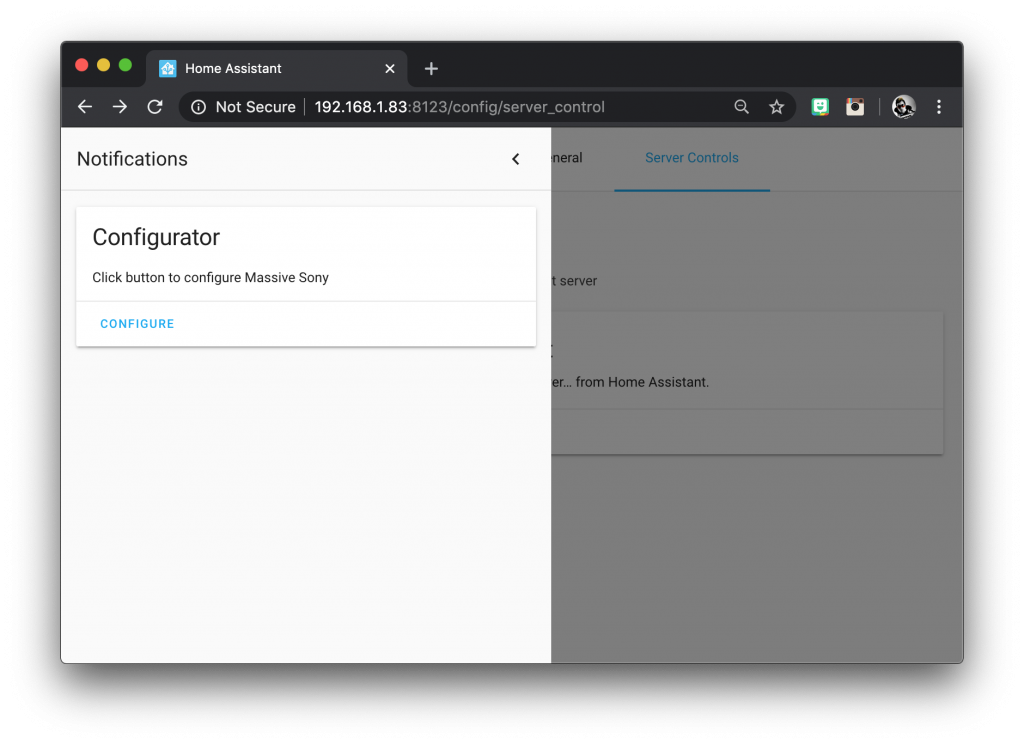
Go ahead and click configure to bring up the configuration card.
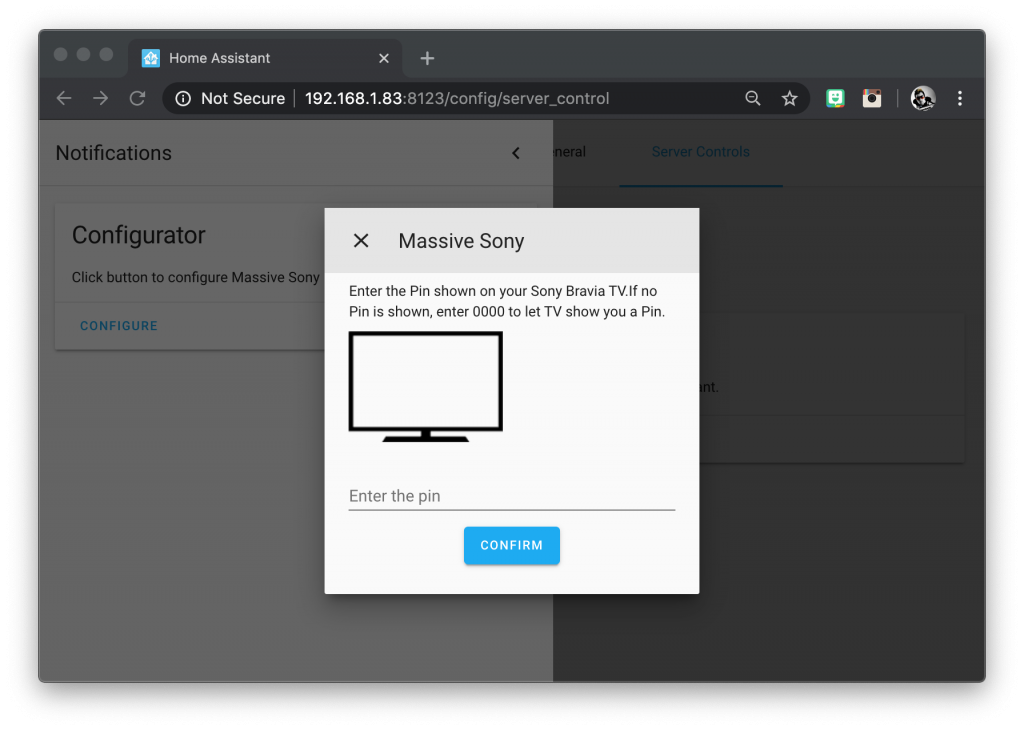
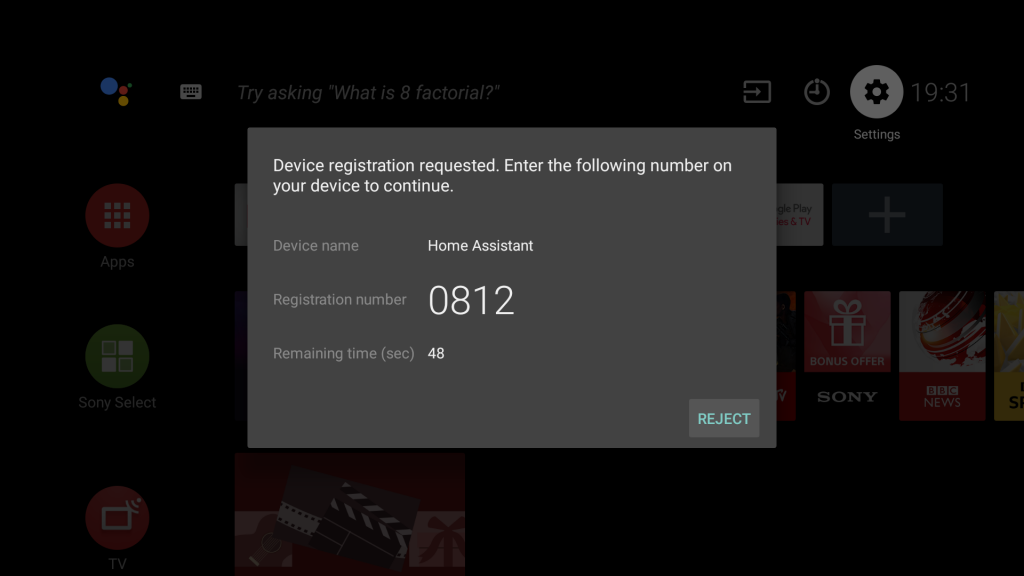
At this stage you may be presented with a PIN on the screen of your TV. However if you do not see the PIN, enter “0000” and click confirm.
Once the TV shows you the PIN, enter it in to the box and click on confirm to register the TV.
That’s it! Your Bravia TV is now paired with Home Assistant. Next we can add it to the user interface.
Add to the user interface
If you have your user interface set to configure automatically, you should now see a new entity card for media player on the overview page.
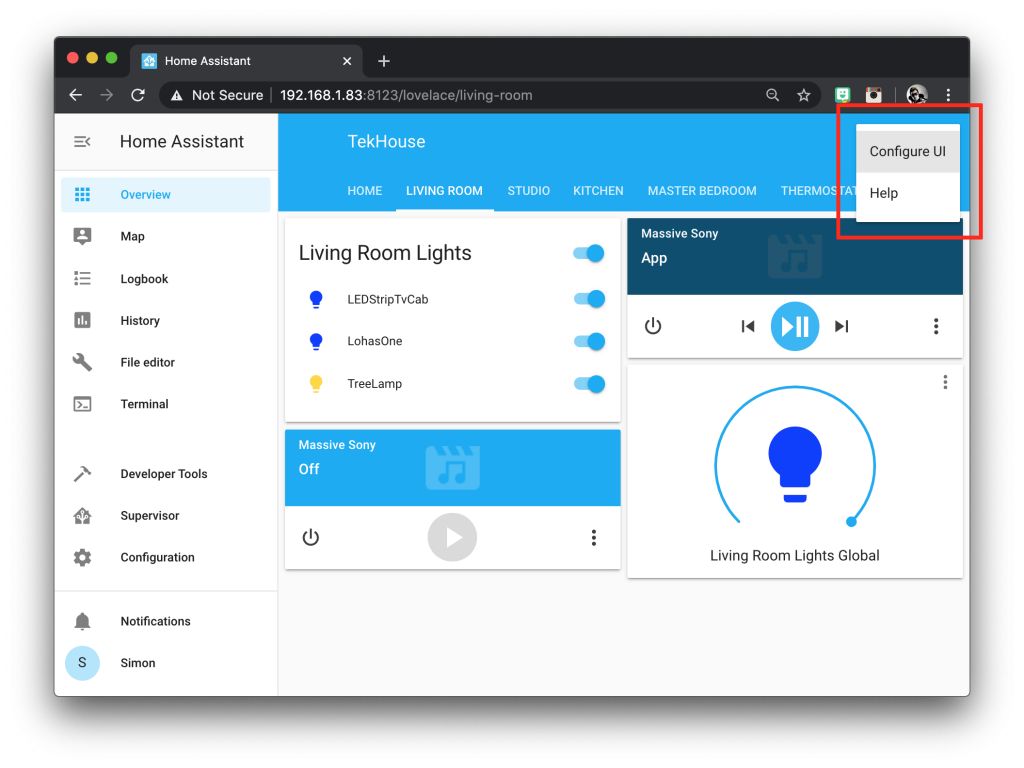
If you wish to add a card manually, first click on the three dots up in the top right-hand corner and then click on configure UI.
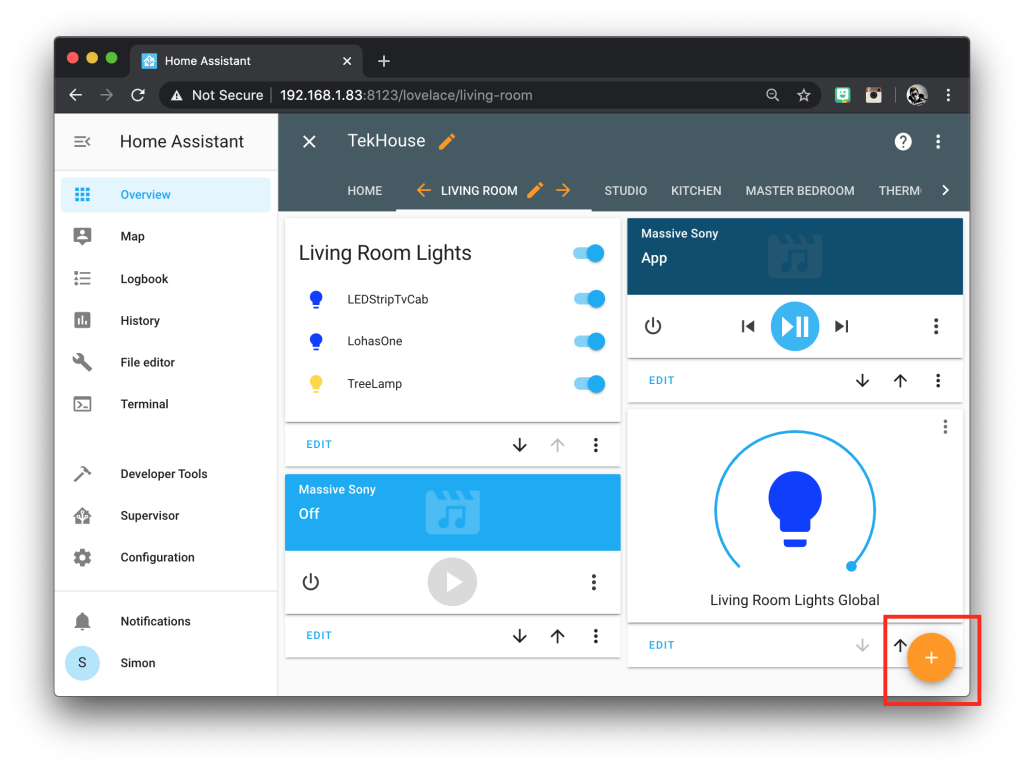
Next click on the orange circle with the plus symbol to add a new card to the user interface.
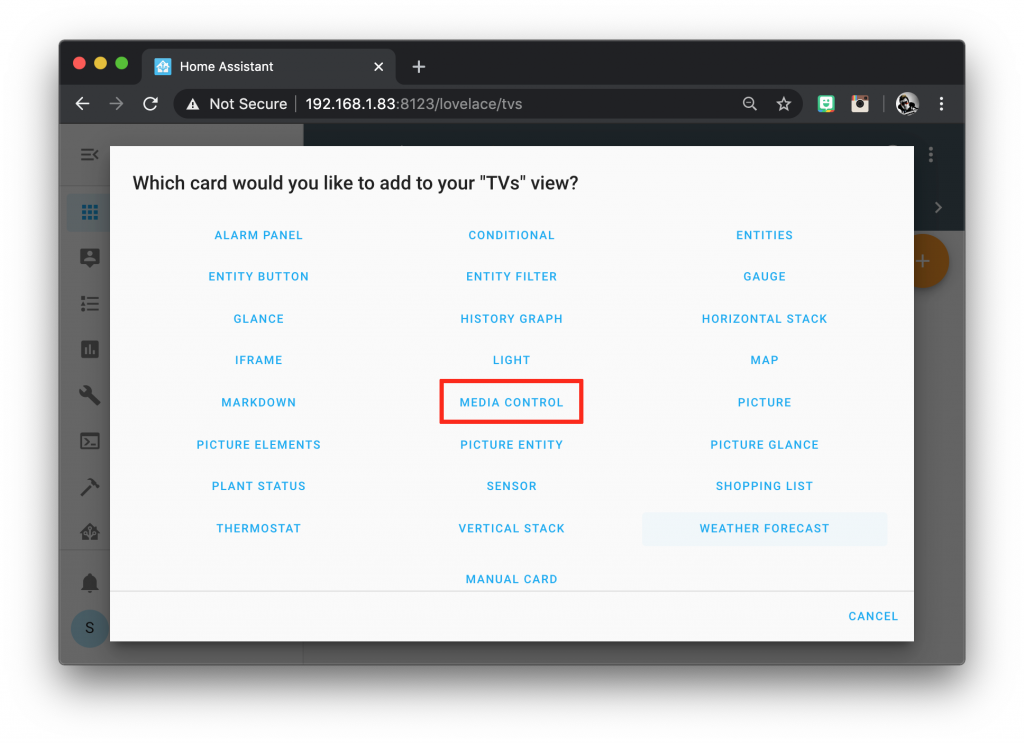
Next select the media control card from the menu.
Finally enter the media player entity. This will be media_player followed by the name you gave the TV. Once done go ahead and click save.
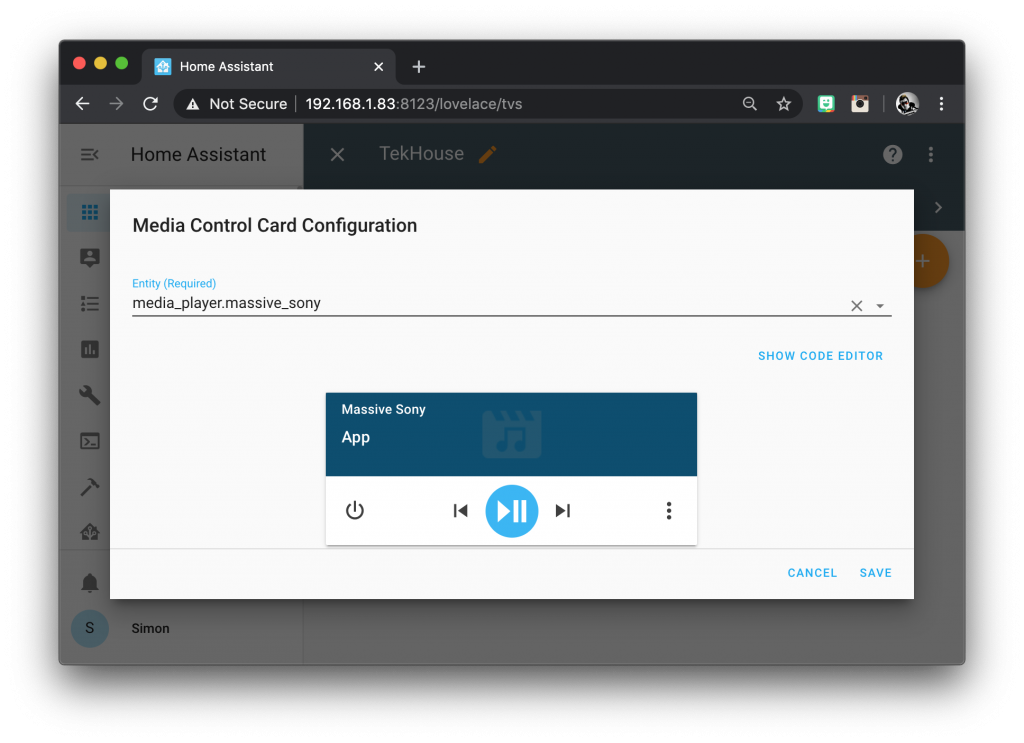
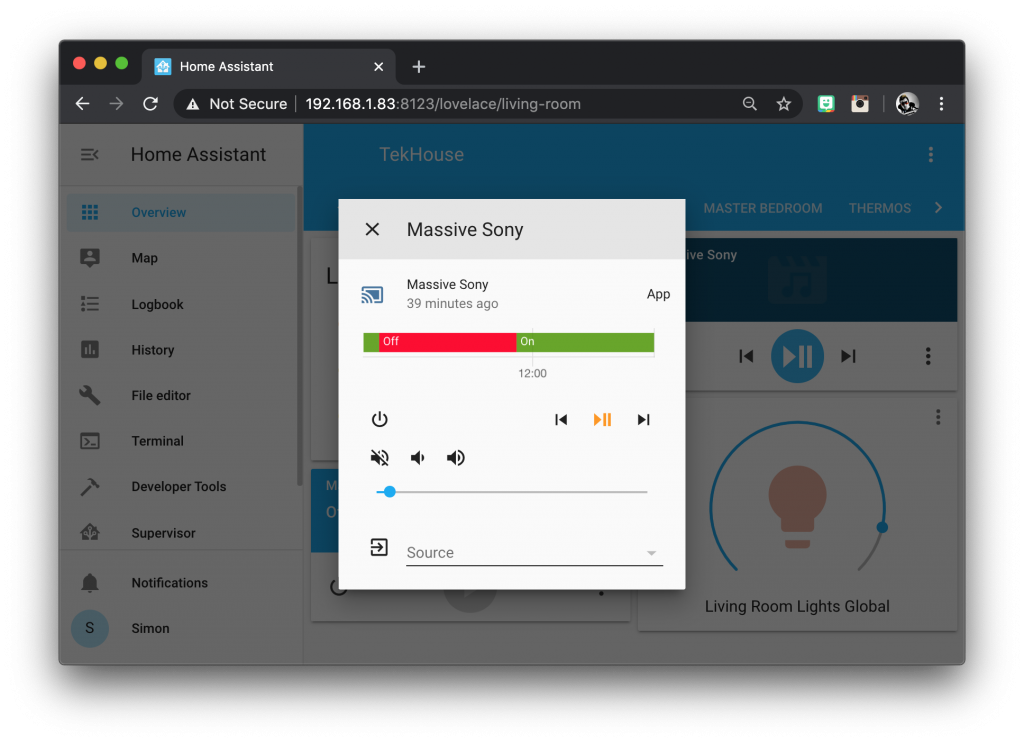
Once the entity card has been added to the user interface you will be able to play/pause and skip back and forth from the main entity card. Clicking on the three dots to the lower right-hand side will give you further control options.
Conclusion
Congratulations! You have now added your Sony Bravia TV to your home Assistant configuration.
Now you have your TV configured, why not check out my tutorial on how to add a movie lights automation using your new TV entity as the control.
Thanks for visiting and I hope you found this tutorial useful! Please take a minute to leave a comment below and let me know what you thought.
Thanks so much for visiting my site! If this article helped you achieve your goal and you want to say thanks, you can now support my work by buying me a coffee. I promise I won't spend it on beer instead... 😏


