
Home Assistant has a very powerful notification system whereby it is possible to produce many different types of custom notification.
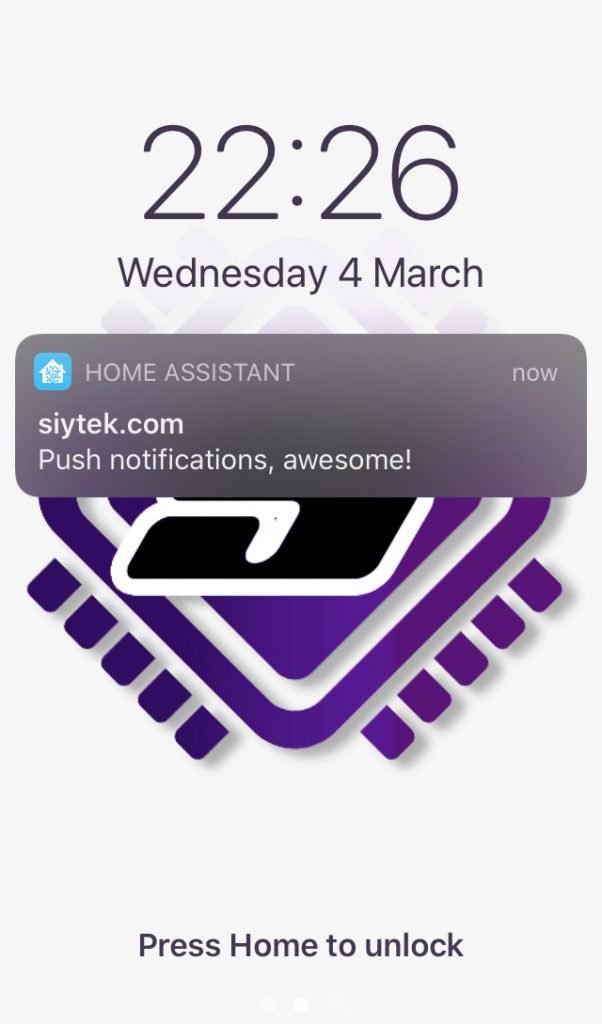
Since the release of version 2 of the Home Assistant mobile app, support for custom push notifications has been added. Awesome!
Like with other notifications, this type of notification is accessible by using the Home Assistant notify service.
In this tutorial we will learn how to use the notify.mobile_app service and cover a basic example automation to trigger it.
Prerequisite
You should have Home Assistant installed and running. A basic understanding of YAML would also be highly beneficial.
If you are not yet familiar with automation or YAML then I would recommend reading the tutorials about automation and scripts first.
You will also need the Home Assistant app installed on at least one device. The Home Assistant Companion App can be downloaded from the iOS App Store or Play Store.
You will also either need the file editor add-on or be familiar with editing the files using your favorite text editor. If you are not familiar with either you may want to check out my tutorial on automation or scripts first.
Configure Home Assistant
You need to be running Home Assistant version 0.95 or newer, I would recommend just updating to the latest version.
First we need to make sure that the default_config integration is added to our configuration.yaml file. If not then you can go ahead and add it.
default_config:
If there is some reason that you have removed it, you can instead enter the following.
mobile_app:
discovery:
So long as you have either of these options within your configuration.yaml file, the companion app will automatically configure itself.
It is important that you enable notifications during the installation. If you have already installed the companion app and did not enable notifications during the installation, you may need to follow the steps in the troubleshooting section.
Notification automation
You can utilise push notifications anywhere that you would normally use the notify service in Home Assistant. For this example we will setup a basic automation to test and demonstrate the functionality.
As we are creating a new automation, we will be adding the code to our automation integration within the configuration.yaml file.
automation:
Alternatively if you are using automation.yaml generated by the automation GUI or you already have automation in your configuration.yaml file, simply add the code beneath the existing code.
Add a trigger
Next we need to add a trigger for our automation. For this example we will create a simple notification that informs us when a lamp is switched on.
automation:
  - alias: 'tree lamp notification'
    trigger:
We will use the state platform in order to trigger the automation when the state of a light entity changes to ‘on,’ in this case my tree lamp. You should of course choose your own light entity.
automation:
  - alias: 'tree lamp notification'
    trigger:
      platform: state
      entity_id: light.treelamp
      to: 'on'
Add a notification action
Now that we have an automation setup with our desired trigger, we can create an action that sends the push notification to our mobile device.
We will use the service notify.mobile_app_<device ID> where <device ID> will be the name of your mobile device integration in Home Assistant. In my case this is simply notify.mobile_app_iphone.
automation:
  - alias: 'tree lamp notification'
    trigger:
      platform: state
      entity_id: light.treelamp
      to: 'on'
    action:
      - service: notify.mobile_app_iphone
        data:
Title and message
Now we can add our notification title and message as desired.
automation:
- alias: 'tree lamp notification'
trigger:
platform: state
entity_id: light.treelamp
to: 'on'
action:
- service: notify.mobile_app_iphone
data:
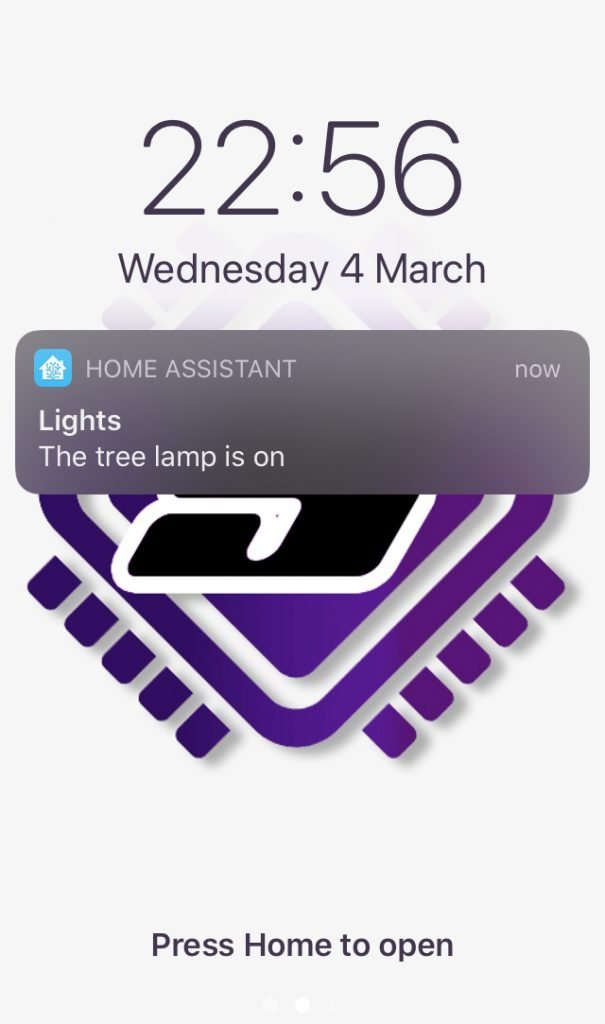
title: "Lights"
message: "The tree lamp is on"
When the notification fires, it will look something like this.
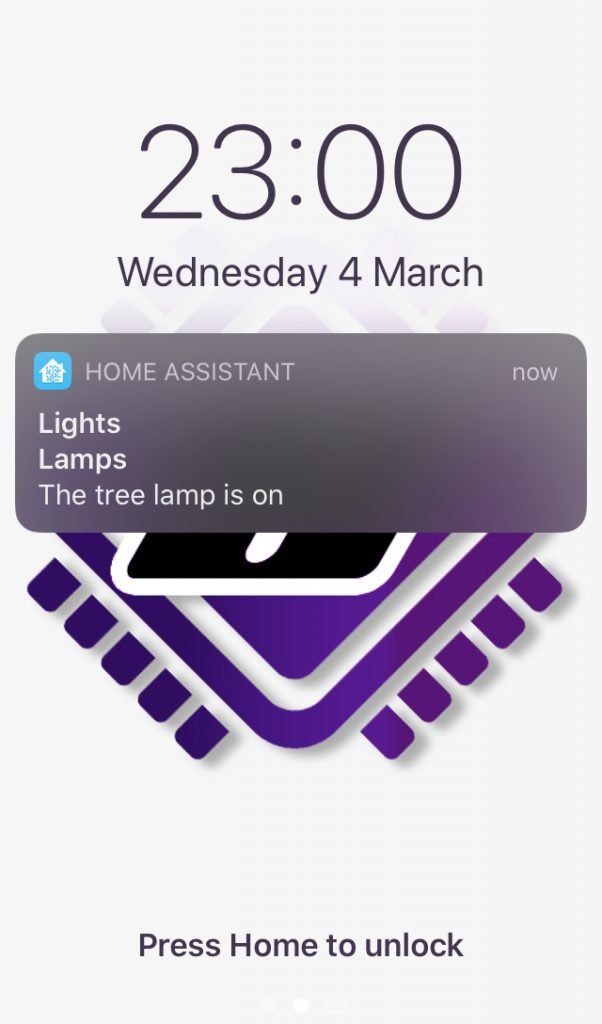
Subtitle
If you are using an iOS device it is also possible to add a subtitle, which appears below the main title and above the message.
automation:
  - alias: 'tree lamp notification'
    trigger:
      platform: state
      entity_id: light.treelamp
      to: 'on'
    action:
      - service: notify.mobile_app_iphone
        data:
          title: "Lights"
          message: "The tree lamp is on"
          data:
            subtitle: "Lamps"
Grouping notifications
It is also possible to group notifications if you are using iOS 12 or newer. All notifications that share the same thread-id will be grouped in the notifications center.
automation:
  - alias: 'tree lamp notification'
    trigger:
      platform: state
      entity_id: light.treelamp
      to: 'on'
    action:
      - service: notify.mobile_app_iphone
        data:
          title: "Lights"
          message: "The tree lamp is on"
          data:
            subtitle: "Lamps"
            push:
                thread-id: "lights-notification-group"
Troubleshooting
When I first setup notifications I have some trouble getting them to work. If you had already installed the Home Assistant app prior to reading this tutorial and notifications are not working, you may need to carry out the following steps.
- Delete the Home Assistant app
- Remove the mobile device integration in Home Assistant from configuration > integrations
- Ensure that default_config: is present in the configuration.yaml file
- Restart Home Assistant from configuration > server controls
- Re-install the Home Assistant app
Conclusion
That’s it! You should now be able to set up some awesome push notifications!
In this tutorial we looked at a basic example of how a push notification can be sent to a mobile device using an automation. The integration works very well and makes for yet another superb Home Assistant feature.
You should now have the basic knowledge required to add notifications to more useful applications, such as my easy Home Assistant DIY thermostat.
Also check out my tutorial on push notifications and actionable buttons to add a button to your notification!
Thanks for taking the time to read the tutorial and for visiting my site! Be sure to check out some of my other awesome Home Assistant tutorials!
Thanks so much for visiting my site! If this article helped you achieve your goal and you want to say thanks, you can now support my work by buying me a coffee. I promise I won't spend it on beer instead... 😏


