Looking to flash Tasmota, ESPHome or some other firmware on your Tuya device but not quite sure how to use it?
This guide will explain the steps to easily remove your device from the cloud!
Tuya Convert is written for Linux systems so you can of course run it on Linux systems such as Ubuntu. However this tutorial will focus on using it with the ubiquitous Raspberry Pi.
Table of Contents
- Prerequisite
- Connect to the Raspberry Pi
- Update the system
- Enable WiFi
- Install Git
- Install Tuya-Convert
- Flashing Your Device
- Conclusion
Prerequisite
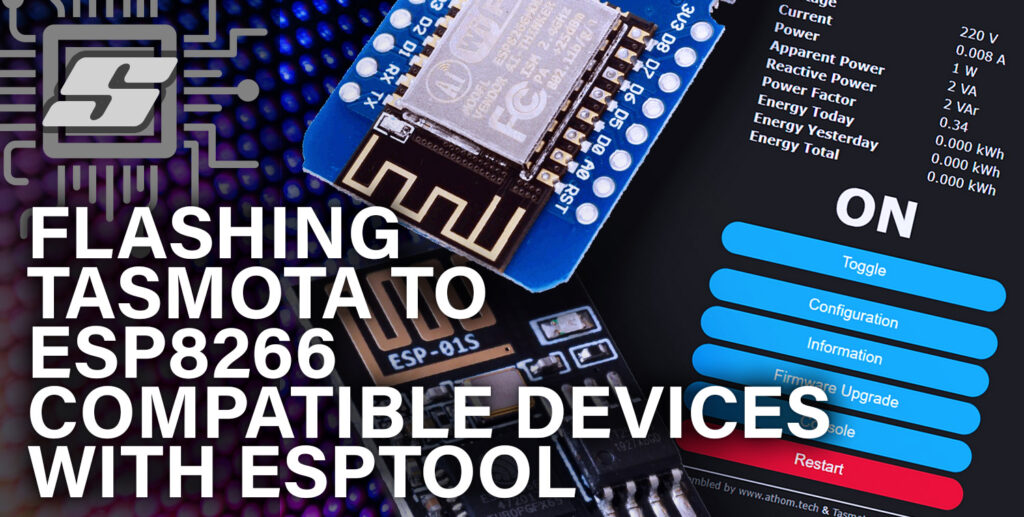
First and foremost you will need a device to flash! Most Tuya devices are based on the ESP WiFi chip and are therefore compatible with Tuya Convert.
You can check the Blakadder Tasmota repository to see if your device is listed if you wanted to make sure. You can also see some devices that have been confirmed not to work due to using a different hardware.
I would also recommend using a Raspberry Pi running the latest version of Raspbian. Check out this article if you need to know how to install the operating system and access it over SSH.
Any Raspberry Pi should work so long as it has WiFi access and the WiFi adapter supports AP mode. The Raspberry Pi 3 and 4 have a built-in WiFi adapter which is compatible. You can add WiFi to the Raspberry Pi 2 using this dongle.
Disclaimer: this process is an exploit and has the potential to brick your device, therefore I accept no responsibility for any malfunctioning devices as a result for this tutorial. Proceed at your own risk.
Connect to the Raspberry Pi
If you are using your Raspberry Pi as a desktop machine then go ahead and open up a terminal window.
If you want to access your Raspberry Pi remotely, you will need to connect to it using SSH. However you must not use the WiFi adapter wlan0 as this is required for the Tuya Convert exploit. The easiest way is to plug the Raspberry Pi into an ethernet port, then follow the SSH section of this guide to connect.
Update the system
First we should make sure everything on the system is up to date by entering the following commands. If you are prompted for your password then go ahead and enter it. Don’t forget that you will not see the password characters!
sudo apt-get update
sudo apt-get upgrade
You may be prompted to perform some updates, simply enter ‘y’ and allow the updates to install. Once complete you will be returned to the command prompt.
Enable WiFi
If you already have your WiFi adapter setup and have been using it to access the network or internet, you can skip this step.
If you are usingOtherwise go ahead and enter the following command to enter the Raspberry Pi configuration menu.
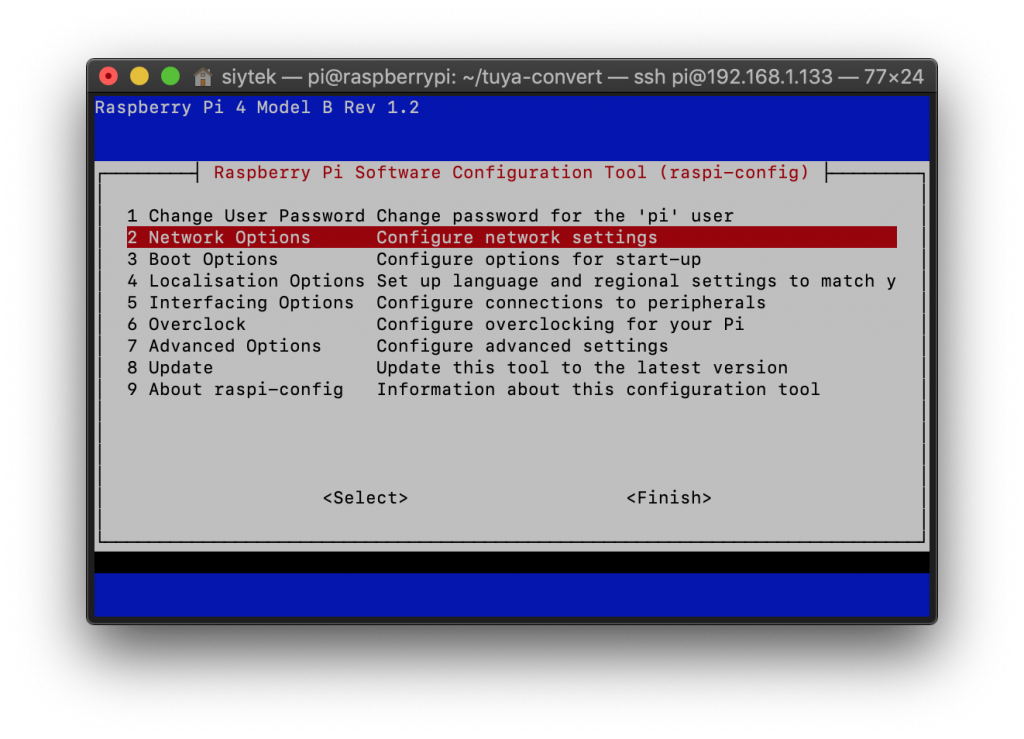
sudo raspi-config
You will be presented with the configuration menu, go ahead and select network options. Note that if you are using a third party WiFi adapter, you may need to configure it manually first.
Next you need to select WiFi and enter your location and credentials.
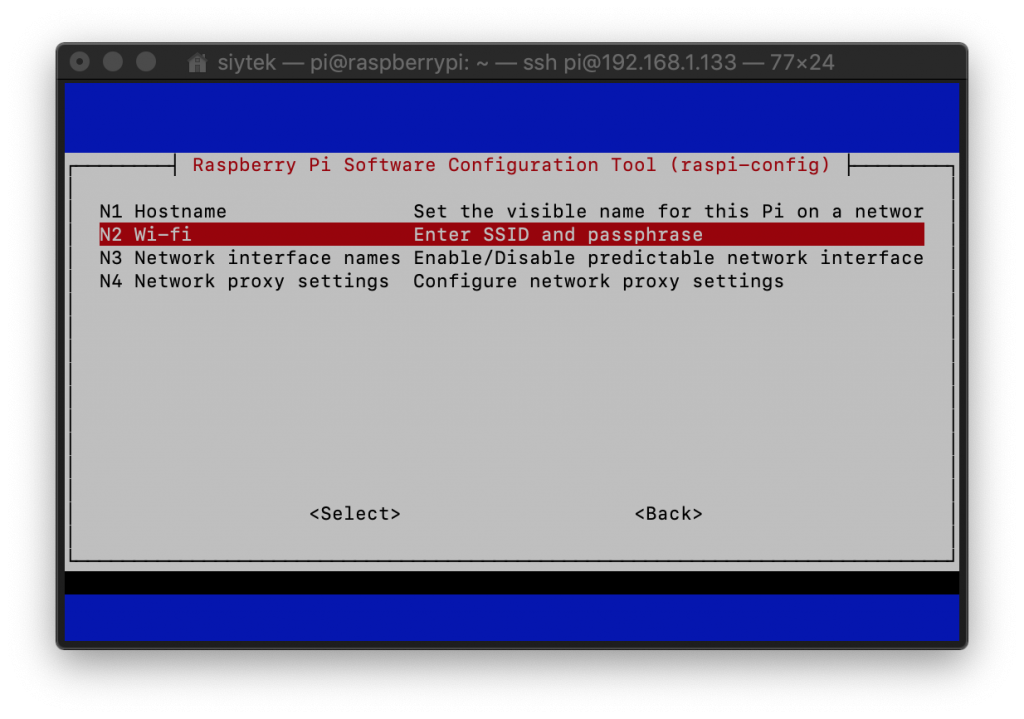
Once done select finish and it will return you back to the command prompt. You may also need to unblock the WiFi by entering the following command.
rfkill unblock wifi
Install Git
Next we will need to install Git if you don’t already have it on your Pi (Raspbian Lite, for example). We will use Git to download and install Tuya Convert, so go ahead and enter the following command.
sudo apt-get install git
Install Tuya-Convert
Next, you will need to navigate to the location where you wish to install Tuya-Convert. If you are unsure then I would recommend the user home directory, you can navigate there by typing the following.
cd ~
Now we need to download Tuya-Convert by cloning the Git repository, simply enter the following command.
git clone https://github.com/ct-Open-Source/tuya-convert
Once the Tuya-Convert repository has been cloned to your machine, we need to install the prerequisites. There is an installation script provided that makes it very easy! Simply switch to the Tuya-Convert directory and run the script by typing the following commands.
cd tuya-convert
sudo ./install_prereq.sh
Flashing Your Device
Now that everything is installed, we can begin the flashing process. To start Tuya-Convert, simply type the following command whilst in the Tuya-Convert directory.
sudo ./start_flash.sh
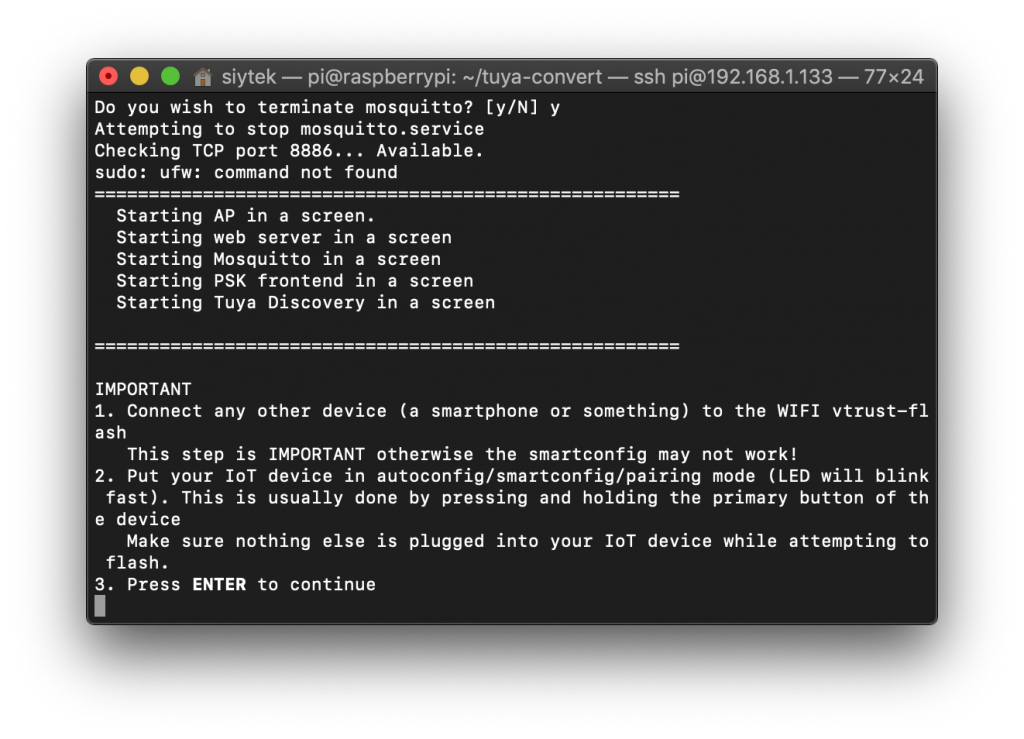
Stop services
It is likely that your system will request that you stop some services in order for the process to work. Simply enter ‘y’ for each one and once the script has finished, everything will be restored.
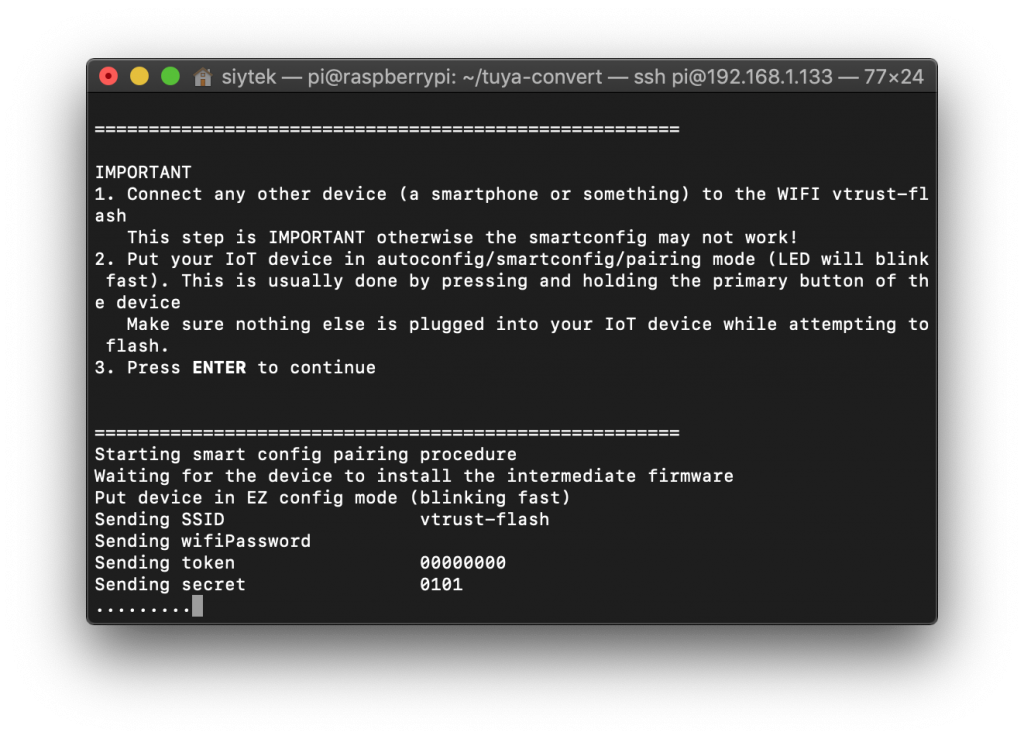
If everything is successful, you will be presented with the 3 step Tuya-Convert instructions.
- Connect any other device (a smartphone or something) to the WIFI vtrust-flash
This step is IMPORTANT otherwise the smartconfig may not work! - Put your IoT device in autoconfig/smartconfig/pairing mode (LED will blink fast). This is usually done by pressing and holding the primary button of the device
Make sure nothing else is plugged into your IoT device while attempting to flash. - Press ENTER to continue
Connect to the vtrust-flash
Tuya Convert will create a wireless access point called vtrust-flash using the Raspberry Pi WiFi adapter. In order for the exploit to work we need to connect a device to this access point.
It does not matter what device we use, so long as it will remain connected long enough to start the flashing process. The easiest way is to just connect a mobile phone.
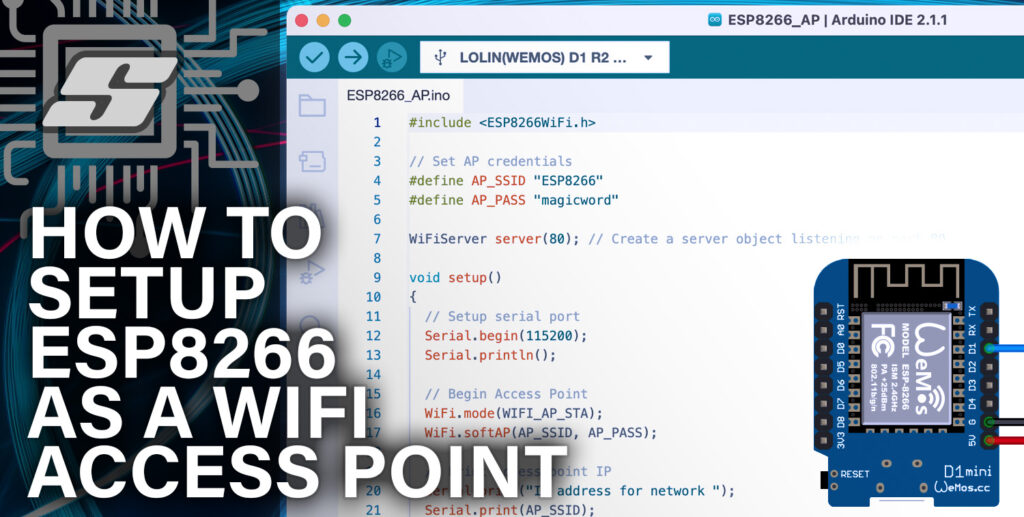
Alternatively if you have an ESP device like the Wemos D1 Mini, you can use the DigiBlur Donor Device sketch for Arduino.
Put your device in pairing mode
Next we will need to put our Tuya device in to ‘EZ pairing mode.’ It is common for bulbs to be switched on-off-on-off-on in order to put them in EZ mode however this step is specific to your device, therefore you should consult the manual for your specific device.
Please note that the device must be in EZ pairing mode and not in AP mode. Some bulbs can take a moment to switch from being fully illuminated to quickly flashing to signify that they are in EZ pairing mode.
Start flashing
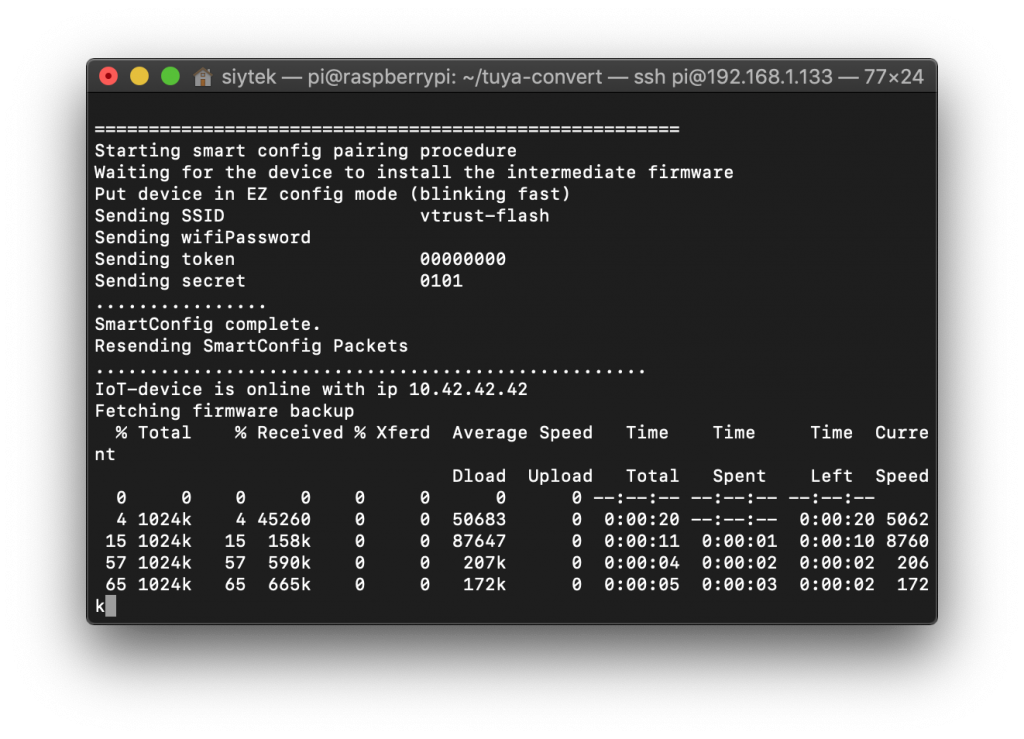
Now we are ready to flash! Press ENTER and Tuya-Convert will begin to look for the device.
Patience is key here, it can take a while. If the operation times out with the “Device did not appear with the intermediate firmware” error, just power cycle your device and repeat.
Firmware backup
Once your device has been successfully recognised, a backup of the existing firmware will be performed. It will take a moment to complete so perhaps go grab yourself a nice beverage.
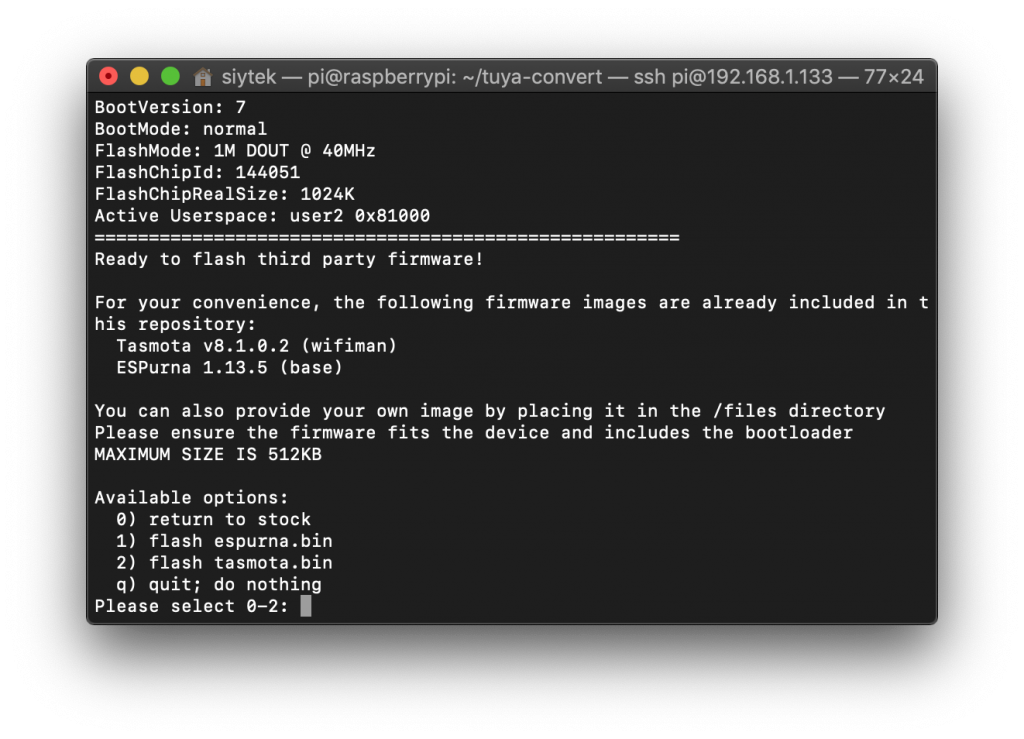
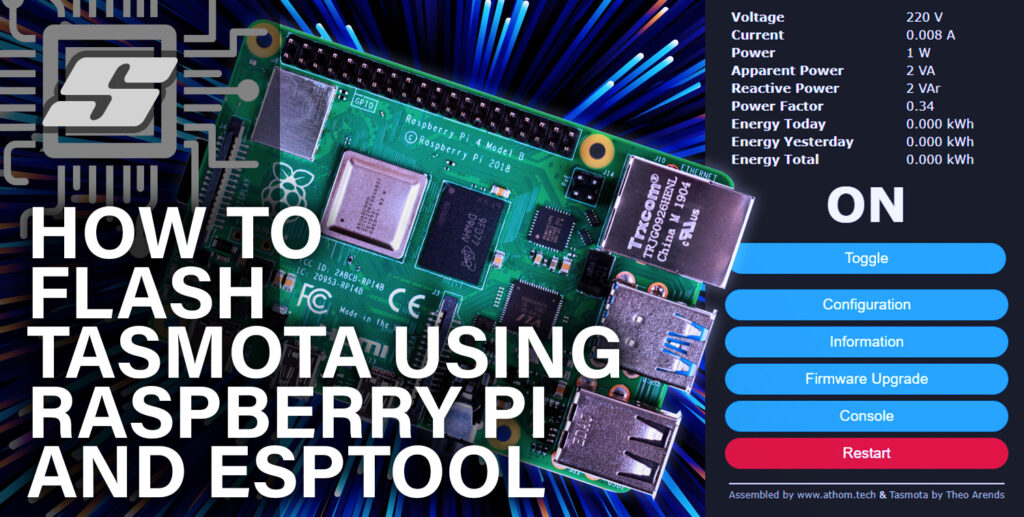
Choose your firmware
Finally when completed you will be presented with the option for the firmware you wish to flash. You can choose any of the firmware options, but if you do not specifically want to install a different firmware then I would recommend starting with Tasmota.
If you want to flash a custom .bin file, you can put it in the /tuya-convert/files directory. Alternatively once you have flashed Tasmota, you can use the Tasmota interface to flash a new custom firmware over the air.
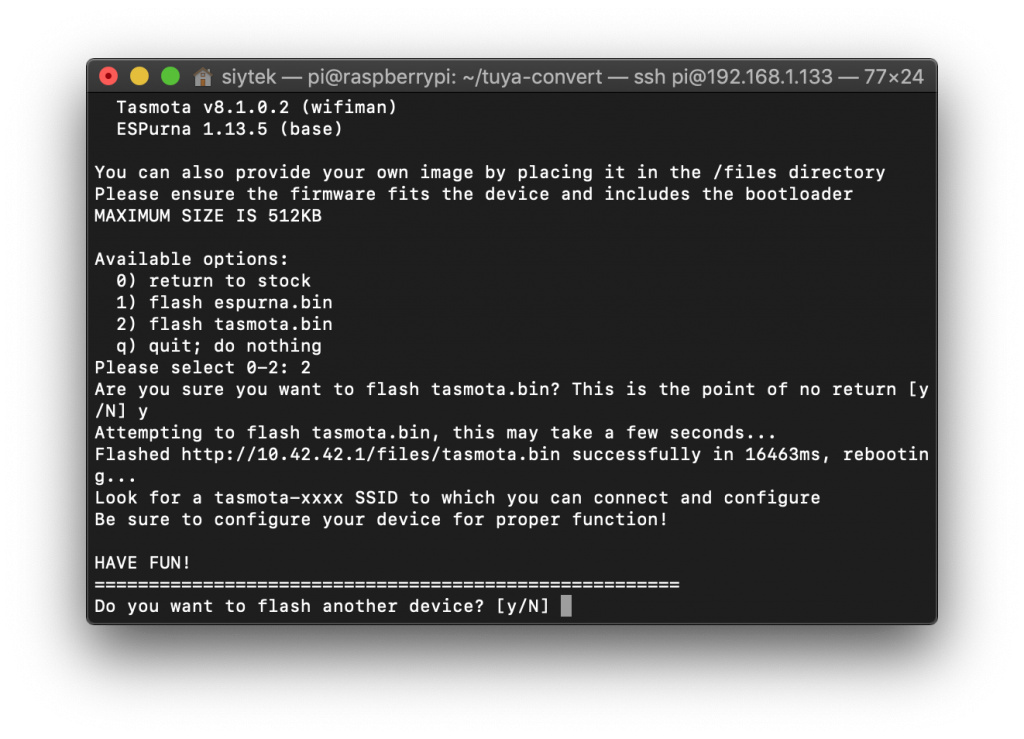
You will be presented with a final confirmation, at this stage it is the point of no return, you have been warned! Enter ‘y’ and wait for the flashing to complete.
Conclusion
Congratulations! You have now taken your Tuya device out of the cloud and successfully installed Tasmota.
Now you are ready to configure Tasmota, so head on over to the Tasmota configuration guide.
If you are unable to get the over the air method to work with your device, you can have a go at flashing it with a wired connection, assuming you can access the PCB.
Thanks so much for visiting my site! If this article helped you achieve your goal and you want to say thanks, you can now support my work by buying me a coffee. I promise I won't spend it on beer instead... 😏

Hello, is it normal that the “vtrust-flash” network doesn’t have internet access?
Hi Alex, thanks for visiting! Yes this is normal, you will not be able to access the internet whilst connected to vtrust-flash.
I own a set of SC400W curtain switches. When I hit enter to start the flashing, the fast pairing LED goes from rapid blinking to solid and then off, resulting in a “Device did not appear with the intermediate firmware” message on the pi. Logs show a connection with the MAC address of the switch during flashing, but then it disconnects. Is there a solution?
Hey Tom, thanks for visiting! Are you able to open up the switch and confirm if it contains the ESP8266 chip/module? You can Google image search ESP8266 to see what you should be looking for, some devices feature a small module soldered to the PCB and others will have the chip itself on the main board.
Hi Siytek, thanks for the reply. I can pry it open a little bit, but I’m afraid to break it if I pry further. After googling some numbers I managed to read (i.e. BM8 ..94v-0 E469716) I believe there is a TYWE2S Wifi module installed. According to FFCID, the TYWE2S is a ESP8285 based wifi module.
Yes, prying is seemingly always a risk and best avoided if possible! I think you should be able to flash the ESP8285. As you probably guessed the error message is just the generic failure message and the answer will be in the log files. I would recommend that you post all of your log files and description of your problem in a new issue over on the Tuya-Convert Github page. Hope it helps 🙂
Thanks, opened a issue with the logs attached couple of days ago :). Sadly no response so far
Did you try to flash these from new? Is there a chance that the firmware was updated? I read a few recent comments in this thread that suggest recent versions of the Tuya firmware will prevent OTA flashing. Have you considered braving the prying operation and flashing by wire?
Hi, this step “sudo ./install_prereq.sh” is wrong. No sudo MUST be used. The sudo password will be used later and only for the steps, within the script, which actually need it. Running the whole script as sudo is wrong.
Hey Olaf, thanks for your comment and opinion! If you would kindly give a sensible reason as to WHY it is wrong, I will change the tutorial for the benefit of other users. If you cannot justify your opinion then I see no reason to change it. We have a saying here, “if it ain’t broke, why try to fix it” 😉
My understanding is that any Sonoff (and Tuya?) device that canbe set to DIY mode, will expose its API over WiFi and thus can be HTTP controlled from i.e. Home Assistant without difficulty.
If I am right, why then bother to flash Tamota or ESPHome at all when all you need is DIY?
Getting the following when I run the: sudo ./install_prereq.sh
error: externally-managed-environment …
hint: See PEP 668 for the detailed specification
How do I resolve this?
OS: Debian GNU/Linux 12 (Bookworm) on Raspberry Pi 4 B