
There are a few different ways that you can run Home Assistant on Mac OS, each requiring quite a bit of configuration. This guide will walk you through the process of installing Home Assistant Core directly on Mac OS step by step.
This guide primarily covers the process of installing Home Assistant Core directly on Mac OS using a virtual environment. This method will not give you a complete supervised installation (no add-ons store).
If you are not sure which installation you need, then you probably want the Home Assistant Supervised installation. Installing the Home Assistant Core without the supervisor is only really suitable to those with expert Linux knowledge.
If you are happy that you are in the right place and you want to progress with installing Home Assistant Core directly on Mac OS using a Virtual Environment, read on!
Prerequisite
You will of course need a Mac running its native OS operating system. I have tested and confirmed that this process works with Mac OS Monterey 12.4 and M1 Mac.
You will also need to have Python 3 installed on your system, you can download and install it from the Python website.
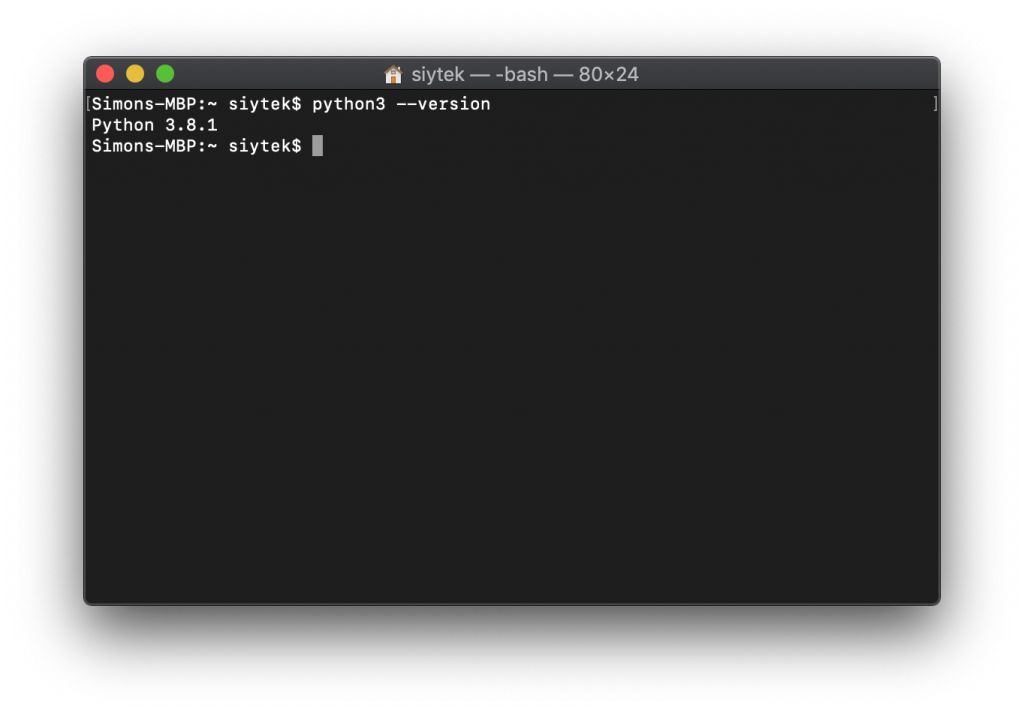
If you are unsure, goto the applications > utilities folder and open the Terminal app. Then type the following command.
python3 --version
If the version 3.x.x is returned then you already have it. If not then simply download the installer and follow the installation instructions.
Why run Home Assistant On Mac?
Aside from wanting to have a play with Home Assistant on your local machine, why would you want to install Home Assistant on your Mac?
In general Home Assistant is meant to be a server-based application, meaning it runs on a remote computer hidden away in your home and is accessed remotely via a web browser or the companion app. The most common weapon of choice is to use a Raspberry Pi.
However there is one superb reason to install Home Assistant on Mac! I have had several old MacBook Pro’s lying around since forever, which do not have enough value to bother listing on eBay but that have too much sentimental value to dispose of.
If you have an old Mac that you wish to recycle, you can give it a second life as a Home Assistant server! A machine almost a decade old will still compete with the latest Raspberry Pi and can double up as a network hard drive.
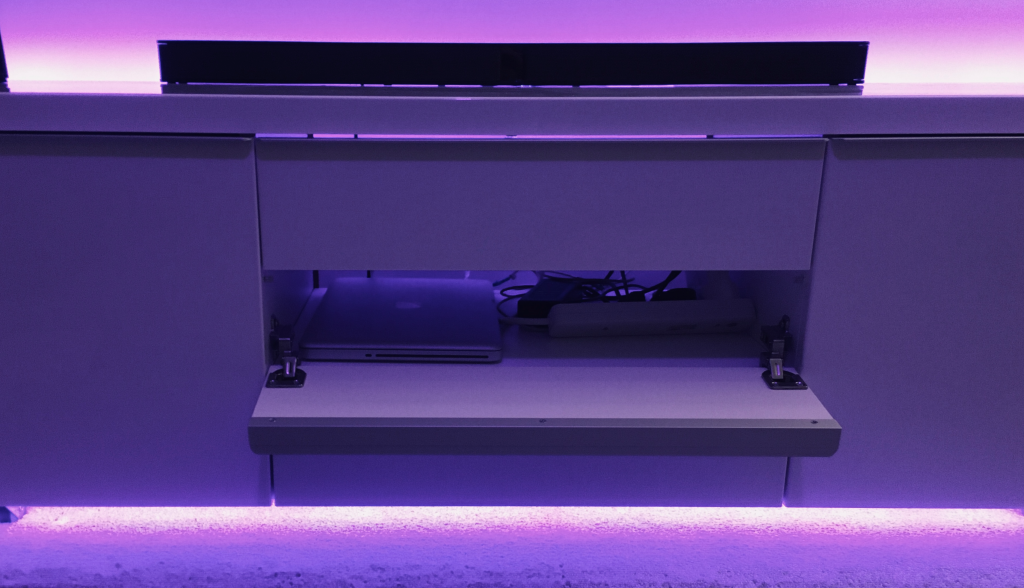
This is exactly what I have done with an old 2009 MacBook Pro, now running headless in the TV cabinet as the “TekHouse” Home Assistant server!
What is Virtualenv?
What on earth is Virtualenv? To understand this we need to understand what Python is. Python is a programming language that can be used to develop apps for all different kinds of platforms.
There are many packages available that Python developers can use in their applications, which give various functionality without having to re-write the same code over and over again. These are stored globally in a directory called site-packages.
This can however cause a problem if different versions of the same package are required for different applications. In order to solve this problem, we can install a Python program and all of the necessary packages locally.
Our program can then use the correct local version of each package rather than referencing the global site-packages directory. The relevant Python program and all of the necessary packages are bundled together in one neat little package called a virtual environment.
Virtualenv is the tool required to create a virtual environment for a Python program. It is very easy to use and we will cover the installation and setup of our Home Assistant virtual environment step-by-step.
Install Virtualenv
First we need to goto the application > utilities folder and open up a Terminal window. Then simply type the following command to install Virtualenv.
pip3 install virtualenv
All of the necessary files will be downloaded and Virtualenv will be installed automatically, nice and easy!
Create virtual environment
Next we need to create a virtual environment from which we wish to run Home Assistant. This exists simply as a folder on the hard drive so we can think of it as the installation directory.
First navigate to the location that you wish to install Home Assistant. I will use the Documents folder but you can choose a different location if you like. Go ahead and type the following command.
cd ~/Documents
Now we can create the virtual environment. This will also create the folder where we will install Home Assistant. Go ahead and type the following command.
python3 -m venv homeassistant
Once we have created the virtual environment, we need to activate it. This is done by simply entering the following command.
source homeassistant/bin/activate
Install Home Assistant
Now that our virtual environment is setup and activated, we can install Home Assistant by typing the following command.
pip3 install homeassistant
Pip will download and install all of the necessary files so perhaps go make a nice beverage while the script runs. Once complete we need to change to the directory containing the hass script so go ahead and type the following command.
cd homeassistant/bin/
Run Home Assistant from the terminal
If you wish to just run Home Assistant in the current terminal window, you can type the following command.
./hass
You will see the terminal spring into action, reporting a long list of information as it starts up. Note that you will not be returned to the command prompt whilst it runs as it is not running in the background.
If you want to stop Home Assistant and return to the command prompt, simply press ctrl + C.
Run Home Assistant as a system service
Alternatively if you would like Home Assistant to run in the background as a system service you can type the following command.
hass --script macos install
This will start Home Assistant in the background of your system and it will also setup your system to start Home Assistant on boot up. Note that it takes a minute or two for Home Assistant to work following a reboot.
Once you have run the script you will be presented with the following message and then returned to the command prompt.
Home Assistant has been installed. Open it here: http://localhost:8123
Accessing Home Assistant
We are all done! Go ahead and enter the exit command into terminal and close the window. You can now navigate to Home Assistant in your browser by typing the following address.
http://127.0.0.1:8123
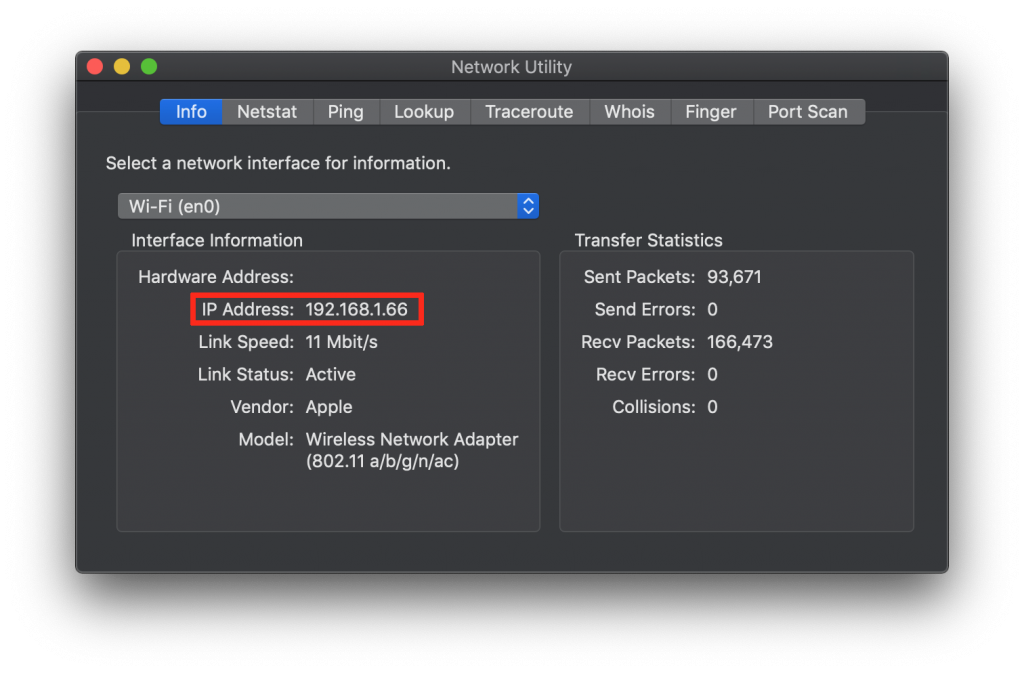
If you want to access your Home Assistant from a remote browser, just use the local IP address of your machine instead. You can see your local IP address in the network utility, which you can find by typing it into Spotlight Search.
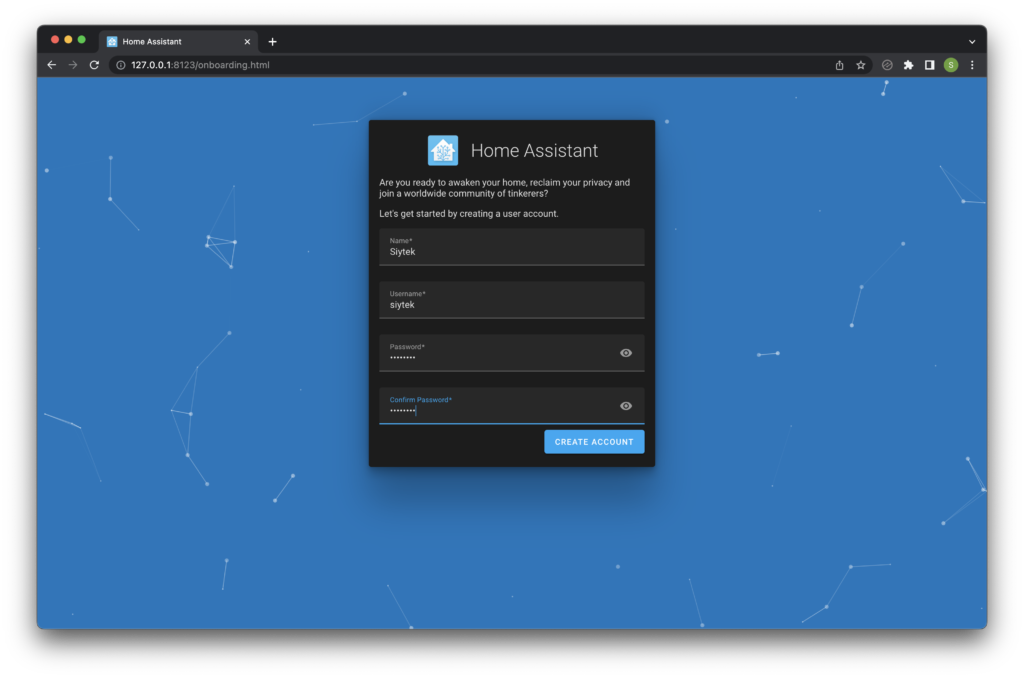
Home Assistant Onboarding
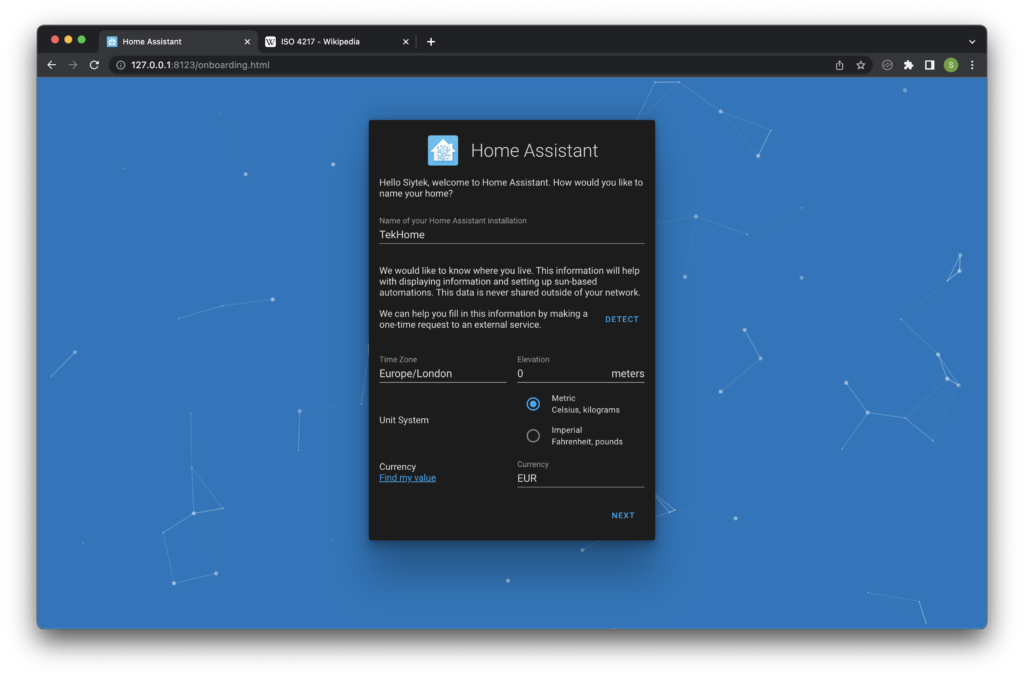
With a fresh installation of Home Assistant you will be taken to the onboarding process, which begins with creating a new user account.
Once you have chosen a new username and password, simply enter the name of your home plus some other details about your location.
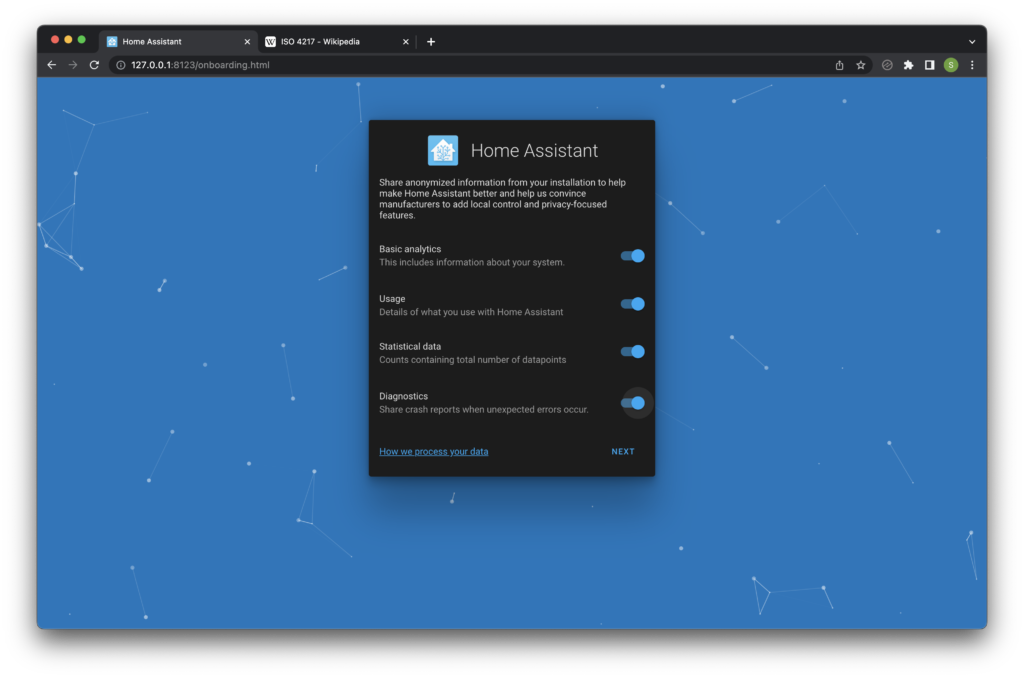
On the next screen you can select which statistics to share with Home Assistant in order to help them improve the user experience.
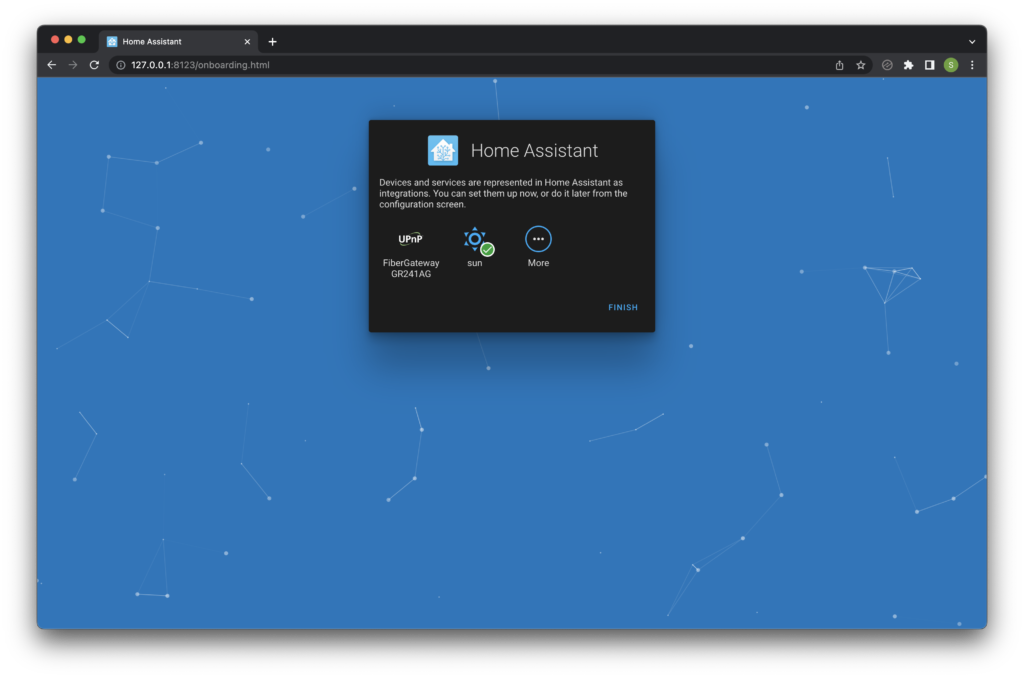
Lastly you are given the option set up any detected devices prior to completing the onboarding. Alternatively you can just skip to the main screen.
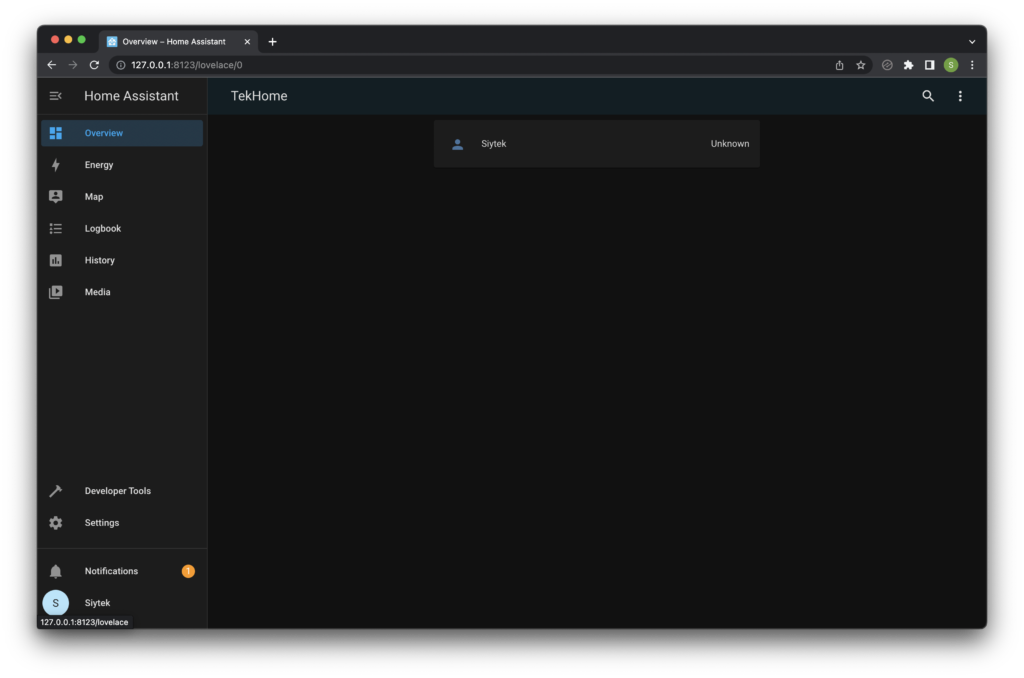
That’s it! Now we have Home Assistant running on our Mac.
Conclusion
Home Assistant is a very versatile program and can be run on a variety of operating systems.
With a few simple commands and by making use of Virtualenv, we can easily install and run it on Mac OS, possibly saving a once-loved and aging Mac from the scrap heap!
Now that you have Home Assistant up and running, go ahead and check out one of my other awesome tutorials showing you some of the cool things that you can do with Home Assistant!
Article Updates
June 2022 : Tested on Mac M1 and Mac OS 12.4. Added section Home Assistant Onboarding. Screenshots updated to latest frontend, version 20220601.0. Fixed table of contents.
Thanks so much for visiting my site! If this article helped you achieve your goal and you want to say thanks, you can now support my work by buying me a coffee. I promise I won't spend it on beer instead... 😏


Thanks for the writeup! It is super easy to follow. I did run into a few problems, mostly I was able to solve them. but, I am stuck at the step where you execute “pip3 install homeassistant”. I keep getting an error and a readout that says – Could not build wheels for multidict which use PEP 517 and cannot be installed directly. Any ideas on how to get past that?
Hey Andrew, thanks for visiting! I just went through the process again to check everything is still working (Home Assistant often changes things) and I was unable to recreate the error. After you execute the command “source homeassistant/bin/activate” and the prompt changes to “(homeassistant) mac:folder user$” please could you enter the following commands and comment the output from your terminal:
python3 –version
pip3 –version
Could you also copy and paste the entire output from your terminal, following entering the “pip3 install homeassistant” command?
I ran into the same problem solved it by first installing pip. Not sure if this helps but I got same error and found that had to run this first: sudo easy_install pip
Then the pip install virtualenv worked
Hello Andrew, the instructions are great, and thanks for documenting them. One question, everything went well but I’m missing the “Supervisor” option from the left menu bar. Any idea what I might have missed?
Hi Don, thanks for visiting! I need to look into this and may need to update this tutorial as I think this version of HA is unsupervised. For now I would recommend running Home Assistant under Ubuntu. You can install Ubuntu on your Mac using VirtualBox: https://siytek.com/ubuntu-mac-virtualbox/ then follow this tutorial for installation: https://siytek.com/how-to-install-home-assistant-on-ubuntu/
Thanks also from me for writing down this tutorial. As Don already mentioned, the Supervisor option is missing. Any chance for a workaround in this setting as I am not sure to proceed the ubuntu option properly?
Best, Fam
Thanks for this awesome write-up! Question: if you wanted to uninstall Home Assistant after using this method, how would you recommend doing that?
Hi Guthrie, thanks for visiting! You should just be able to delete the folder that the virtual environment is installed into:
rm -r ~/Documents/homeassistant
Will this set up allow Home Assistant access to the mac’s usb ports for zwave / zigbee dongle?