Apple computers and MacOS are a fantastic choice for developers, despite the misconception that most developers use Windows based systems.
MacOS is an evolution of UNIX and therefore provides a superb platform for both beginners right through to expert level developers.
Comparing operating systems and computers with regards to which is best for programming certainly deserves its own post, but that is beyond the scope of this article.
In this article we will cover how to get started with C++ programming on MacOS. However if you are looking to develop a complete application, you might be interested in just how easy it is to create apps with Xcode and Swift!
A little programming background (for example some knowledge of Arduino) will be beneficial, but is not essential as this guide is aimed at beginners.
Table of Contents
- Prerequisite
- Getting Started with C++ on MacOS
- The Role of Variables in C++
- How Do You Program Input in C++?
- Whats Next?
Prerequisite
I assume if you looking to get started with C++ programming on MacOS, then you are already ready and set with MacOS as your primary operating system.
You will also need to install a C++ compiler in order to compile the code into an executable file.
If you don’t yet have a C++ compiler installed and setup, I would recommend first completing my tutorial that explains how to compile C++ on a Mac. This will walk you through the process of installing a free compiler in MacOS.
Freel free to choose from either of the following methods to work through this tutorial:
- Using the Terminal app and your prefered texted editor (such as TextMate or a Terminal text editor such as Nano)
- Using the Xcode IDE
Note that the Xcode IDE is usually a humongous file size and can take a long time to download.
Therefore I will use the Terminal app and a text editor for this tutorial as most people will likely already have this on their Mac and can get started without waiting for such a download.
Getting Started with C++ on MacOS
I will assume that as you are actively seeking a guide to programming C++ on MacOS, you already know a little bit about what it is.
I won’t dive into those details as that is a topic for a different post. Let’s dive straight into a practical exercise and learn some of the basic code.
For those of you who began with my tutorial that explains how to compile C++ on a Mac, you will have already encountered the hello world example program.
Hello World in C++
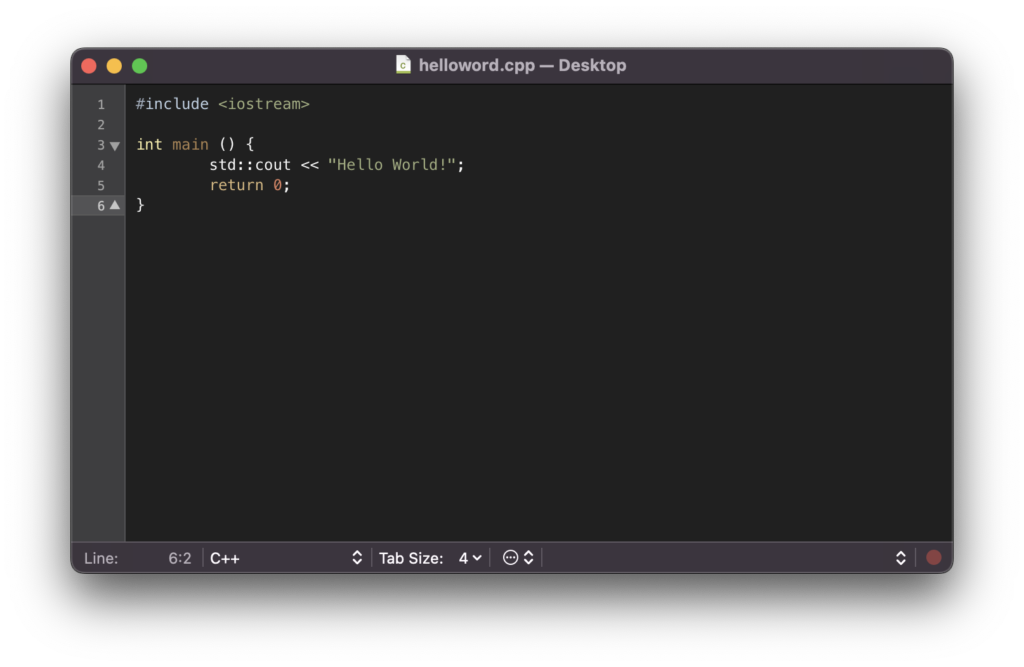
Here is a little recap of the hello world program:
#include <iostream>

int main () {
        std::cout << "Hello World!";
        return 0;
}
First, lets go ahead and compile this code, then observe the output. Don’t worry if you don’t understand the code yet, we will discuss it in more detail later.
If you don’t know how to compile this code, go ahead and check out this tutorial first.
When we compile and execute this program, it returns the text “hello world!” in the terminal output. Let’s take a closer look at the code.
Preprocessor Directives
The first line contains the preprocessor directive #include. Preprocessor directives are not actually part of the compiled program, they are resolved by the preprocessor prior to compilation.
In this case the #include directive tells the compiler to include the standard C++ library iostream.
By using #include to include header files, we can open up access to many different functions.
The iostream library gives the program the ability to communicate with the environment in which it is executed, in our case the Terminal command line.
#include <iostream>
Whitespace and Comments
The next line contains whitespace, which is ignored by by the C++ compiler. The use of whitespace simply makes the code more human readable.
We can also use a double forward slash to add notes to the code. Everything following a double forward slash will be ignored by the compiler until a new line.
#include <iostream>
      // Whitespace is ignored
The Main Function
The next line creates a new main function, which is required in order for the program to run. The contents of the function are within {curly} brackets.
The main function is required if you want the program to run but is not always required. If you are creating a class that will be referenced by another program then it can be omitted.
Preceding the name of the function main we have int, which means that the function will return with an integer value.
#include <iostream>
      // Whitespace is ignored
int main () {

}
Outputting Characters to the Screen
On the next line we have the command that actually prints the text to the terminal.
The first part of the command tells the compiler to use cout within the std library. The term ‘cout’ is an abbreviation of ‘character out’ and as you may have already guessed, outputs characters to the screen.
Note that this line ends with a semi-colon character, which indicates to the compiler that this is the end of a command.
#include <iostream>
      // Whitespace is ignored
int main () {
        std::cout << "Hello World!";

}
The Return Statement
The final line contains a return statement, which contains a value that our main function returns.
In this case the main function returns a ‘0’ which indicates to the operating system that the program completed without error.
Returning with a ‘1’ would mean that the program exited with an error.
Following the return statement is a curly bracket which closes the main function.
#include <iostream>
      // Whitespace is ignored
int main () {
        std::cout << "Hello World!";
        return 0;
}
The Role of Variables in C++
If you have any prior programming experience then you will most certainly have come across variables.
However lets recap on the definition of what a variable is in terms of computer programming.
A variable in programming is a value that can change based on external factors or data that has been supplied to the program.
Variables are typically classified as certain data types, with each data type both specifying and restricting the way in which the data is stored.
An integer expressed as a decimal number is an example of a data type, as is a string of text characters that is typically constrained in length.
What Are Examples of Variables in C++?
We can expand our hello world program and introduce some examples of variables.
First let’s amend our hello world example as follows:
#include <iostream>
      // Whitespace is ignored
int main () {
        std::string mystring;
        mystring = "Hello World!";

        std::cout << mystring;
        return 0;
}
If you compile and run this program you will notice that the output is still the same as before.
However now we are loading the ‘Hello World!’ text into string variable called mystring and then printing the contents of mystring to the Terminal app.
The data type string is used for storing strings of text and is one of many different data types that can be used for variables.
Also you may notice that now both string and cout are now referencing the std library.
We can actually consolidate this by referencing the std library at the beginning of the file and removing the need to have the reference on each of the individual commands.
#include <iostream>
using namespace std;
      // Whitespace is ignored
int main () {
        string mystring;
        mystring = "Hello World!";

        cout << mystring;
        return 0;
}
The method that you choose to reference libraries is down to personal preference.
The benefits of using variables may not yet be obvious, however in the next section you will start to see why we use them and why they are so important.
How Do You Program Input in C++?
So far we have taken a closer look at the hello world program, which uses cout to output data to the Terminal app.
It may therefore come as no surprise that you can also use cin to input data from the Terminal app.
First let’s make some further changes to our hello world program.
Following the declaration for the main function we now have some text that prompts for some user input.
We have also added a line that populates the mystring variable using cin, which is user inputted text that can be typed into the Terminal app.
The last part of the program outputs the contents of mystring as before.
#include <iostream>
using namespace std;
      // Whitespace is ignored
int main () {
        cout << "Input some text...";

        string mystring;
        cin >> mystring;

        cout << mystring;
        return 0;
}
When executing this program you will be prompted to type in some text, which will then be echoed back to you in the Terminal app. Awesome!
Expanding on this we can add several more string variables and prompt for user input to fill each of those variables.
At the end of the main function a sentence is built using the three inputted variables.
Whenever the program is run, different input can be given in order to generate different outputs. This begins to show the importance of variables.
#include <iostream>
using namespace std;
      // Whitespace is ignored
int main () {
        // Declare variables
        string name;
        string color;
        string clothes;

        // Input user's  name
        cout << "Name: ";
        cin >> name;

        // Input user's favourite color
        cout << "Color: ";
        cin >> color;

        // Input item of clothing
        cout << "clothes: ";
        cin >> clothes;

        // Make a fashion statement
        cout << name << " is wearing a " << color << " " << clothes;
        return 0;
}
Whats Next?
In this article we have covered the hello world program in more detail, explaining each of the lines within the program.
We have covered basic input and output using the Terminal app as well as a brief introduction to variables.
In the next tutorial we will cover variables in depth, including taking a look at some of the many other different types of variables.
Thanks so much for visiting my site! If this article helped you achieve your goal and you want to say thanks, you can now support my work by buying me a coffee. I promise I won't spend it on beer instead... 😏


Handy primer on coding on macos. Haven’t done much in ages so never knew gcc was g++ for c++ how cute. Also the textmate tool is very handy to use instead of plain ole nano editor.
Didn’t expect cin to just grab the first word of entered text. and haven’t used namespace much so this is all good toddler talk! thanks