In the previous article we covered some important prerequisites for choosing an Arduino board for our MIDI controller project.
I would recommend checking out the previous article first, especially if you are a beginner. It is optional though, alternatively let’s just dive into the boards…
Spoiler Alert…
For the impatient amongst us, here are the answers for beginner, intermediate and advanced MIDI controller projects so you can go get a board and get started!
For everyone else, we will start with the table of contents 🙂
Advanced #1: Why Due?

Advanced #2: Read more…

Table of Contents
- Prerequisite
- Arduino Boards for beginner builders
- Arduino Boards for intermediate builders
- Arduino Boards for advanced builders
- Best Accessories for Arduino MIDI Controller Builds
- Conclusion
Prerequisite
At this stage it would help to understand the following regarding your DIY MIDI controller project:
- Whether you are a beginner, intermediate or advanced builder.
- Whether or not you need USB MIDI, oldskool MIDI ports or both.
- How many controls, such as buttons, dials, sliders and sensors you want to have on your controller.
Now we can take a look at some boards for beginner, intermediate and advanced builders.
I have included some cheaper clones too in case you want to save a little money. Be warned however that compatibility could be an issue.
Cheaper clones may use a serial to MIDI bridge chip rather than the second microprocessor, making them incompatible with the USB Serial library.
Arduino Boards for beginner builders
A beginner MIDI controller project could look something like the following:
- 6 x potentiometers (rotary or linear)
- 6 x push button switches
Arduino Uno R3: The OG, Great For All Beginner Projects


Specification:
- Digital IO Pins: 14
- Analog input pins: 6
- UART: Yes
- I2C: Yes
- SPI: Yes
- Input Voltage: 7-12V
- USB Power: 5V
- Processor: ATMega328 16MHz
PROs
- The Arduino UNO is a great starting point for any project, including a MIDI controller!
- There is enough IO to build a fairly useful MIDI controller.
- There is a UART so oldskool 5-pin MIDI connectors can be added.
- It is USB MIDI compatible and can be powered from the USB port.
- There are I2C and SPI ports available to allow easy expansion of IO if necessary.
- The UNO is ideal if you want to build a ‘project box’ type MIDI controller and panel mount all of your controls.
- You can use something like the screw terminal shield to avoid having to solder.
- Alternatively if you would prefer to solder everything, you can use a prototype shield.
- Check out this guide if you need a soldering iron!
- Shield compatibility makes the UNO a great choice for building a functional and enclosed project.
- Has a barrel plug for connecting to an external power supply.
CONs
- Not the smallest form factor available, should that be a concern.
- The original USB B connector is a bit vintage and definitely on the large side!
- The ATMega328P is not the most powerful offering. It will be more than enough for a beginner project but may need an upgrade for more advanced projects.
- Not quite as breadboard friendly as some of the alternatives, if you prefer to breadboard prototype.
- Single UART shared by the programmer may cause some inconvenience if using oldskool 5-pin MIDI connectors.
- Some clones might not be USB MIDI compatible.
Who should buy the UNO?
The Arduino UNO is the OG, the original Arduino! This board is great for mostly all beginner projects and will also be a good starting point when building a MIDI controller.
The UNO is certainly suitable to build a breadboard prototype, although the Nano may be a better choice if that is your goal.
Where the UNO really shines is with its shield compatibility. A shield is a board that can plug in to the top of a compatible Arduino, giving it extra functionality.
You can check some useful shields to use in your MIDI controller builds in this section of the article!
The Arduino UNO is not the smallest offering but still relatively small in size. They are smaller than they look in the pictures! They are also quite a bit smaller than the more complex boards, such as the Mega.
There is a DC jack on the UNO board, which could be handy if you want to power the MIDI controller directly from the mains using a DC adapter.
If you are a beginner and you have any doubts, go with the UNO. It will be a great choice for your first MIDI controller and suitable to use with many other projects, should you want to build something different.
If you are interested in getting started with the Arduino UNO, check out the latest price on Amazon.
Arduino Nano / Nano Every: Breadboard Friendly, Small Size


Specification:
- Digital IO Pins: 14
- Analog input pins: 8
- UART: Yes
- I2C: Yes
- SPI: Yes
- Input Voltage: 7-12V
- USB Power: 5V
- Processor Nano: ATMega328 16MHz
- Processor Nano Every: ATMega4809 20MHz
PROs
- The Arduino Nano is a great starting point for any project, including a MIDI controller!
- There is enough IO to build a fairly useful MIDI controller.
- There is a UART so oldskool 5-pin MIDI connectors can be added.
- It is USB MIDI compatible and can be powered from the USB port.
- There are I2C and SPI ports available to allow easy expansion of IO if necessary.
- The Nano is ideal if you want to build something on a breadboard.
- The Nano is also ideal for embedding in a solder breadboard or custom PCB.
- It has a very small form factor.
CONs
- Does not support the standard Arduino shield footprint, so it is not possible to simply plug in a shield accessory.
- May required the header pins soldering to the PCB (likely if you choose a clone).
- Some soldering will likely be required if you wish to build a permanent project in an enclosure.
Who should buy the Nano?
The Arduino Nano and Nano Every have a very small form factor and are ideal for using with breadboards, as they follow the footprint of a DIP IC.
If you are a beginner looking to experiment on breadboard then the Nano would be an ideal choice for you. It is also ideal if you wish to build something more permanent by soldering components to stripboard.
The Arduino Nano also has a very small form factor so it is ideal for anyone who is building a MIDI controller that has a small enclosure.
Either the Nano or the Nano Every will work great for a beginner builders MIDI controller. The main difference is with the processor, but this won’t really affect the performance of a MIDI controller project.
The only thing to consider is if you might wish to use it for a more complicated project in the future. In which case it is probably advisable to pick up a Nano Every, as it has more power.
If you are interested in getting started with the Arduino Nano, check out the latest price on Amazon.
Arduino Boards for intermediate builders
An intermediate MIDI controller project could look something like the following:
- 6 x potentiometers (rotary or linear)
- 12 x push button switches
- 12 x LEDs
- 1 x IR ‘theremin’ sensor
- 1 x LCD display
Arduino Mega 2560: All the IO you need onboard


Specification:
- Digital IO Pins: 54
- Analog input pins: 16
- UART: 4
- I2C: Yes
- SPI: Yes
- Input Voltage: 7-12V
- USB Power: 5V
- Processor Nano: ATMega2560 16MHz
PROs
- The Arduino Mega is packed with IO options, perfect for a more elaborate MIDI controller design!
- There is enough IO to build a complex MIDI controller, without the need for additional hardware.
- There are several UARTS, so several MIDI ports could be added to a design.
- It is USB MIDI compatible and can be powered from the USB port.
- There are I2C and SPI ports available to allow easy expansion of IO if necessary.
- The Arduino Mega is compatible with its own shield footprint so can be used with plug in accessories.
CONs
- Does not support the standard Arduino shield footprint and Mega shields are not as abundant.
- Large in size so could be an issue for designs with space constraints.
- It is abundant with features so it is not likely that all will be used.
- It is a more expensive option.
Who should buy the Mega?
The Arduino Mega uses the ATMega2560 process, which has many IO options! Think of this like an Arduino UNO, just with a lot more IO.
If you are looking to build a more elaborate MIDI controller with many knobs, sliders and buttons, but you don’t want to use external circuitry like the 4051 multiplexer, then the Arduino Mega will be ideal for you.
The Arduino Mega has the largest footprint from all of my recommendation and may be too large for some projects.
However I imagine for projects that require that many IO ports, the enclosures will be plenty big enough!
If you are interested in building a MIDI controller with the Arduino Mega, check out the latest price on Amazon.
Arduino Nano / Nano Every: Embed Into Your Custom PCB
Specification:
- Digital IO Pins: 14
- Analog input pins: 8
- UART: Yes
- I2C: Yes
- SPI: Yes
- Input Voltage: 7-12V
- USB Power: 5V
- Processor Nano: ATMega328 16MHz
- Processor Nano Every: ATMega4809 20MHz
PROs
- The Arduino Nano is a great board to embed into any intermediate project.
- There is enough IO to build a fairly useful MIDI controller.
- There is a UART so oldskool 5-pin MIDI connectors can be added.
- It is USB MIDI compatible and can be powered from the USB port.
- There are I2C and SPI ports available to allow easy expansion of IO if necessary.
- The IO can easily be expended to any requirements using external circutary, such as multiplexers and shift registers.
- The Nano is ideal if you want to embed Arduino into your own PCB design.
- It has a very small form factor.
CONs
- Does not support the standard Arduino shield footprint, so it is not possible to simply plug in a shield accessory.
- May required the header pins soldering to the PCB (likely if you choose a clone).
- Some soldering will likely be required if you wish to build a permanent project in an enclosure.
Who should buy the Nano?
The Arduino Nano and Nano Every have a very small form factor that matches a DIP IC. These are great for embedding into a custom PCB design or even on a more complex stripboard design.
The Arduino Nano also has a very small form factor so it is ideal for anyone who is building a MIDI controller that has a small enclosure.
Although it is a tiny form factor and doesn’t has as much IO as some of the larger boards, an intermediate builder would likely choose to break out the Arduino to a custom board.
If you wanted to keep things simple, the 4051 IC is a great choice for expanding the IO. I have used them many times in MIDI controller design and they are readily available in lots from places like Amazon, click here to check prices.
The Arduino Nano would be my own personal choice in almost all cases. If you are interested in getting started with the Arduino Nano, check out the latest price on Amazon.
Arduino Boards for advanced builders
An advanced MIDI controller project could look something like the following:
- 16 x potentiometers (rotary or linear)
- 16 x push button switches
- 16 x Bi-colored LEDs
- 1 x IR ‘theremin’ sensor
- 1 x OLED display
Arduino Due: A Wealth of Power, Plenty of IO

Specification:
- Digital IO Pins: 54
- Analog input pins: 12
- Analog output pins: 2 x DAC
- UART: 4
- I2C: Yes
- SPI: Yes
- Input Voltage: 7-12V
- Operating Voltage: 3.3V
- Processor Nano: AT91SAM3X8E 84MHz
PROs
- The Arduino Due is packed with IO options, perfect for a more elaborate MIDI controller design!
- There is enough IO to build a complex MIDI controller, without the need for additional hardware.
- There are several UARTS, so several MIDI ports could be added to a design.
- It is USB MIDI compatible and can be powered from the USB port.
- There are I2C and SPI ports available to allow easy expansion of IO if necessary.
- The Arduino Due is compatible with Mega shield footprint so can be used with plug in accessories.
- It has a much more powerful processor than the Mega, great if you want to introduce a large screen or digital audio playback.
CONs
- Does not support the standard Arduino shield footprint and Mega shields are not as abundant.
- Large in size so could be an issue for designs with space constraints.
- It is abundant with features so it is not likely that all will be used.
- It is a more expensive option.
Who should buy the Due?
The Arduino Due was the first Arduino board to use a 32-bit ARM processor, giving it a huge amount of power.
Like with the Arduino Mega, if you are looking to build a more elaborate MIDI controller with many knobs, sliders and buttons, but you don’t want to use external circuitry like the 4051 multiplexer, then the Arduino Mega will be ideal for you.
However the Arduino Due has more memory and more processing power, making it a better choice if you want to write more complex firmware.
It would be a good choice for anyone who wants to run a larger display and make a sophisticated menu system.
There are 4 fewer analog inputs on the Due than on the Mega, nothing that can’t be rectified with a few trusty 4051’s! However the Due does have a pair of digital to analog convertor (DAC) outputs.
These DAC outputs could be used for something like playing back audio, giving this board the ability to go beyond the basic functions of just a MIDI controller.
The Arduino Due shares the largest footprint with the Mega and may be too large for some projects.
However I imagine that anyone who requires the functionality of the Due will not be building a MIDI controller that has a space constraint!
If you are interested in building a MIDI controller with the Arduino Due, check out the latest price on Amazon.
Arduino OptiBoot: Build A Custom Arduino Board!


Specification:
- Digital IO Pins: 14
- Analog input pins: 6
- UART: Yes
- I2C: Yes
- SPI: Yes
- Input Voltage: 5V
- Processor: ATMega328 16MHz
PROs
- All of the features of an Arduino UNO in a tiny IC with very minimal additional circutary, perfect for embedding into a custom PCB design.
- The Optiboot DIP variant is pre-loaded with Arduino so does not require flashing.
- The Optiboot DIP variant can be used with a socket and therefore it is removable.
- Full flexibility to design whatever features are required.
- IO is not limited to the Arduino UNO specification and can be easily expanded in a custom design.
CONs
- Project designs could be limited by the chip capability.
- Memory available is limited to the Arduino UNO specification.
- Requires a high level of expertise to use.
- Cannot be used without additional circuitry.
Who should buy the Optiboot / bare processor?
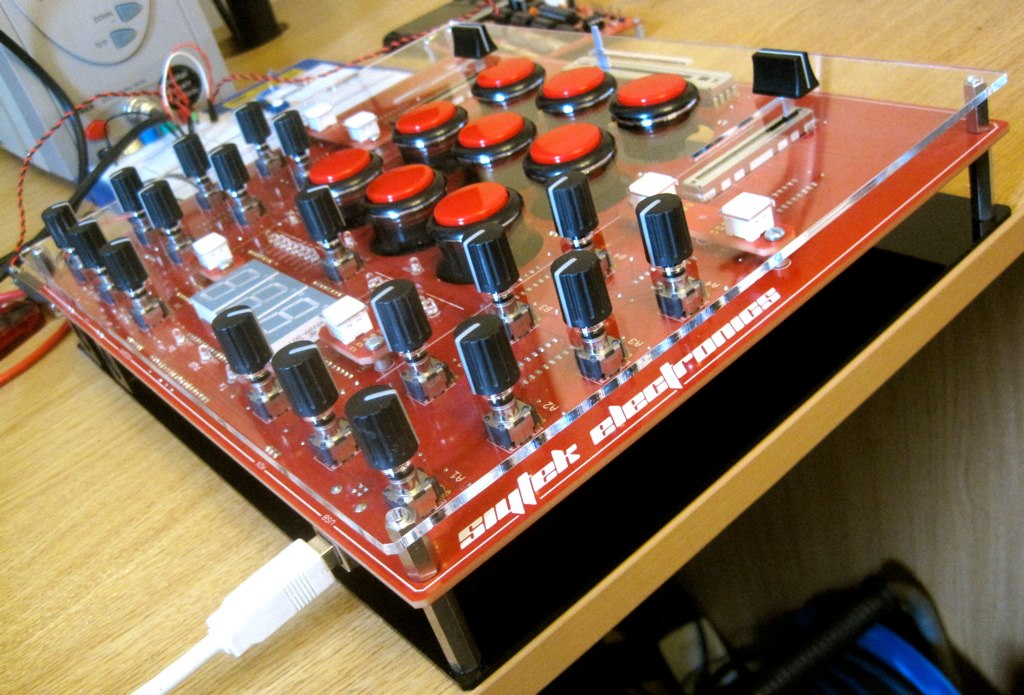
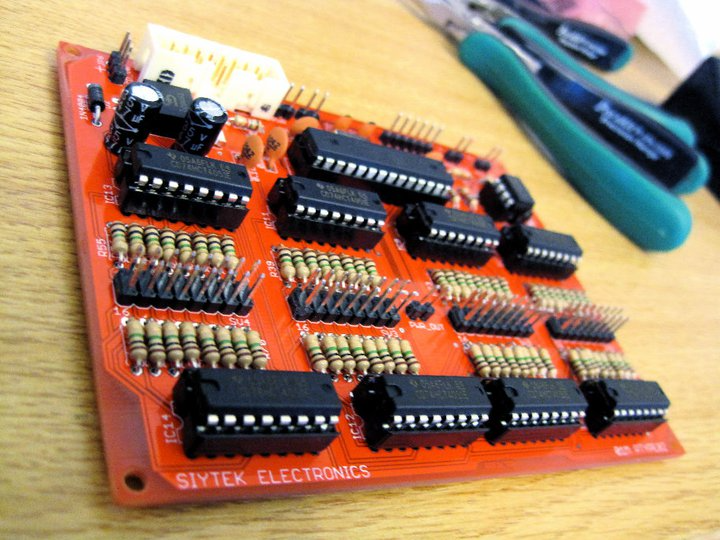
In my own experience of building MIDI controllers, I always prefered to design my own boards with the necessary features.
This allowed me to fit the PCB into the enclosure and come up with innovative ways to assemble everything. I was originally inspired to design my own boards after seeing early iterations of the MIDI Fighter.
I would only recommend using bare processors and designing from scratch if you intend on having your own PCB manufactured. It is not as difficult or expensive as you might think!
I worked in printed circuit manufacturing for over a decade so I know a thing or two about PCB design. If you are interested in designing your own boards, you can check out some of my PCB tutorials.
You may also be interested in reading this article, which explains how to migrate an Arduino processor from an UNO to a breadboard (it would also apply to a custom PCB).
I would recommend starting with my guide on how to design a shield for Arduino. You could start by designing your own MIDI shield!
You can also check the latest price of an Arduino processor with the bootloader pre-installed on Amazon.
If you want to use a bare metal processor, such as the TQFP packaged chip, you will need to burn the Arduino bootloader with an in-circuit serial programmer (ICSP), which is a topic for another day 🙂
Best Accessories for Arduino MIDI Controller Builds
Lastly I would like to give a mention to some of the accessories that you might be interested in pairing with your Arduino board, in order to make the design process a little easier!

This shield is ideal for those who can’t stand soldering!
Easily connect your front panel knobs, slider and buttons to your Arduino by inserting wires and screwing them into place.
Compatibility: Arduino UNO and compatible

This shield is ideal for those who can’t stand soldering!
Easily connect your front panel knobs, slider and buttons to your Arduino by inserting wires and screwing them into place.
Compatibility: Arduino MEGA and compatible

These buttons are perfect for building an arcade MIDI controller, similar to the MIDI Fighter.
Pair these with a screw terminal shield for very easy build!
Compatibility: All boards

This shield is ideal for small MIDI controllers based on the Arduino UNO or compatible.
It gives you an easy way of soldering the connections between your Arduino and the front panel knobs, sliders and buttons.
Compatibility: Arduino UNO and compatible

This OLED screen is perfect for intermediate project MIDI controllers that require visual feedback.
It has an I2C interface, so can be easily connected to any Arduino.
Compatibility: All boards

This LCD character display is capable of displaying 4 lines of text 20 characters long.
It is perfect for basic or intermediate designs and has an I2C interface.
Compatibility: All boards

This shield is perfect for anyone who wants to add oldskool 5-pin MIDI connectors to their design!
It has the required onboard opto-isolator to electrically isolate the MIDI IN jack.
It also has two potentiometers and three buttons, making it an ideal starting point for beginners!
Compatibility: Arduino UNO and compatible
Analog Digital Multiplexer Breakout Board

These little boards are perfect for anyone who wants a lot of IO.
Each breakout board requires a 4-bit digital bus for switching the channel and one analog or digital input for the signal.
A further 16 analog or digital devices can be connected.
Compatibility: All boards
Conclusion
In this article we have covered options for beginners, intermediate and advanced builders. Hopefully now you should have enough information to start your DIY MIDI controller project!
If at this stage you are still in doubt, I would suggest going with the UNO and adding the Sparkfun MIDI shield. This will get you get you up and running, and without soldering!
If you enjoyed this article, be sure to check out some of my other awesome Arduino tutorials!
Thanks so much for visiting my site! If this article helped you achieve your goal and you want to say thanks, you can now support my work by buying me a coffee. I promise I won't spend it on beer instead... 😏