Looking for a way to get a better quality Raspberry Pi desktop on your laptop or computer screen, free from latency and without using a network?
It is possible to connect a Raspberry Pi directly to your computer with HDMI, bypassing the need to use VNC or any kind of network connection.
One of the greatest and most affordable single-board computers available is the Raspberry Pi. If you’re a tech enthusiast, it allows you to accomplish many different things, such as setting up your own web server or even building a smart home facial recognition system!
In order to get your Pi up and running you will need to connect it to a screen. A common way to do this is by using a VNC (remote desktop) over a computer network using a VNC program (remote desktop).
However using a VNC is not the only method and it is certainly not the most reliable and highest performing way to connect a Pi to a laptop or computer display!
- Why Use HDMI To Connect A Raspberry Pi To A Laptop?
- Prerequisite
- How To Connect Raspberry Pi To A HDMI Capture Card
- Are There Any Disadvantages To Using HDMI Capture To View A Raspberry Pi?
- Conclusion
Why Use HDMI To Connect A Raspberry Pi To A Laptop?
VNC is a really good method in most cases as it is generally the cheapest. The Pi operating system already features a VNC server so generally you only need to install a free VNC viewer on the laptop or computer.
Problems With The VNC Method
VNC is not always a suitable method to view your Pi desktop on your laptop or computer, as there are a few problems which can occur:
- Performance – there can be packet loss over the network, which can lead to increased latency or glitchy operation.
- Speed – the network may just not be quick enough to provide an adequate resolution or color depth.
- Latency – even when everything works correctly there can still be undesirable latency.
Benefits Of Using HDMI To Connect Your Pi To A Laptop Or Computer
The alternative way to view your Raspberry Pi on your laptop or computer monitor is to connect it directly via HDMI. In order to do this we will add a HDMI input to the computer.
This will allow us to connect the HDMI output of the Raspberry Pi directly to the computer. The computer can then capture the HDMI output from the Pi and display it on the screen!
So why would we go to this trouble of having to use a little extra hardware?
- Performance – when using a good quality HDMI capture device, latency will be minimal. This is absolutely necessary if using your Pi for gaming.
- Quality – using HDMI capture hardware will allow the use of a much better resolution and color depth without compromising performance.
- Reliability – you are not likely to experience random freezing or glitching and you can expect a clear and consistent picture from your Pi at all times… especially critical when you are holding the top of the leader board by just a couple of frags 😉
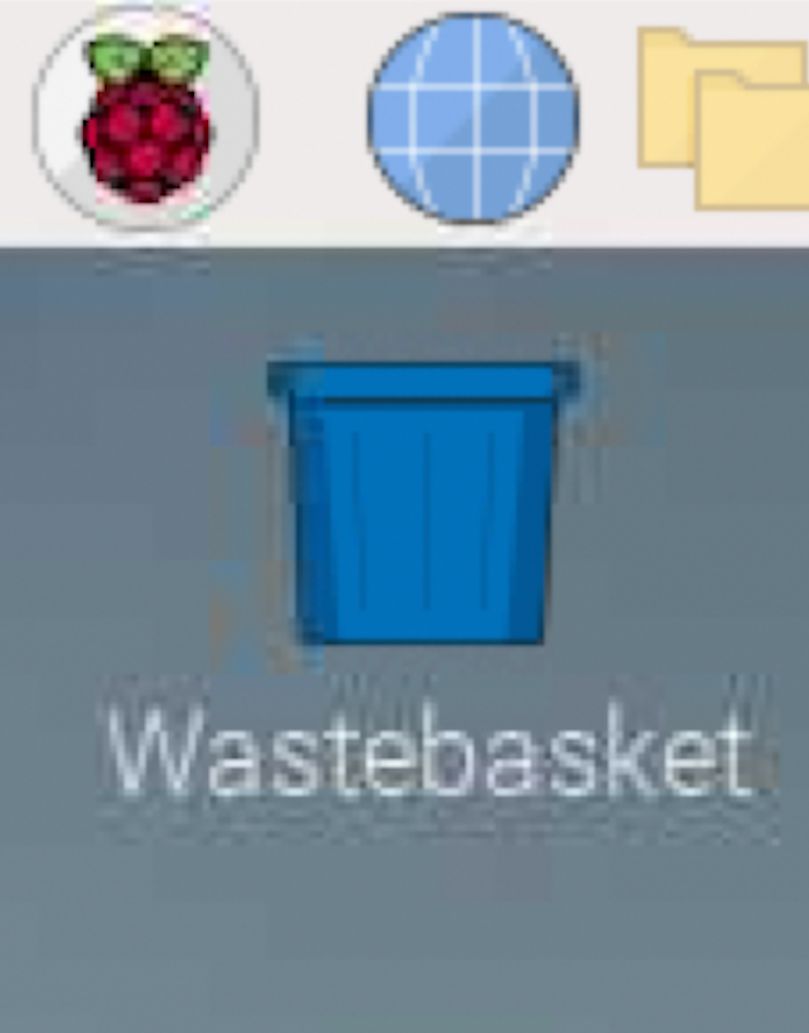
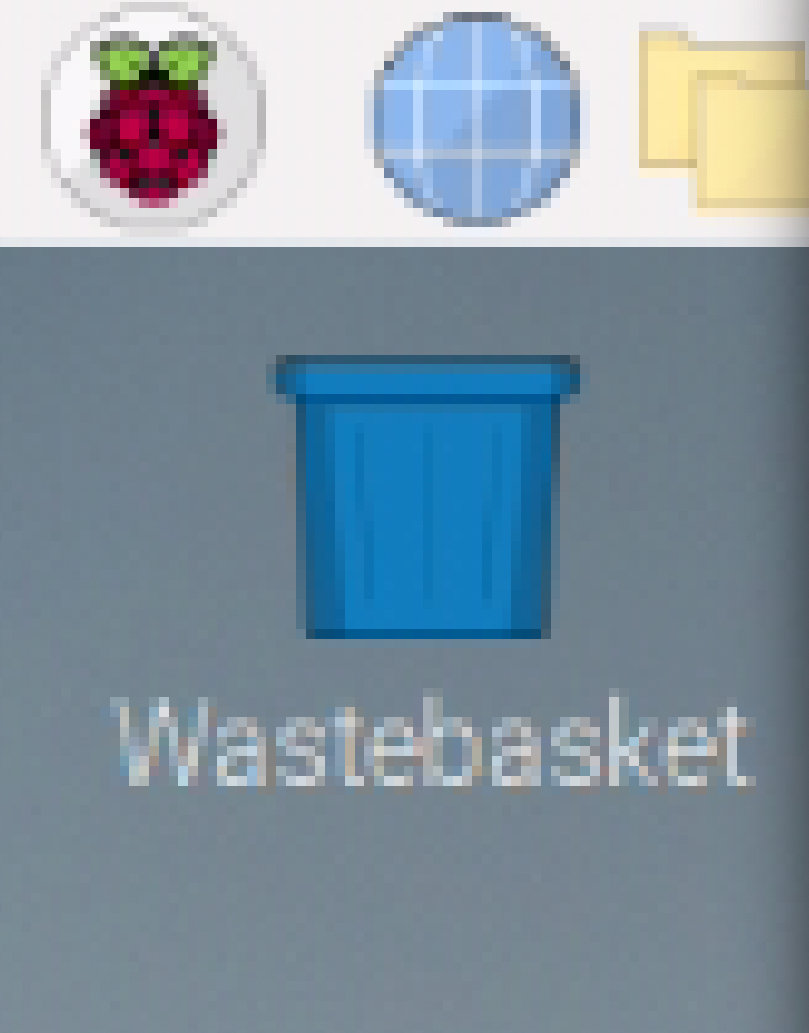
In the following screenshots you can see that the VNC method produces compression artifacts where the HDMI capture is a clearer image. The quality difference is particularly noticeable in the flat desktop background color.
The VNC method must compress the desktop image in order to efficiently send it across the network and produce a picture on the computer.
However the HDMI uses its own internal hardware to decode the HDMI image and deliver it to the computer over a high speed USB connection, leading to a better quality image.
Remote Desktop (VNC)
HDMI Capture
Who Should Connect Their Raspberry Pi To A Laptop Or Computer With HDMI?
It should be evident now that the main benefits of connecting a Pi to a laptop or computer screen directly with HDMI is the performance gains.
The people who will most benefit from using HDMI capture are those who will be using their Pi for gaming or any other application that requires low latency.
Those who wish to easily use their Pi without worrying about a network will also greatly benefit.
Prerequisite
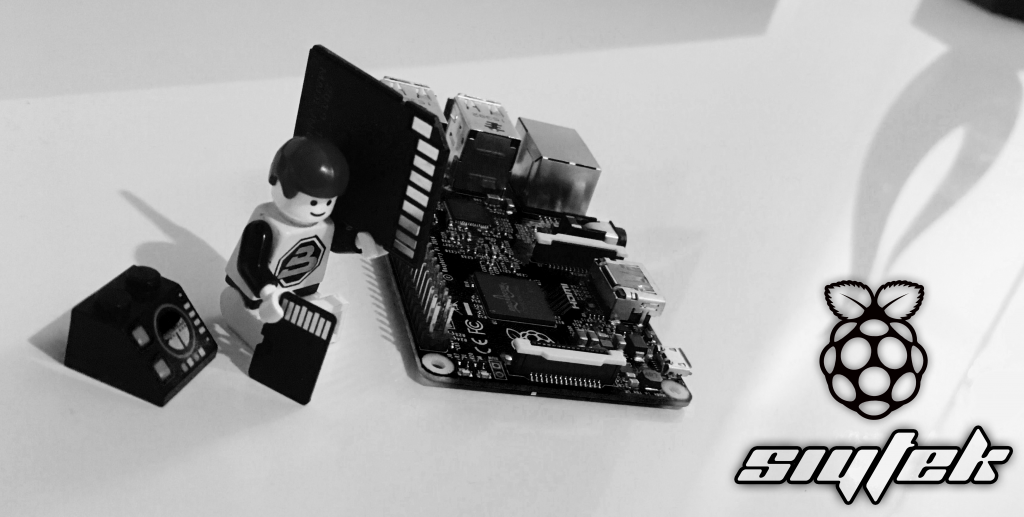
I assume if you ended up here that you already have a Raspberry Pi. However if you don’t yet have a Raspberry Pi then I would recommend at least a Raspberry Pi 4.

Graphical applications can also place a fair demand on the Pi and as a result they can get quite hot. I would recommend the Flirc case as it both protects and cools the Pi.

In order to connect your Pi directly to your computer using HDMI, you will need a HDMI capture device. A HDMI capture device basically gives you a HDMI input on your computer.
Most HDMI capture devices link to your computer through a spare USB 3.0 port, although there are other such as Thunderbolt.
With a HDMI capture card you will be able to connect your Pi HDMI output to the HDMI input on the computer in order to view it.
I would recommend using a good quality HDMI capture device in order to reap the benefits of using HDMI. A cheaper and lower quality option may not perform any better than using VNC.
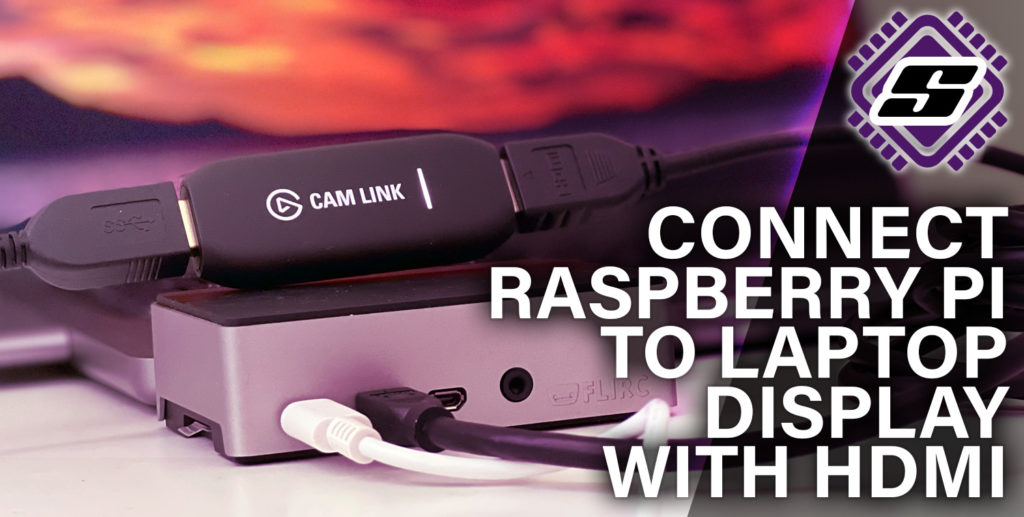
Personally I use the Elgato CAM Link 4K and have had excellent results.

Although the price is not negligible, it is still cheaper than buying a second display for the Pi. It is especially beneficial if you are already using a high quality display, such a Macbook Pro retina display.
CAM Link allows you to turn your existing Macbook Pro Retina display into a display for your Pi cheaper than buying a second low cost monitor.
Not only that but there are additional things that you can do such as being able to record the screen or live stream the Pi desktop.
The CAM Link is readily available on Amazon, you can check the latest price here.
If you are using Raspberry Pi 4 or Pi Zero
You will also need a HDMI to Mini-HDMI lead in order to connect your Pi to a HDMI port. If you already have one to connect your Pi to another screen then you can use that one.

Alternatively you can use a standard HDMI to HDMI lead with a HDMI to Mini-HDMI adapter.


If you are using another Raspberry Pi
Older models of the Raspberry Pi have a full sized HDMI cable, therefore they can be connected using a standard HDMI cable.
No special cable or additional adapters are required. A standard HDMI lead is all you need to connect the CAM Link to the Pi.
How To Connect Raspberry Pi To A HDMI Capture Card
Once we have a HDMI capture card and the necessary cables, depending on your model of Pi, we are ready to connect the Pi to the computer.
Step 1: Connect the HDMI Capture Card to USB
Most capture cards connect to the computer via a free USB port. It is necessary to use a USB 3.0 port as a minimum due to the data transfer rates required to high definition video in real time.
The Elgato CAM Link comes with a short extension cable to make connection more comfortable, or it can be connected directly to a USB port.
You do not need to install any additional drivers as Mac OS and Windows have the necessary drivers installed already.
The HDMI capture card will appear to the computer as an external video source, the same as it if were a webcam.
Step 2: Connect the Raspberry Pi to the HDMI Capture Card
Next connect the HDMI port of the Raspberry Pi to the HDMI port on the HDMI capture card.
If you are using a Raspberry Pi 4, connect the HDMI port closest to the USB-C power port.
Step 3: Open the HDMI Capture Software
Once everything is connected you can open your prefered viewing software in order to view the Pi desktop.
If you are using CAM Link then I would recommend downloading Camera Hub. It is completely free and it will ensure that you have a good quality video stream.

Are There Any Disadvantages To Using HDMI Capture To View A Raspberry Pi?
Although we have seen that using HDMI to connect a Raspberry Pi to the computer can yield a better result in terms of performance, it is not entirely free of issues.
The main drawback is a lack of keyboard and mouse support. If you are planning to connect a keyboard and mouse to your Pi and just use the computer as a display then you will have no problems at all!
Also if you plan to do gaming with your Pi and you are mainly use a gaming controller connected to your Pi then you also won’t notice any issues.
However if you wish to use a keyboard and mouse, it is not possible to use your computer keyboard and mouse. The HDMI capture card only captures the HDMI output from the Pi and does not provide a means to inputting the keyboard and mouse.
One small tip…
I imagine that the majority of people will be using HDMI input for performance reasons, such as if they were gaming.
I usually connect my gaming controller to the Pi and use HDMI for the improved performance. For most of the time this works great as I am using a gaming controller connected directly to the Pi.
However it is still possible to also connect to the Pi with VNC, even if you have it connected with HDMI.
So what I like to do is run a low quality VNC connection to the Pi in order to allow me to use my computer keyboard and mouse when necessary, such as when I want to open a particular game.
Once I have loaded the game I want to play, I just close the low quality VNC connection and continue gaming using the HDMI link. Awesome!
Conclusion
In this article we have learned about an alternative way to get the Raspberry Pi display on a laptop or computer display.
We have found that using a HDMI capture card is a great way to view the Pi desktop on a computer. Although a small investment is needed to do this, it gives several benefits over just relying on VNC.
If you enjoyed this article then go ahead and check out some of my other awesome Raspberry Pi tutorials!
Thanks so much for visiting my site! If this article helped you achieve your goal and you want to say thanks, you can now support my work by buying me a coffee. I promise I won't spend it on beer instead... 😏