
If you are looking to run a virtual machine within your virtual machine machine on Google Cloud, what you need is a nested virtualization configuration.
Recently I was working on a project that required me to run an instance of Debian with QEMU on a GCP VM running Ubuntu on the host machine.
This guide will walk you through the process of configuring a VM instance on GCP that has the capability to run a nested VM.
The tutorial will be based upon a Ubuntu 22.04 host OS and Debian 11 guest OS, although you should be able to use this tutorial to run whatever guest OS you would prefer.
- Does Google Cloud Support Nested Virtualization?
- How Does Google Cloud Nested Virtualization Work?
- Does Google Cloud Nested Virtualization Have any Limitations?
- Prerequisites
- Create/Select a Project
- Create a New Virtual Machine Instance
- Configuring the VM Instance
- Enabling Nested Virtualization
- Testing Nested Virtualization
- Creating a QEMU L2 Virtual Machine
Does Google Cloud Support Nested Virtualization?
Yes, Google Cloud does support nested virtualization, so long as you configure your machine correctly based upon the limitations specified by Google.
How Does Google Cloud Nested Virtualization Work?
Google Cloud uses different layers of Hypervisor in order to to allow nested VM instances:
- Layer 0 (L0) – this is the primary Hypervisor that runs on the GCP hardware and manages the instances of Google’s compute engine.
- Layer 1 (L1) – this is the VM instance that you actually create on GCP, which runs your host OS.
- Layer 2 (L2) – this is the VM instance that you create on your host OS, which will be the guest OS.

We don’t need to concern ourselves with the L0 Hypervisor, as this is the core of the GCP system. It is somewhat transparent to the GCP end user and functions as we need it to based upon what we configure in the GCP console.
We are primarily interested in the L1 and L2 Hypervisors, as these are within our command, and it is important to understand the terminology in order to understand the limitations of GCP nested virtualization.
Does Google Cloud Nested Virtualization Have any Limitations?
Yes, there are a few limitations to consider when configuring a VM instance for nested virtualization:
Host VM Limitations (L1 Hypervisor)
- You must run Linux-based OSes that can run QEMU; you can’t use Windows Server images.
- You can’t use E2, N2D, N1 with attached GPUs, and A2 machine types.
- You must use
Intel Haswellor later processors; AMD processor are not supported. If the default processor for a zone isSandy BridgeorIvy Bridge, change the minimum CPU selection for the VMs in that zone toIntel Haswellor later. For information about the processors supported in each zone, see Available regions and zones.
Guest VM Limitations (L2 Hypervisor)
- For licensed OSes, you must bring your own licenses.
Summary of Limitations
The information above is quoting the about nested virtualization page on the official GCP site. You may also want to double-check the limitations on the offical site in case of any updates.
To simplify the information above, there are three main limitations to consider when creating nested virtualization on GCP:
- The host OS (L1 hypervisor) must be a Linux derivative, such as Ubuntu – self explanatory, this tutorial will be using Ubuntu as the host OS. You cannot run nested virtualization on a Windows host OS.
- You need to choose the right machine in the right location – the tutorial will cover the decision making process for the correct type of machine and location.
- You must have the correct licence for your guest OS (L1 hypervisor) if applicable – only necessary if your guest OS requires a licence. In this example we will use Debian 11 for the guest OS, so no licence is required.
Prerequisites
This tutorial assumes that you already have a Google account and have access to the GCP console. You will also need to have access to the gcloud command line.
You can either set up cloud shell and access the CLI directly in your browser. Alternatively you can install the gcloud CLI and use your native Terminal, see here for instructions on how to configure it.
Create/Select a Project
The first thing that we need to do is either create a new project, or select a project where we wish to locate our nested VM.
If you already have a project that you wish to use, skip to step 4.
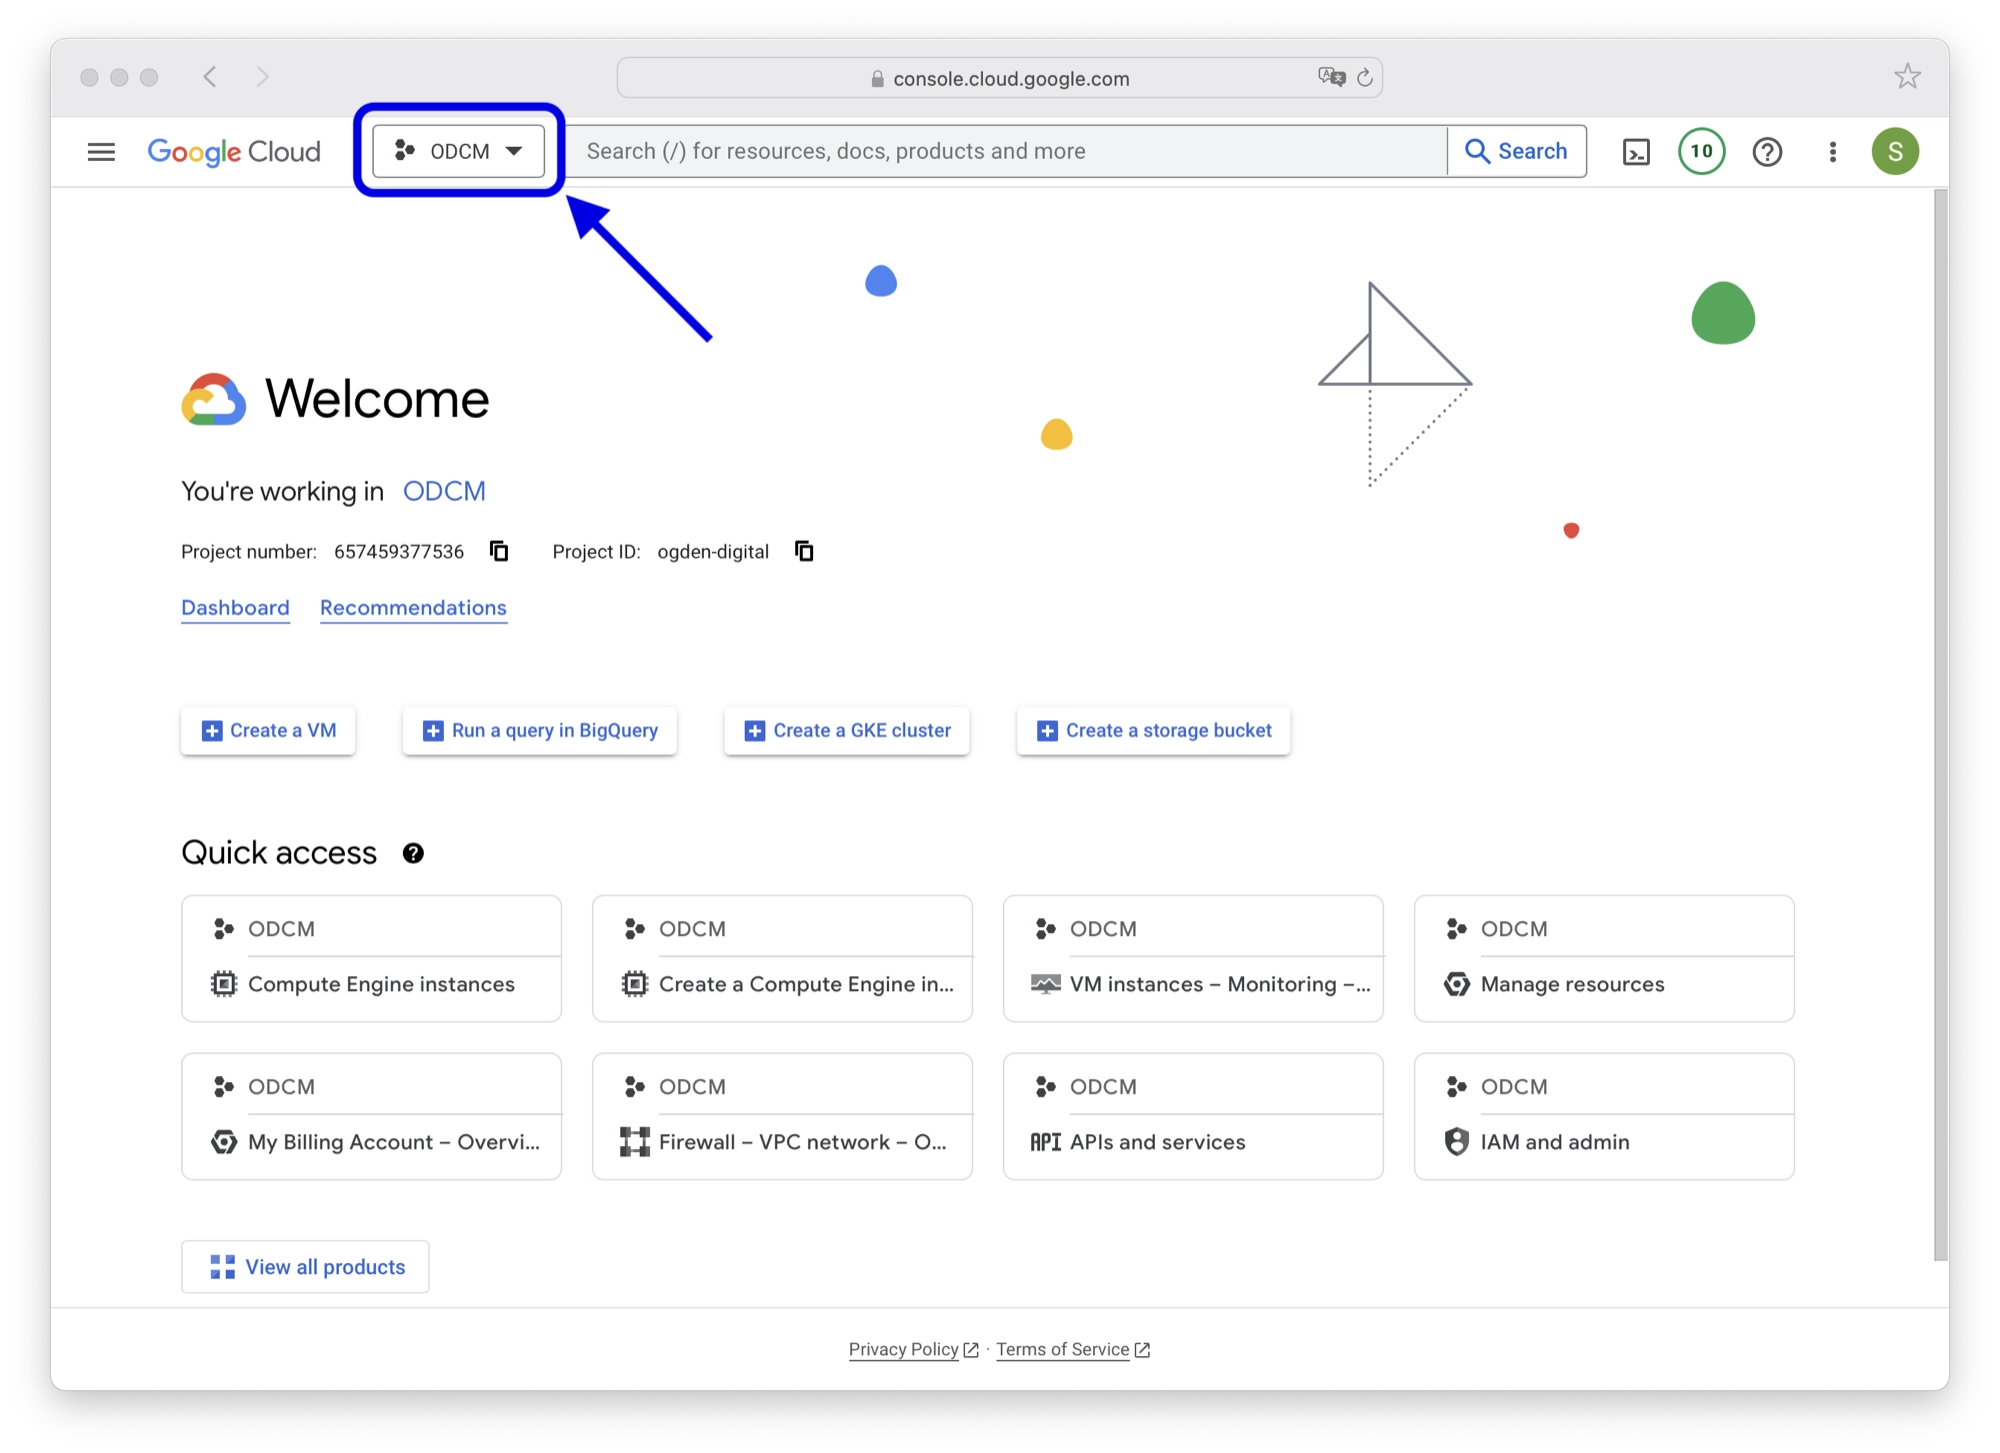
- Open the project dialog by clicking the projects drop down menu at the top of the screen:
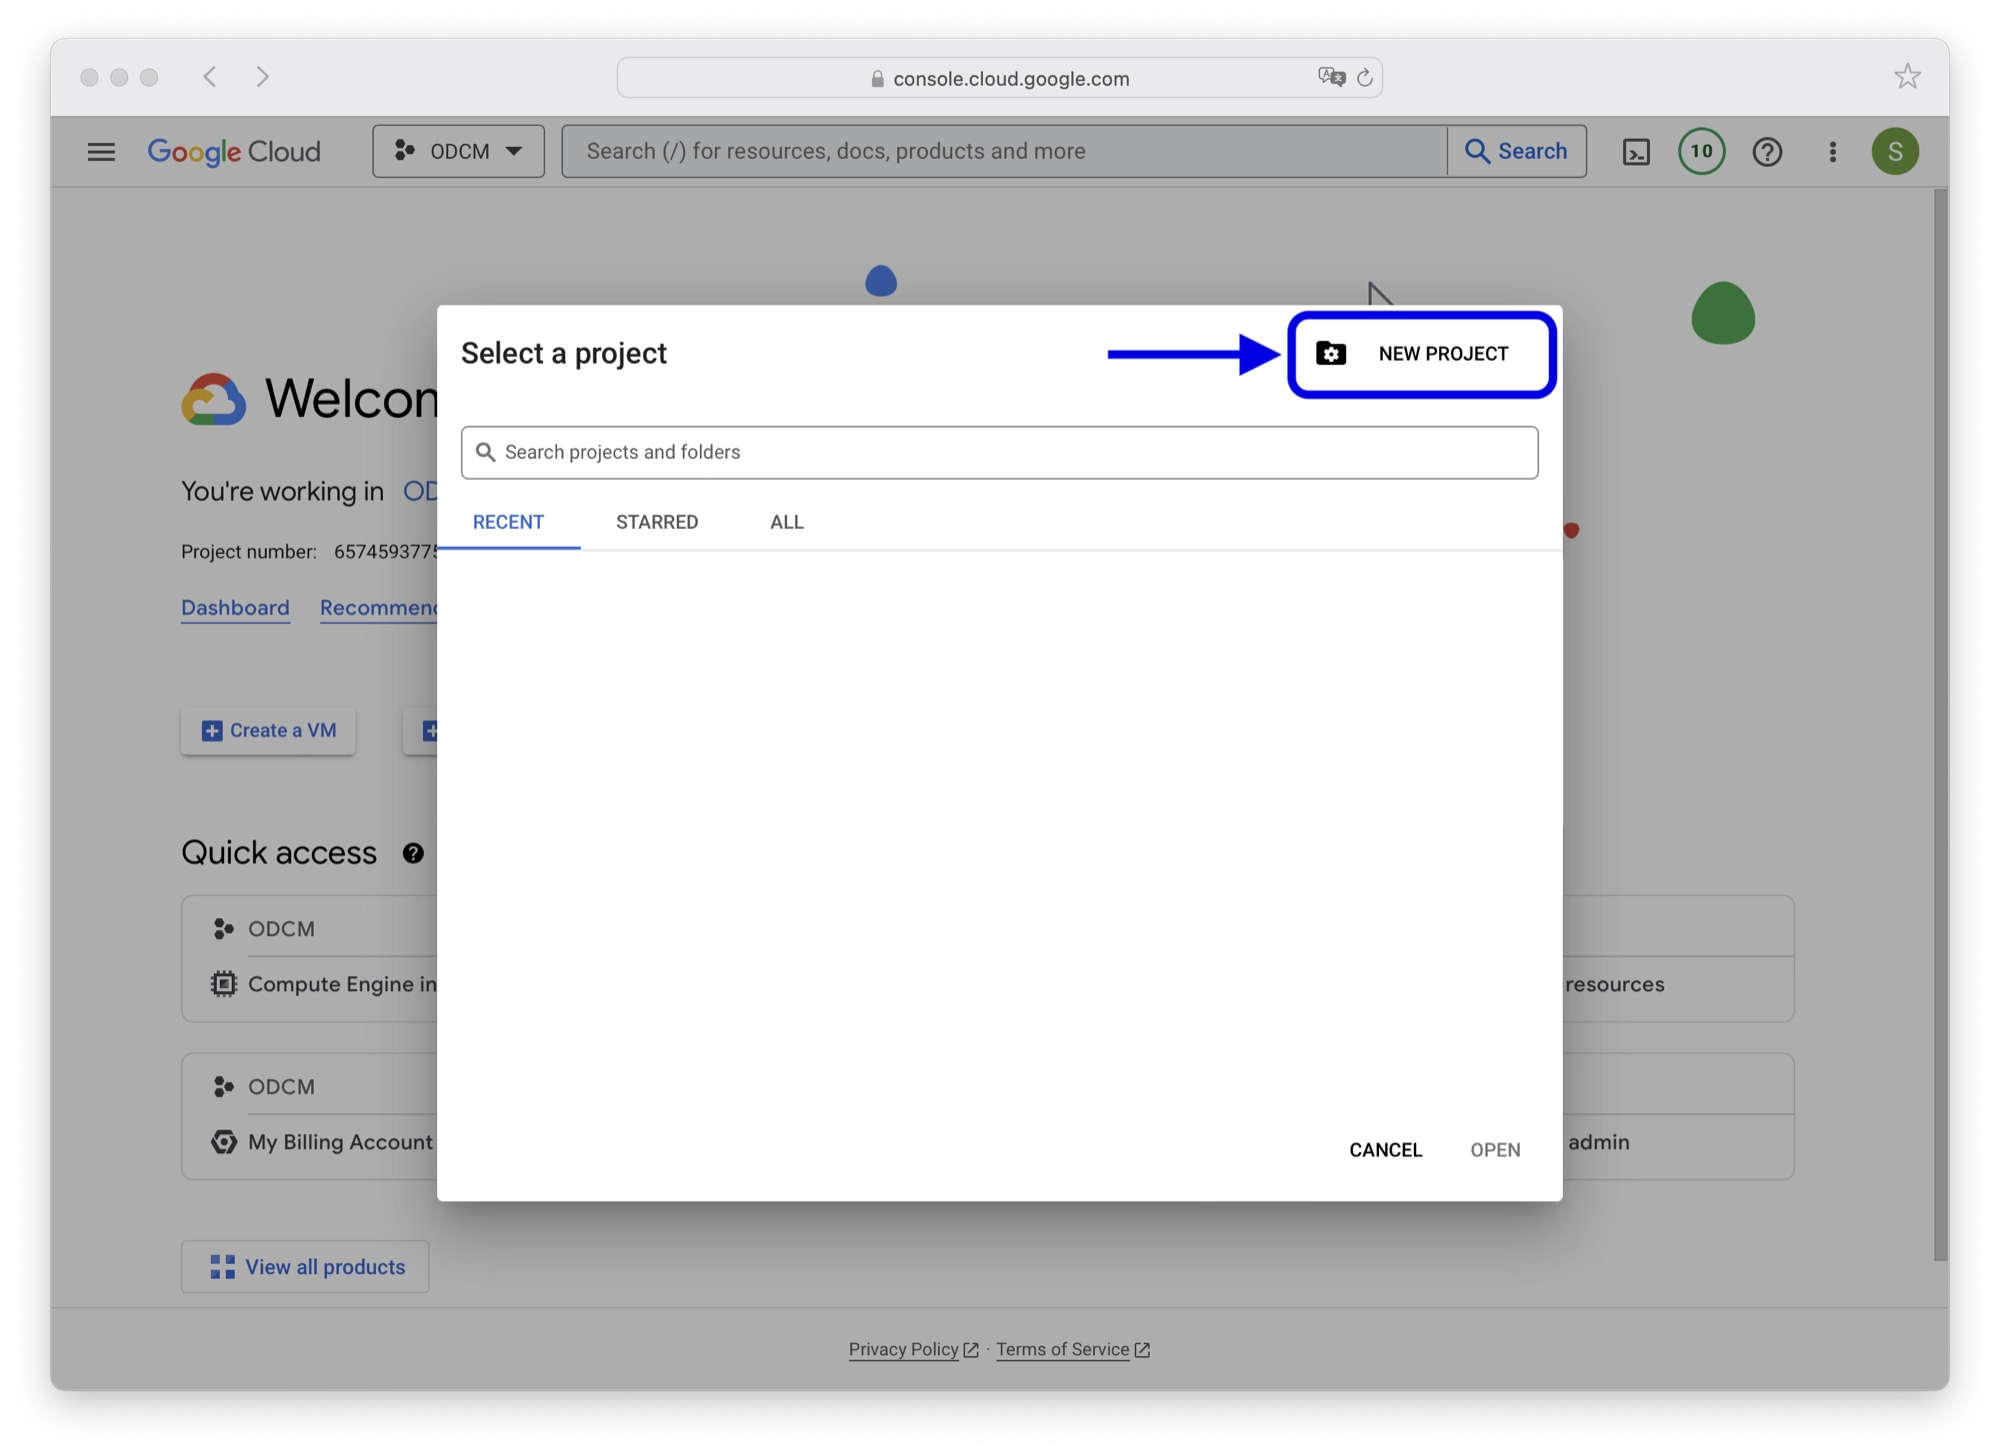
- In the popup dialog box, click the new project button to create a new project.
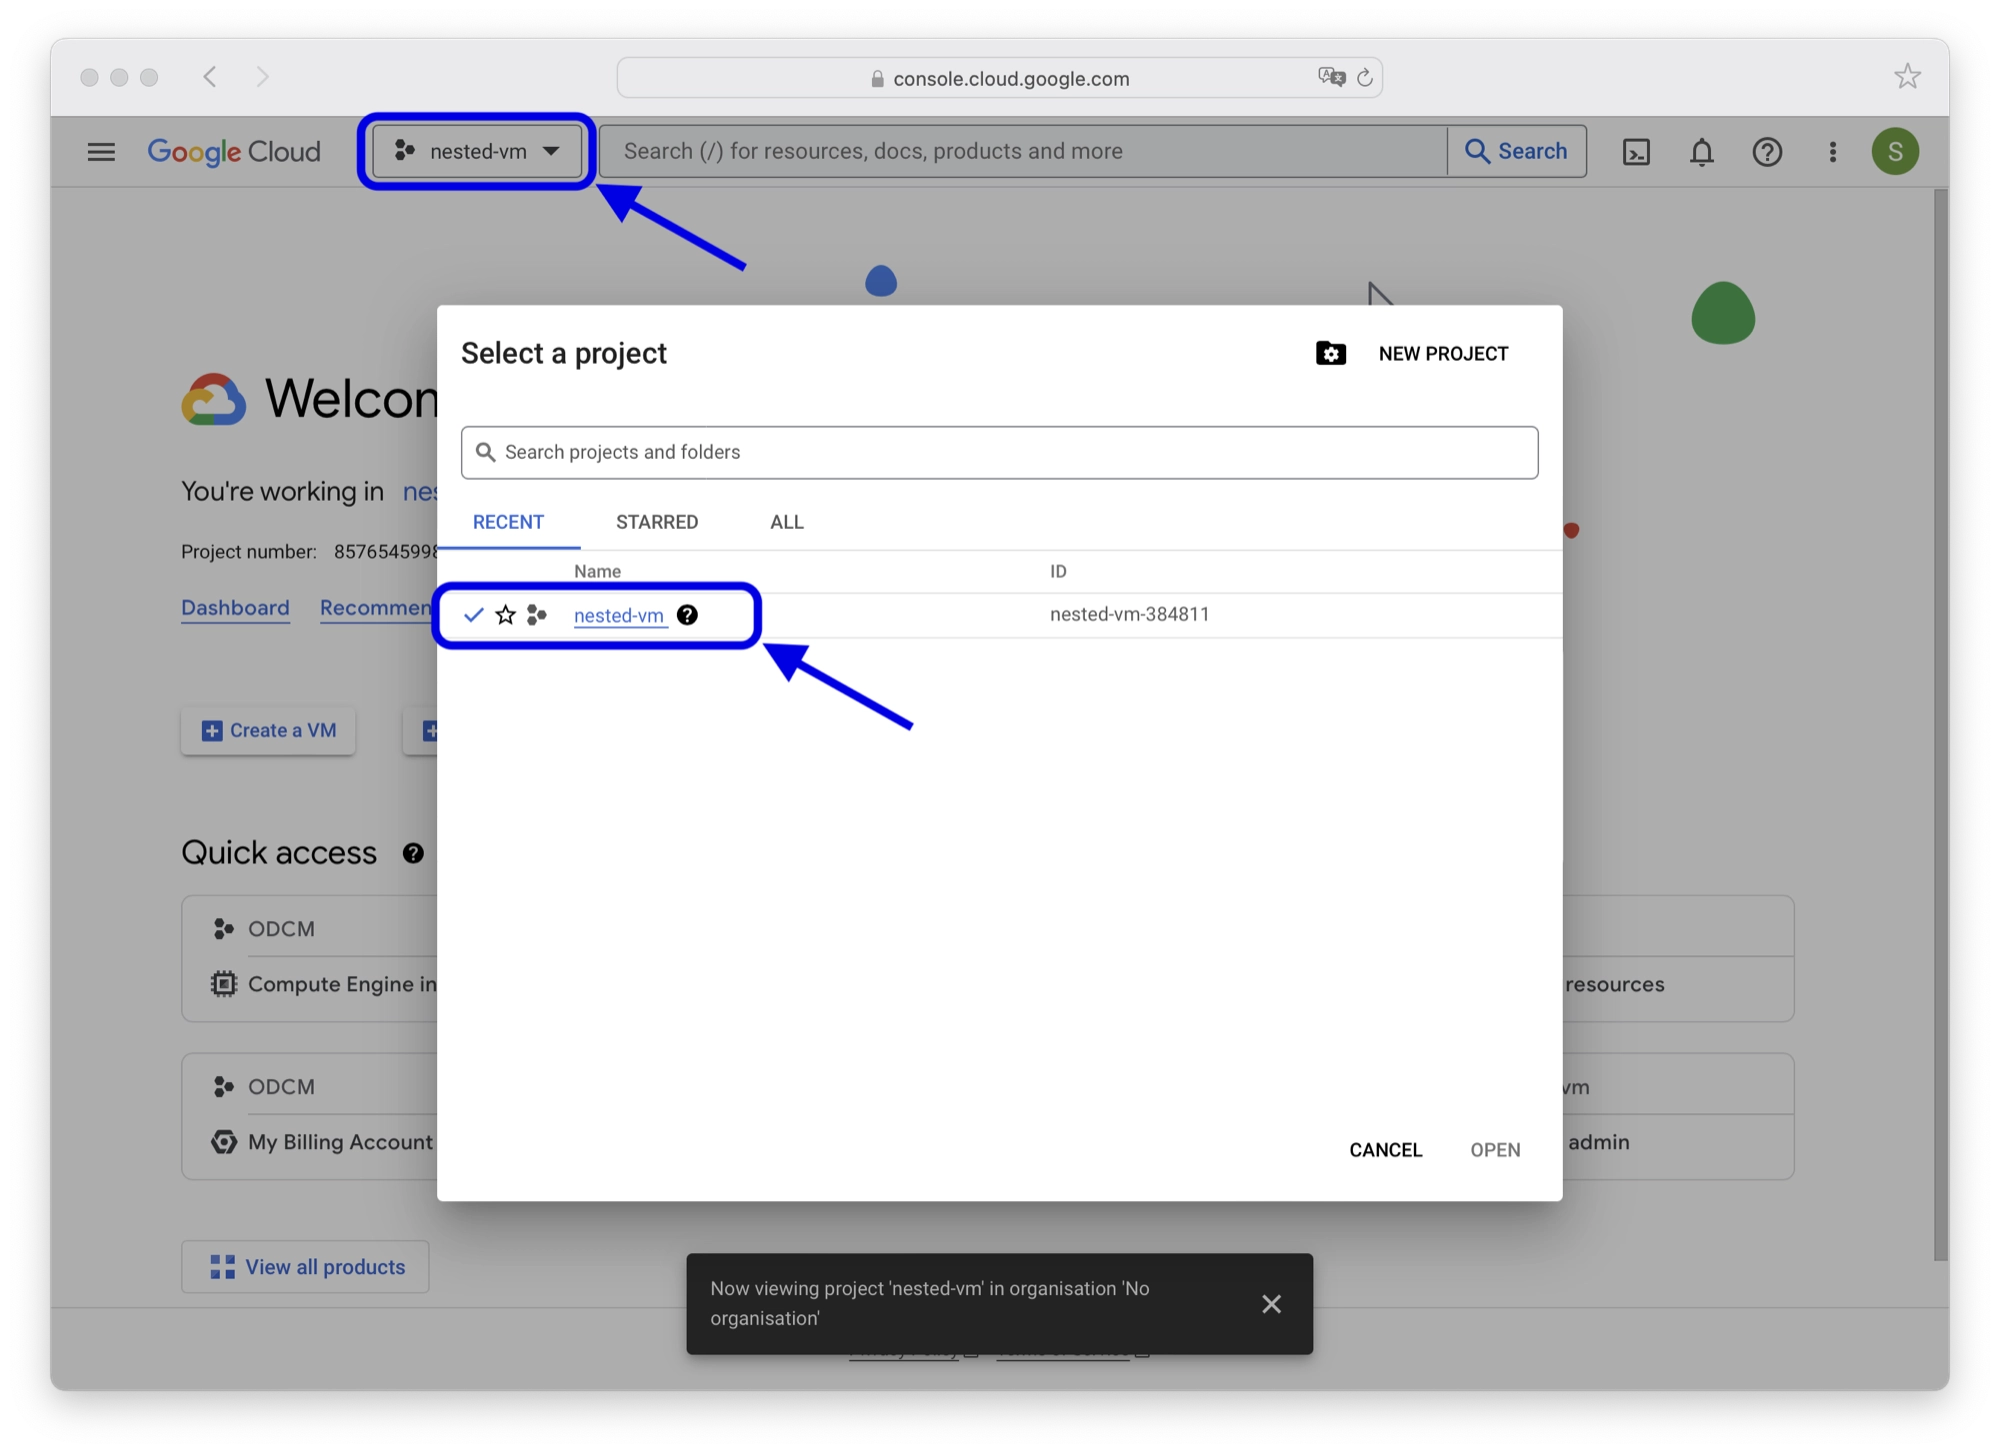
- Enter a project name and choose an organization, then click create. For this tutorial I have named the project nested-vm.
- Click the project dropdown menu at the top of the screen and then click the project that you wish to deploy your VM to. You should now see this project listed in the project drop down menu at the top of the screen.
Create a New Virtual Machine Instance
Now that we have selected the desired project, we can create a new VM instance.
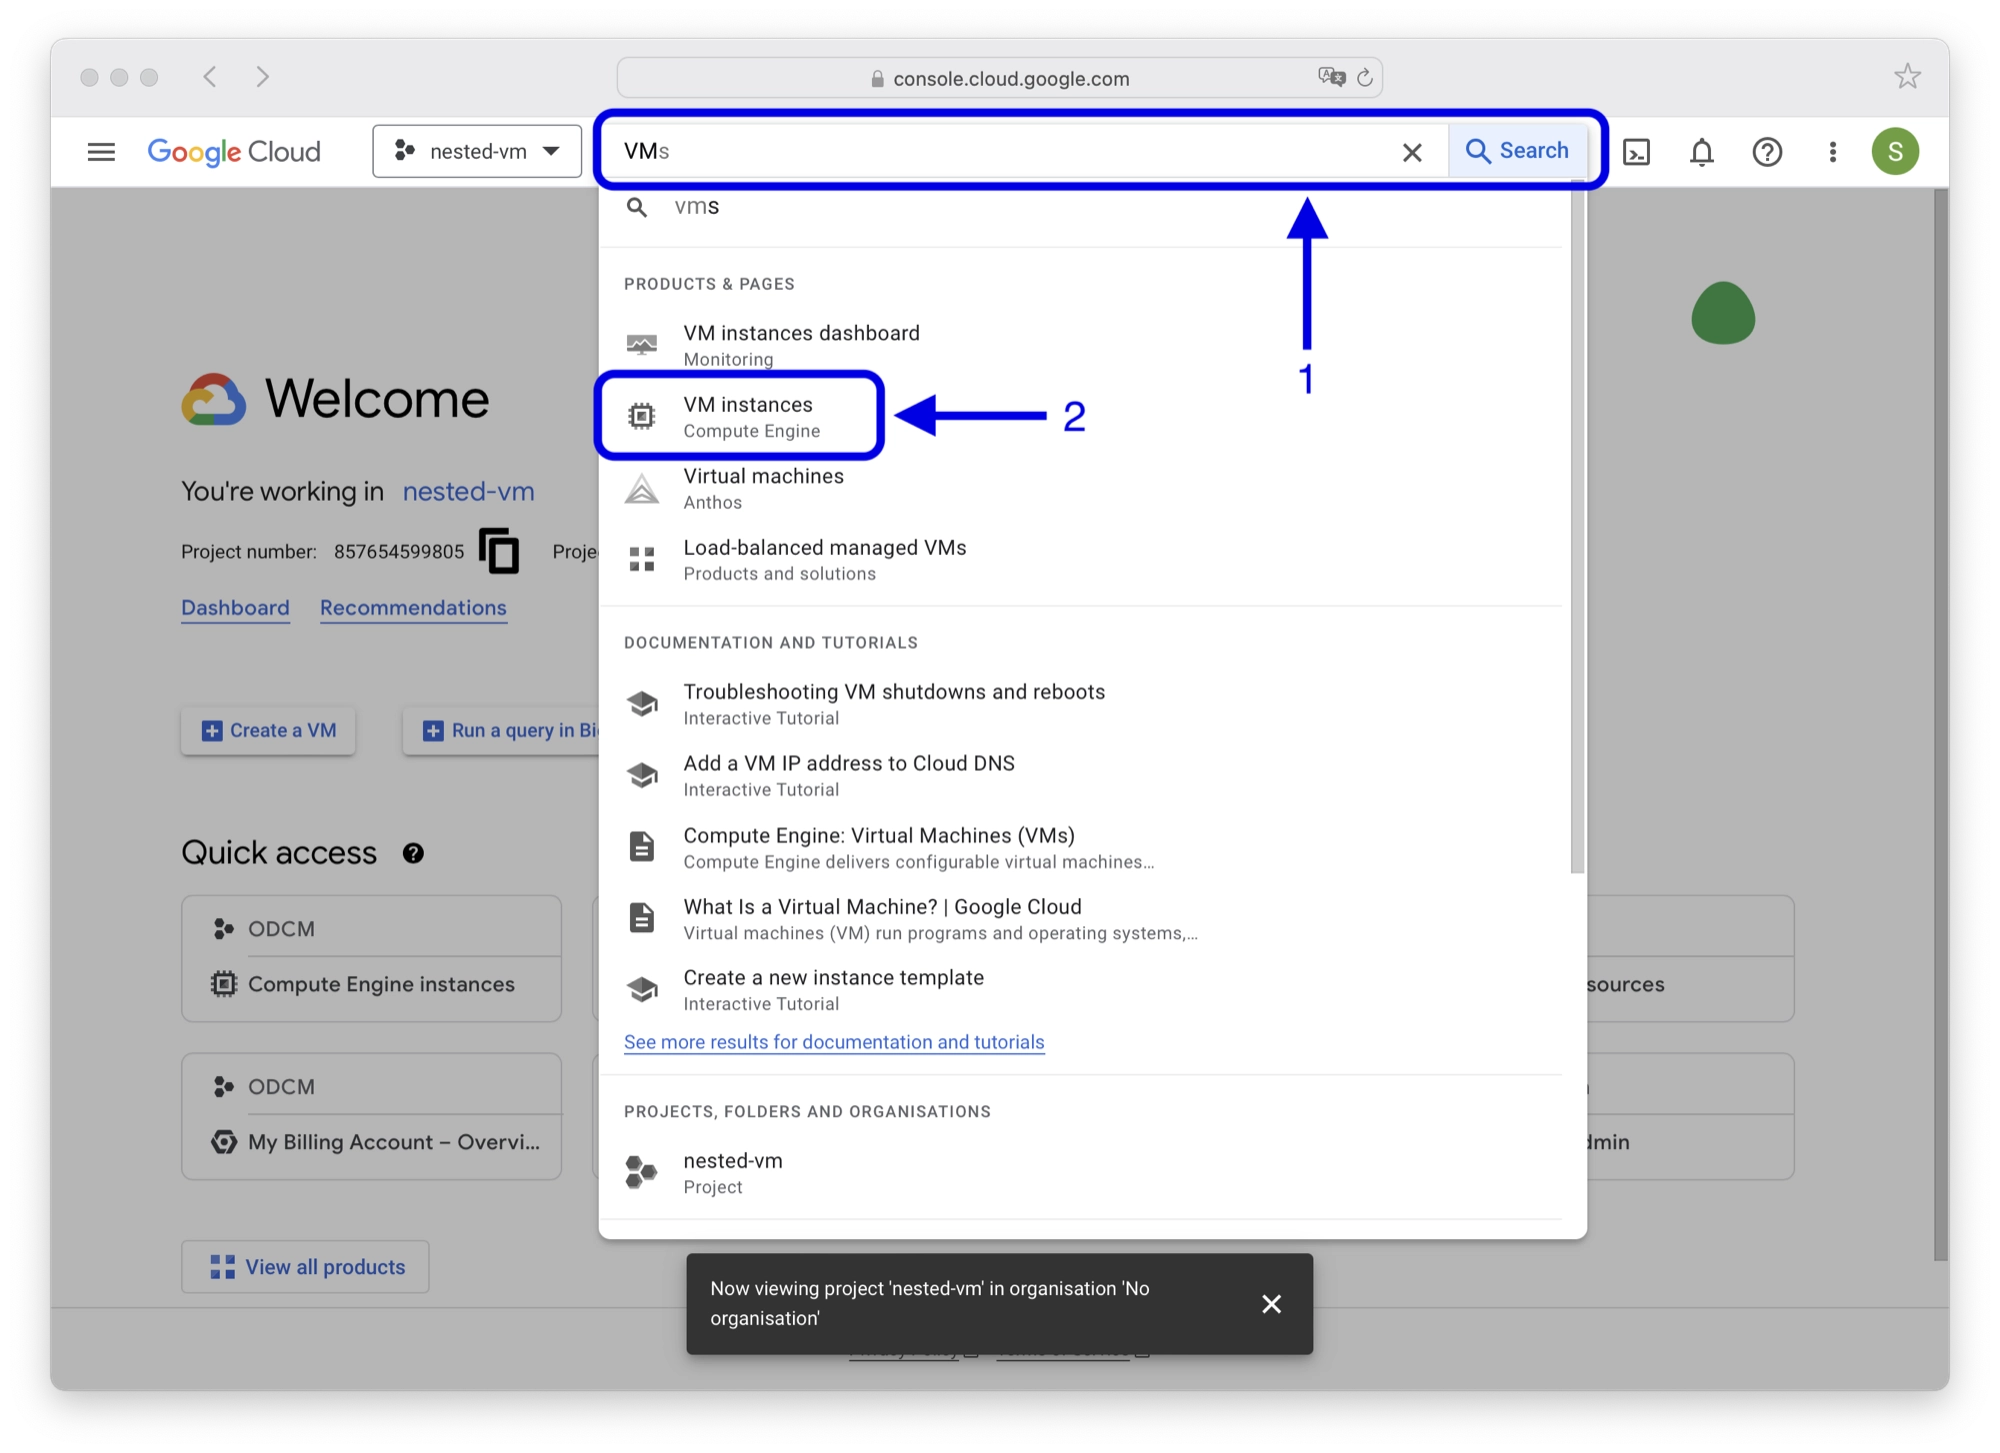
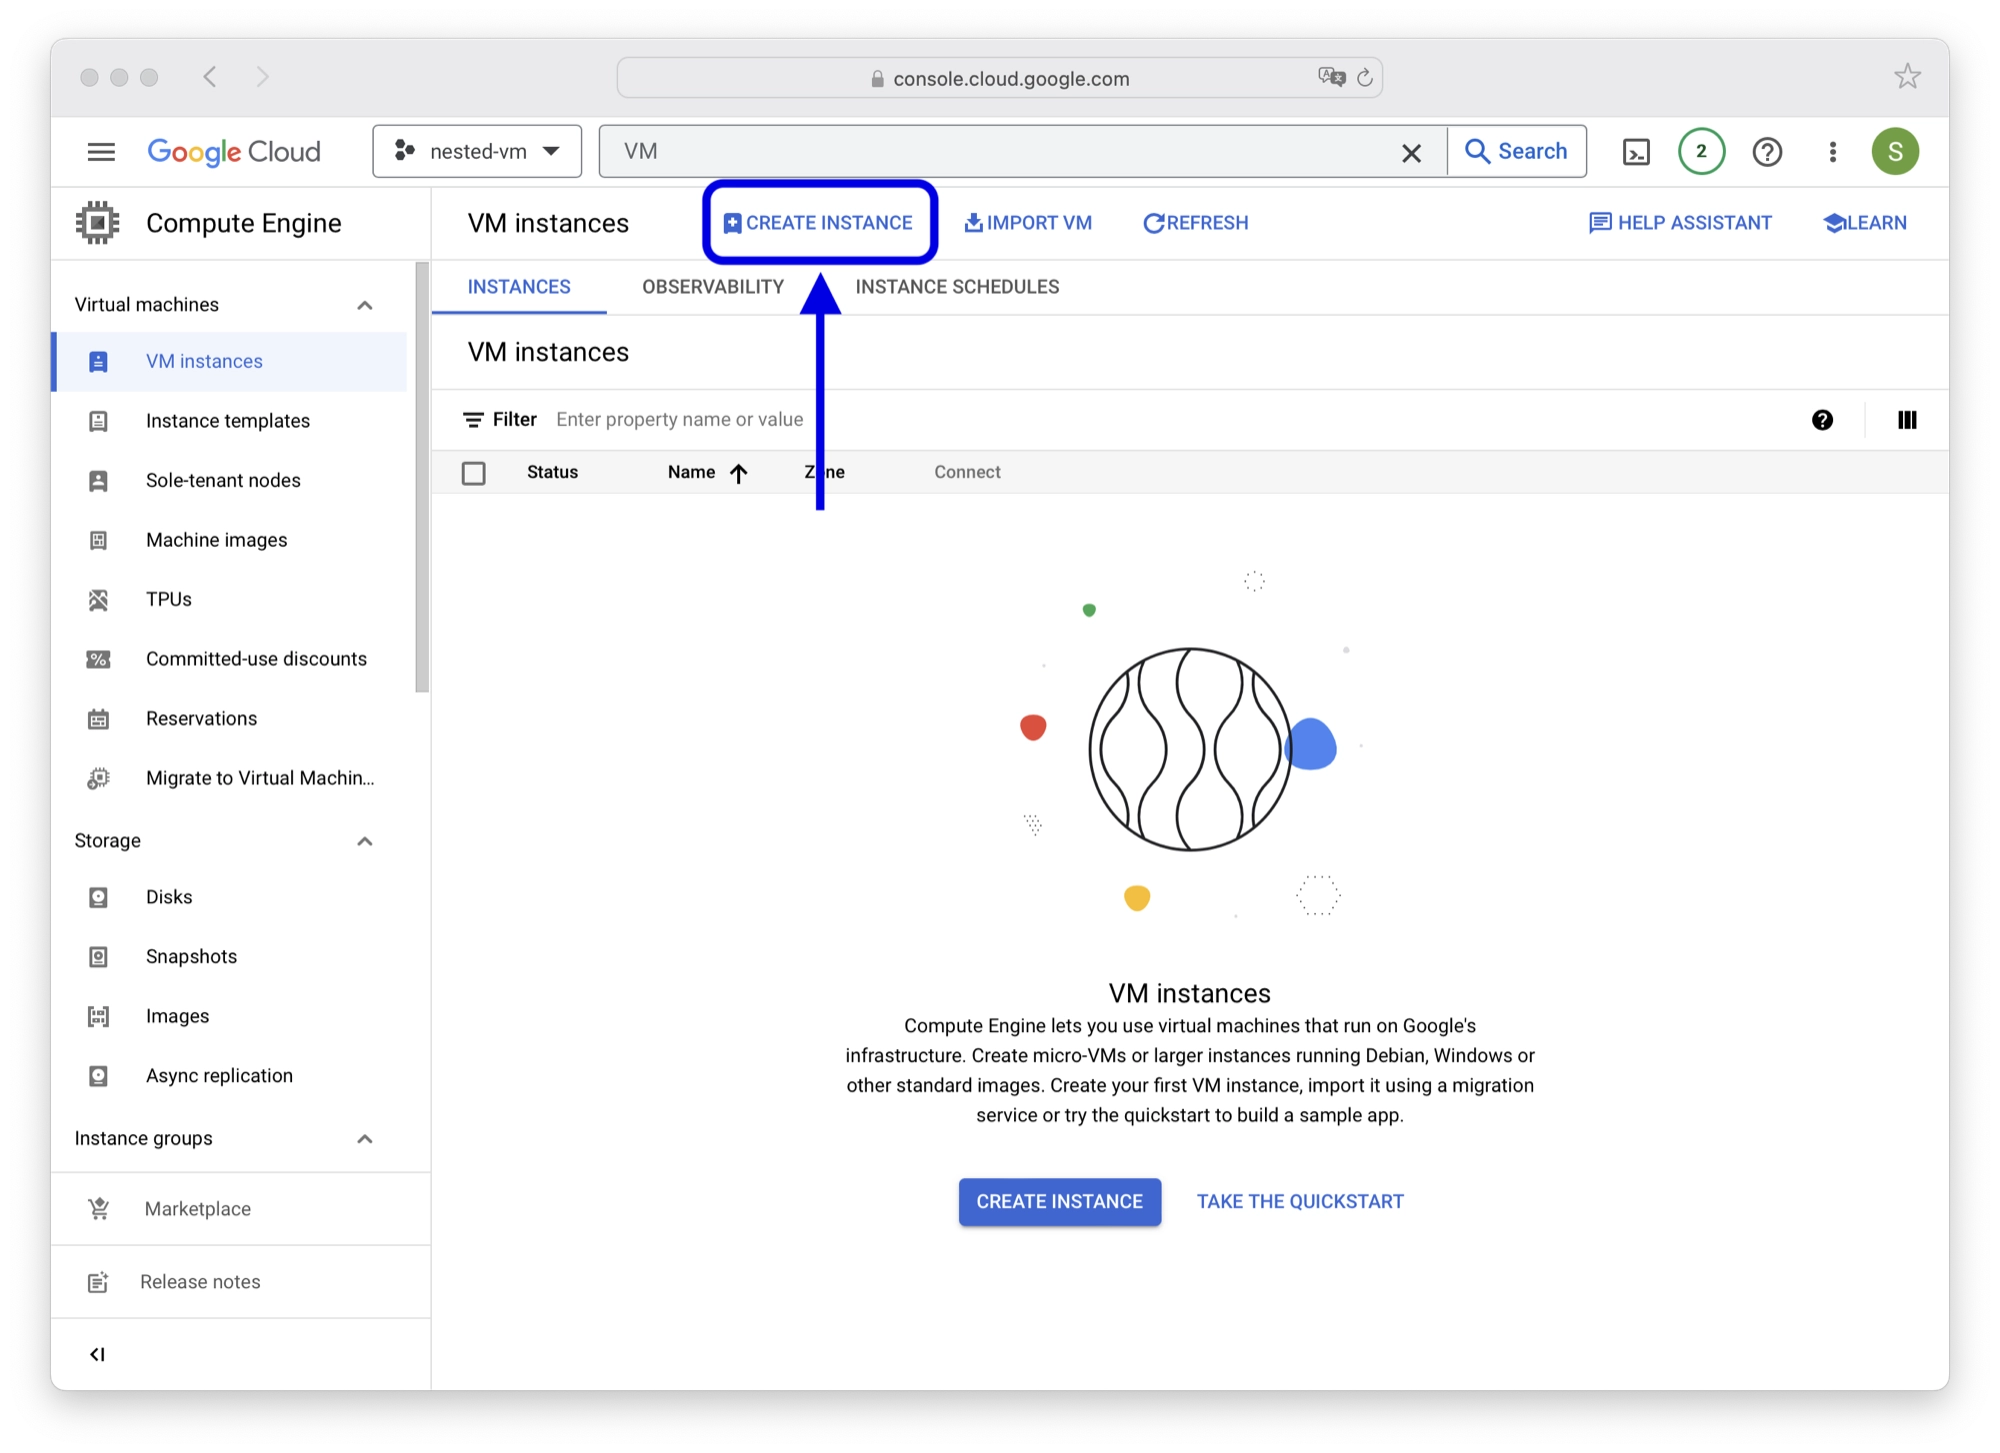
- Use the search bar at the top of the console to locate the VM Instances page.
- Select VM Instances from the search results.
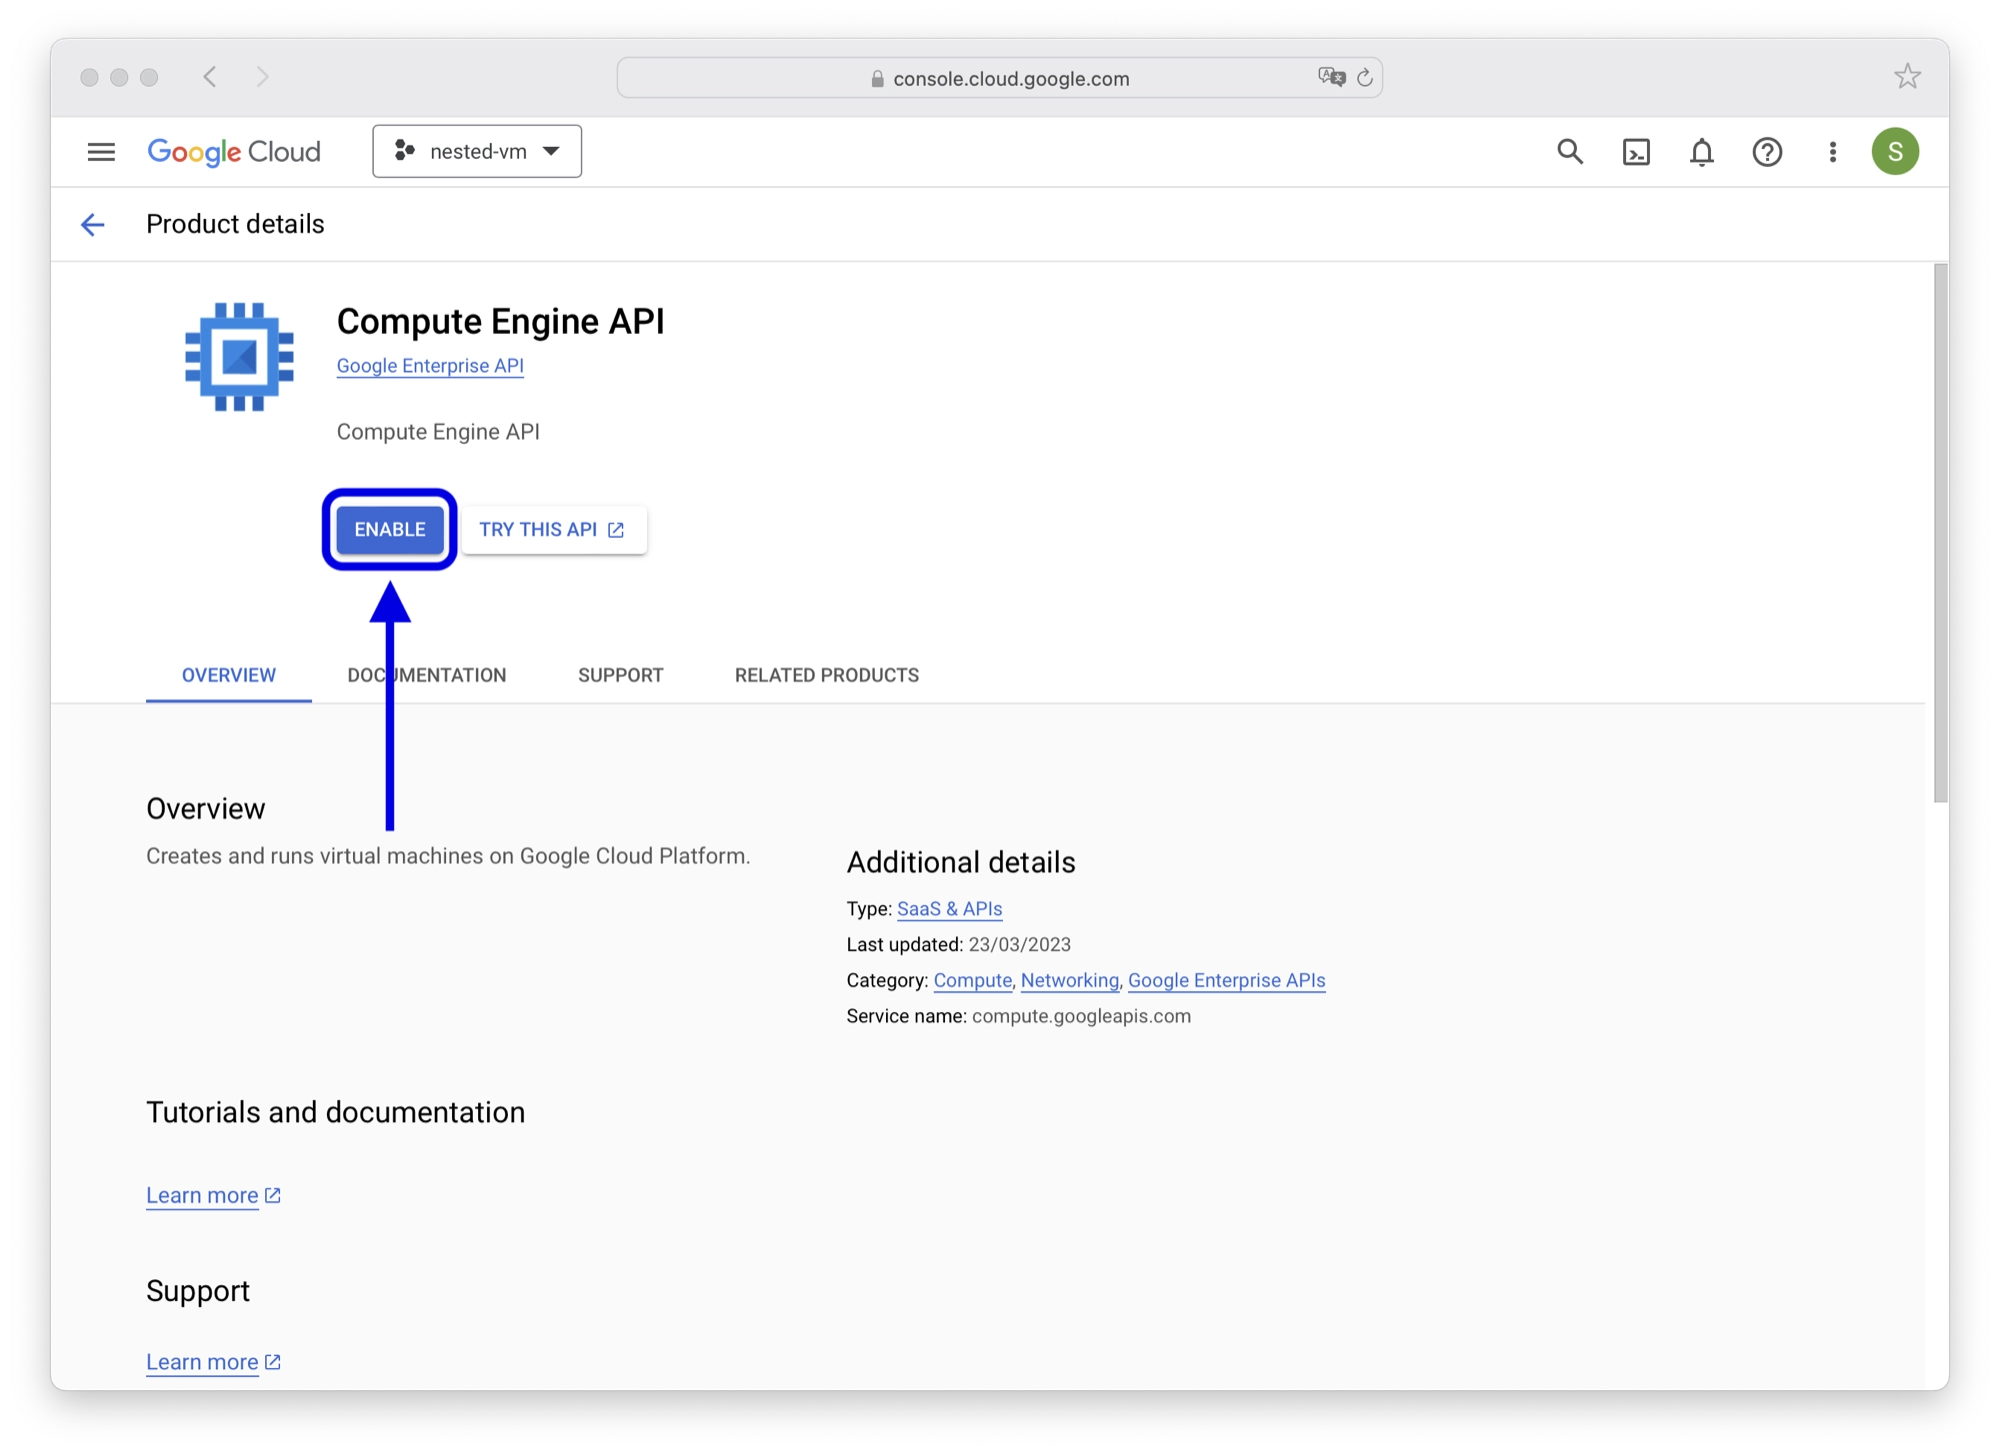
- If you have created a new project, you will be prompted to enable the compute engine API. Click Enable in order to enable the compute engine API.
- Once the compute API is enabled, click create instance.
Configuring the VM Instance
Next we can configure the new instance, starting with the generic settings:
- Choose a name for the instance, or leave it set to the default.
- Scroll down to the boot disk section and click change.
- Choose your desired operating system. For the purpose of this tutorial we will choose Ubuntu 22.04 LTS. Note that you must choose a Linux derivative for the host OS.
- Set the size of your disk. Choose a minimum of 20G so that 10G can be allocated to both the L1 and L2 VM.
- Click Select to apply the changes.
- Configure any additional settings that you may require.
Machine Configuration
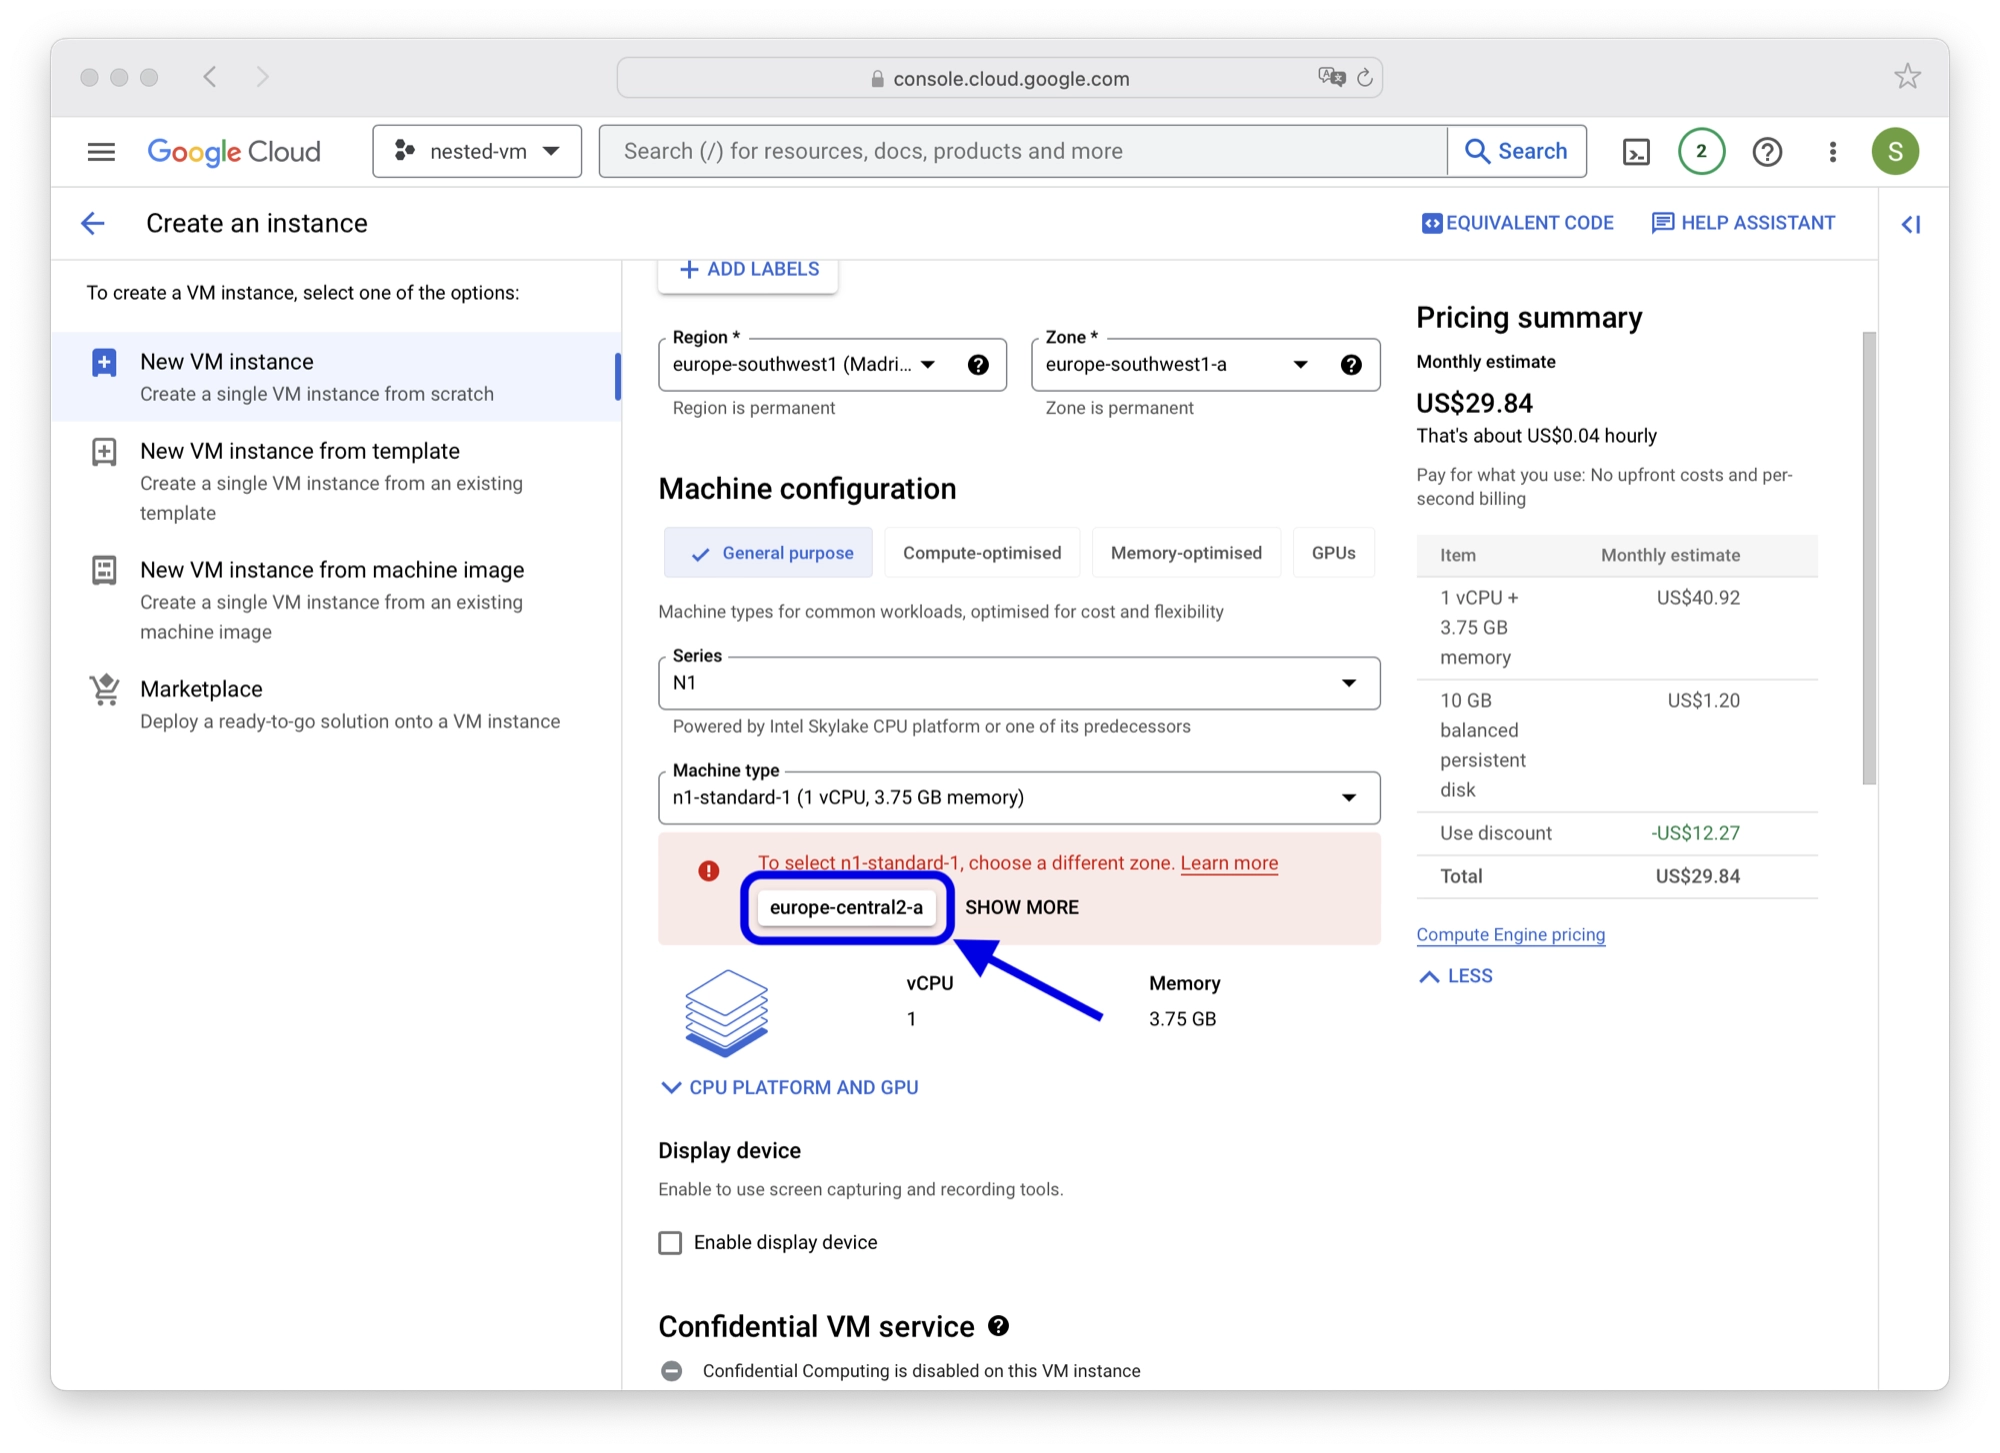
The machine configuration warrants a little more explanation. Before we launch the instance, we need to choose the region where the machine should be located and the type of machine we wish to launch.
If you have no preference then it makes sense to choose the region that is closest to you, taking the cost into account.
For the purpose of this tutorial we will look at the minimum requirement for the most cost effective configuration, however feel free to choose a higher specification if required.
- First choose your desired region. You can visit the GCP regions and zones page for further information.
- In the series dropdown, choose the N1 type.
- For the machine type I would recommend n1-standard in order to have adequate RAM for both the host OS and guest OS.
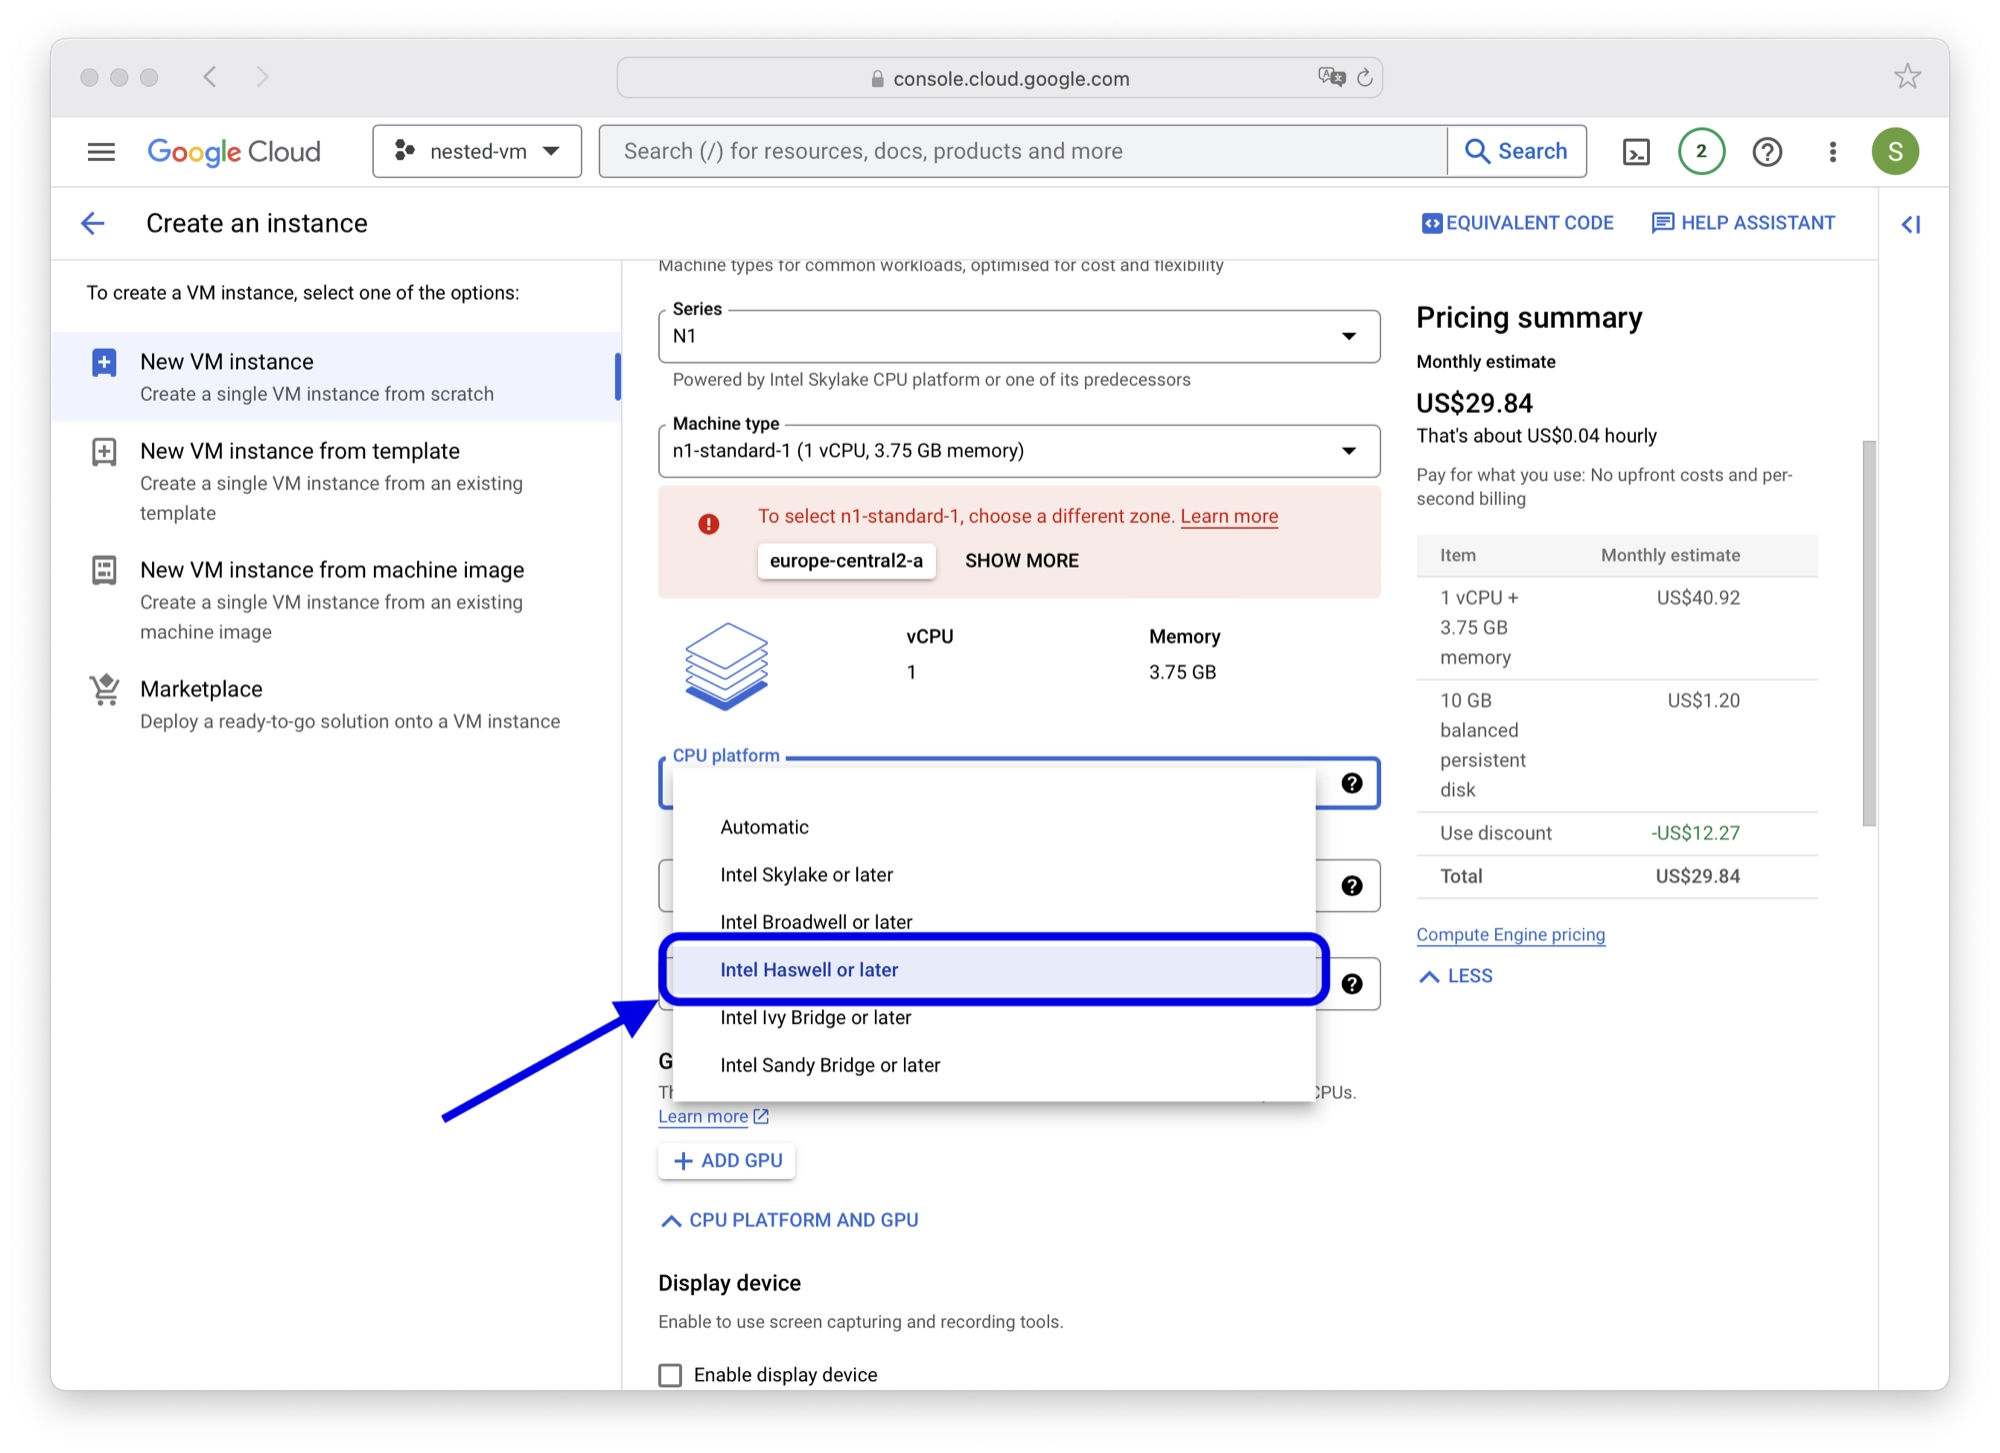
- If you see a red warning box informing you to change the zone, click the button the change the zone.
- Click the CPU Platform and GPU link to show the additional options.
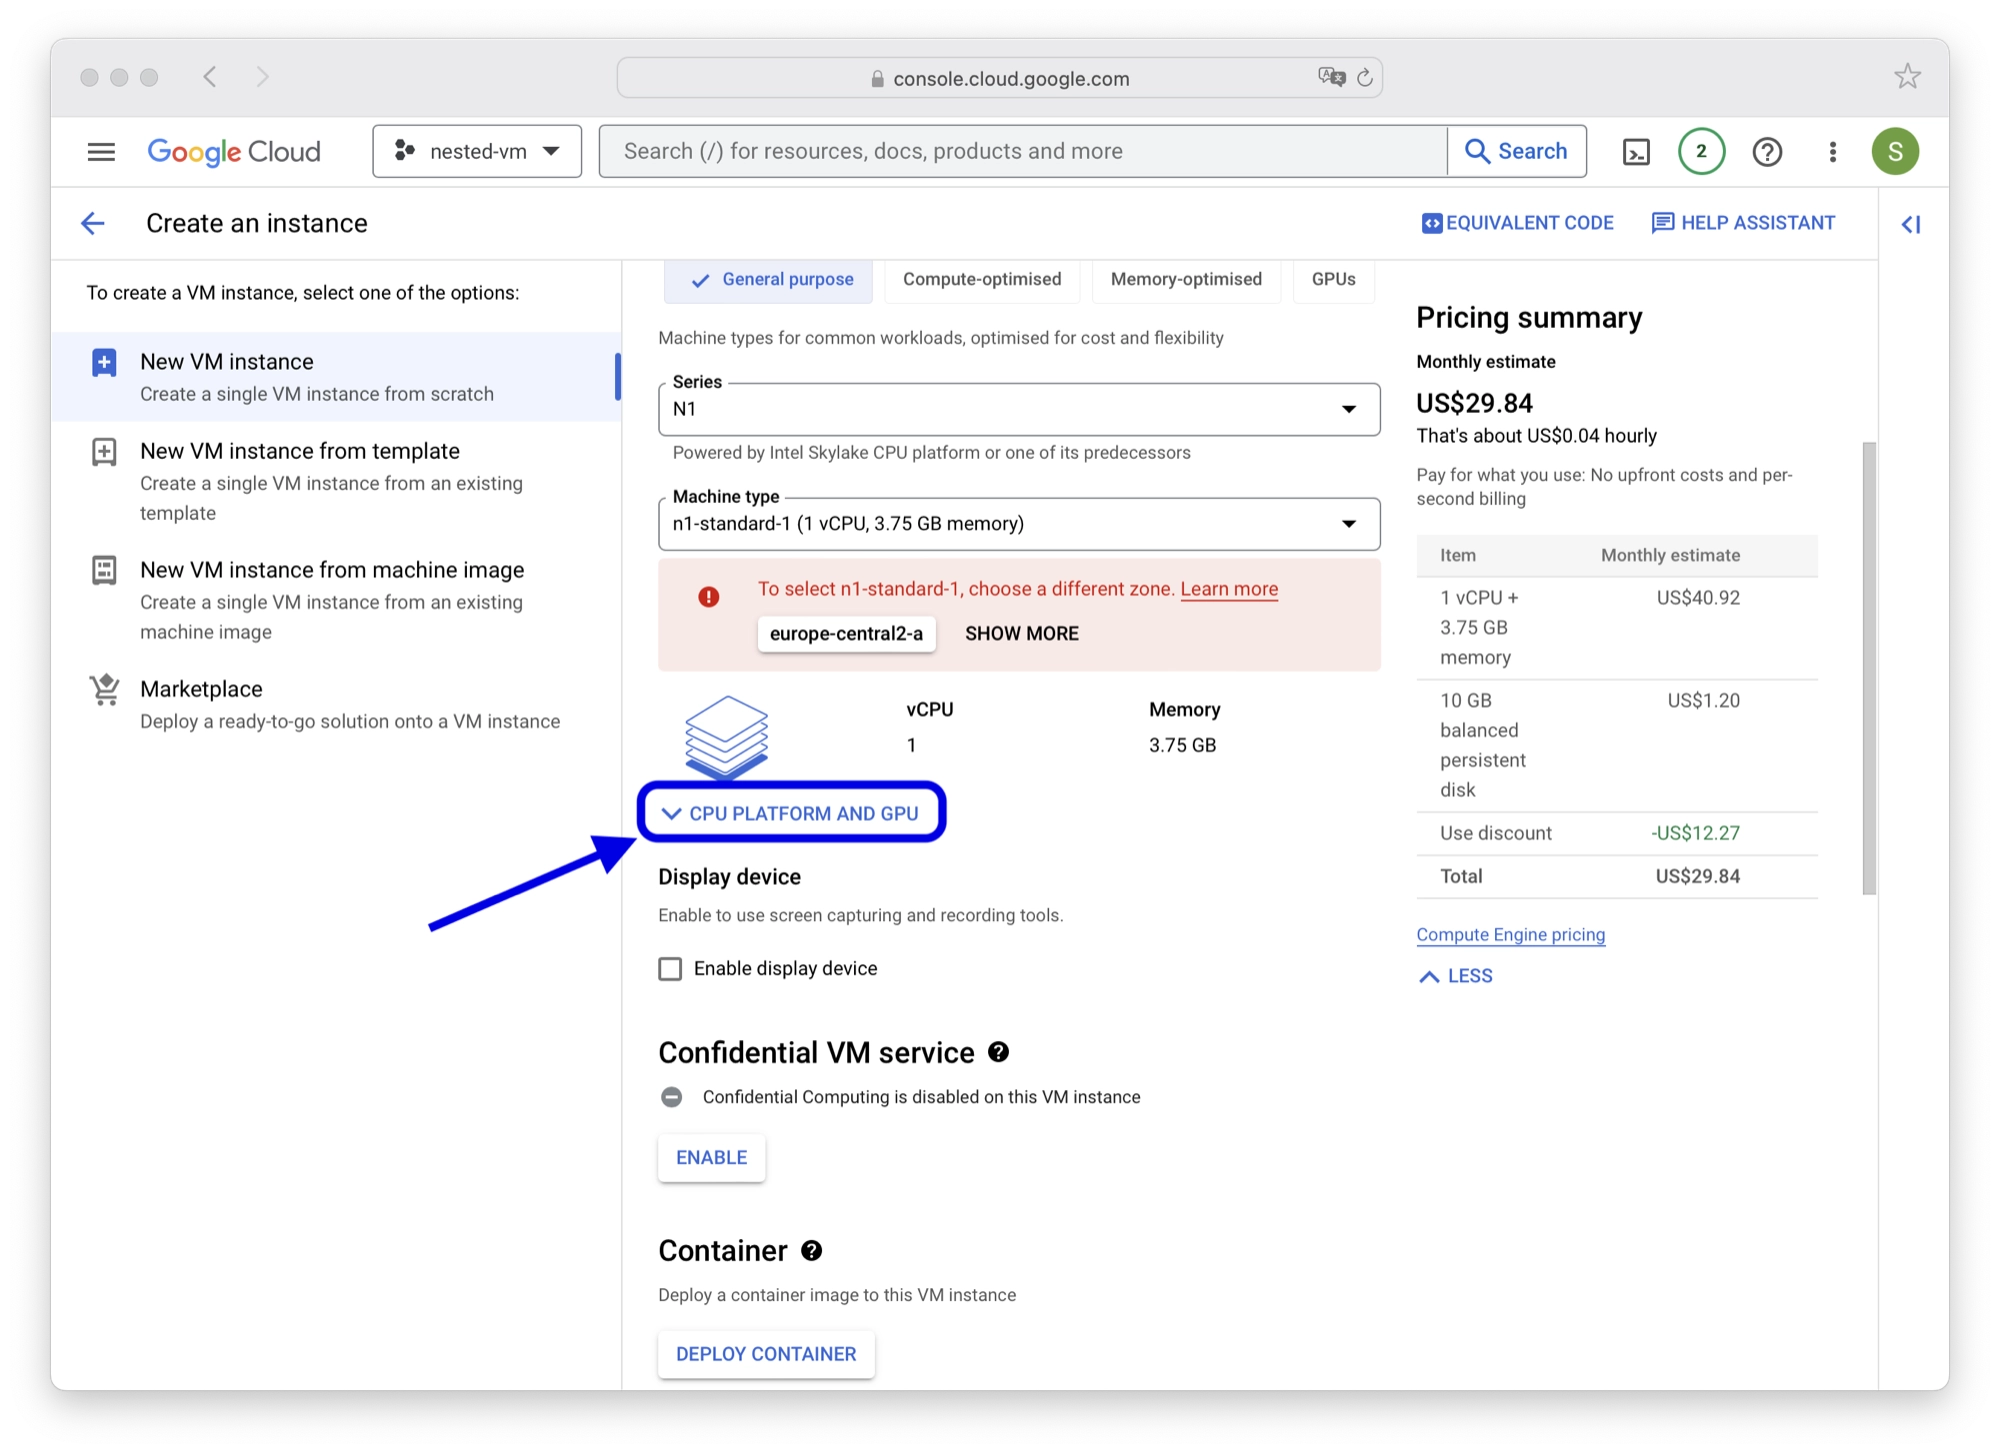
- In the CPU Platform drop down menu select Haswell or later unless your chosen machine type only has listed microarchitectures newer than Haswell, in which case leave it set to automatic. You can check whether or not the listed microarchitectures are newer than Haswell here.
- Once you are done, scroll down to the bottom of the page and click create in order to start the instance.
- Note that it is possible for the instance to fail if there are not enough resources in the particular region or zone. If your instance fails, you can try again using a different region or zone. In this case you can save time using instance templates.
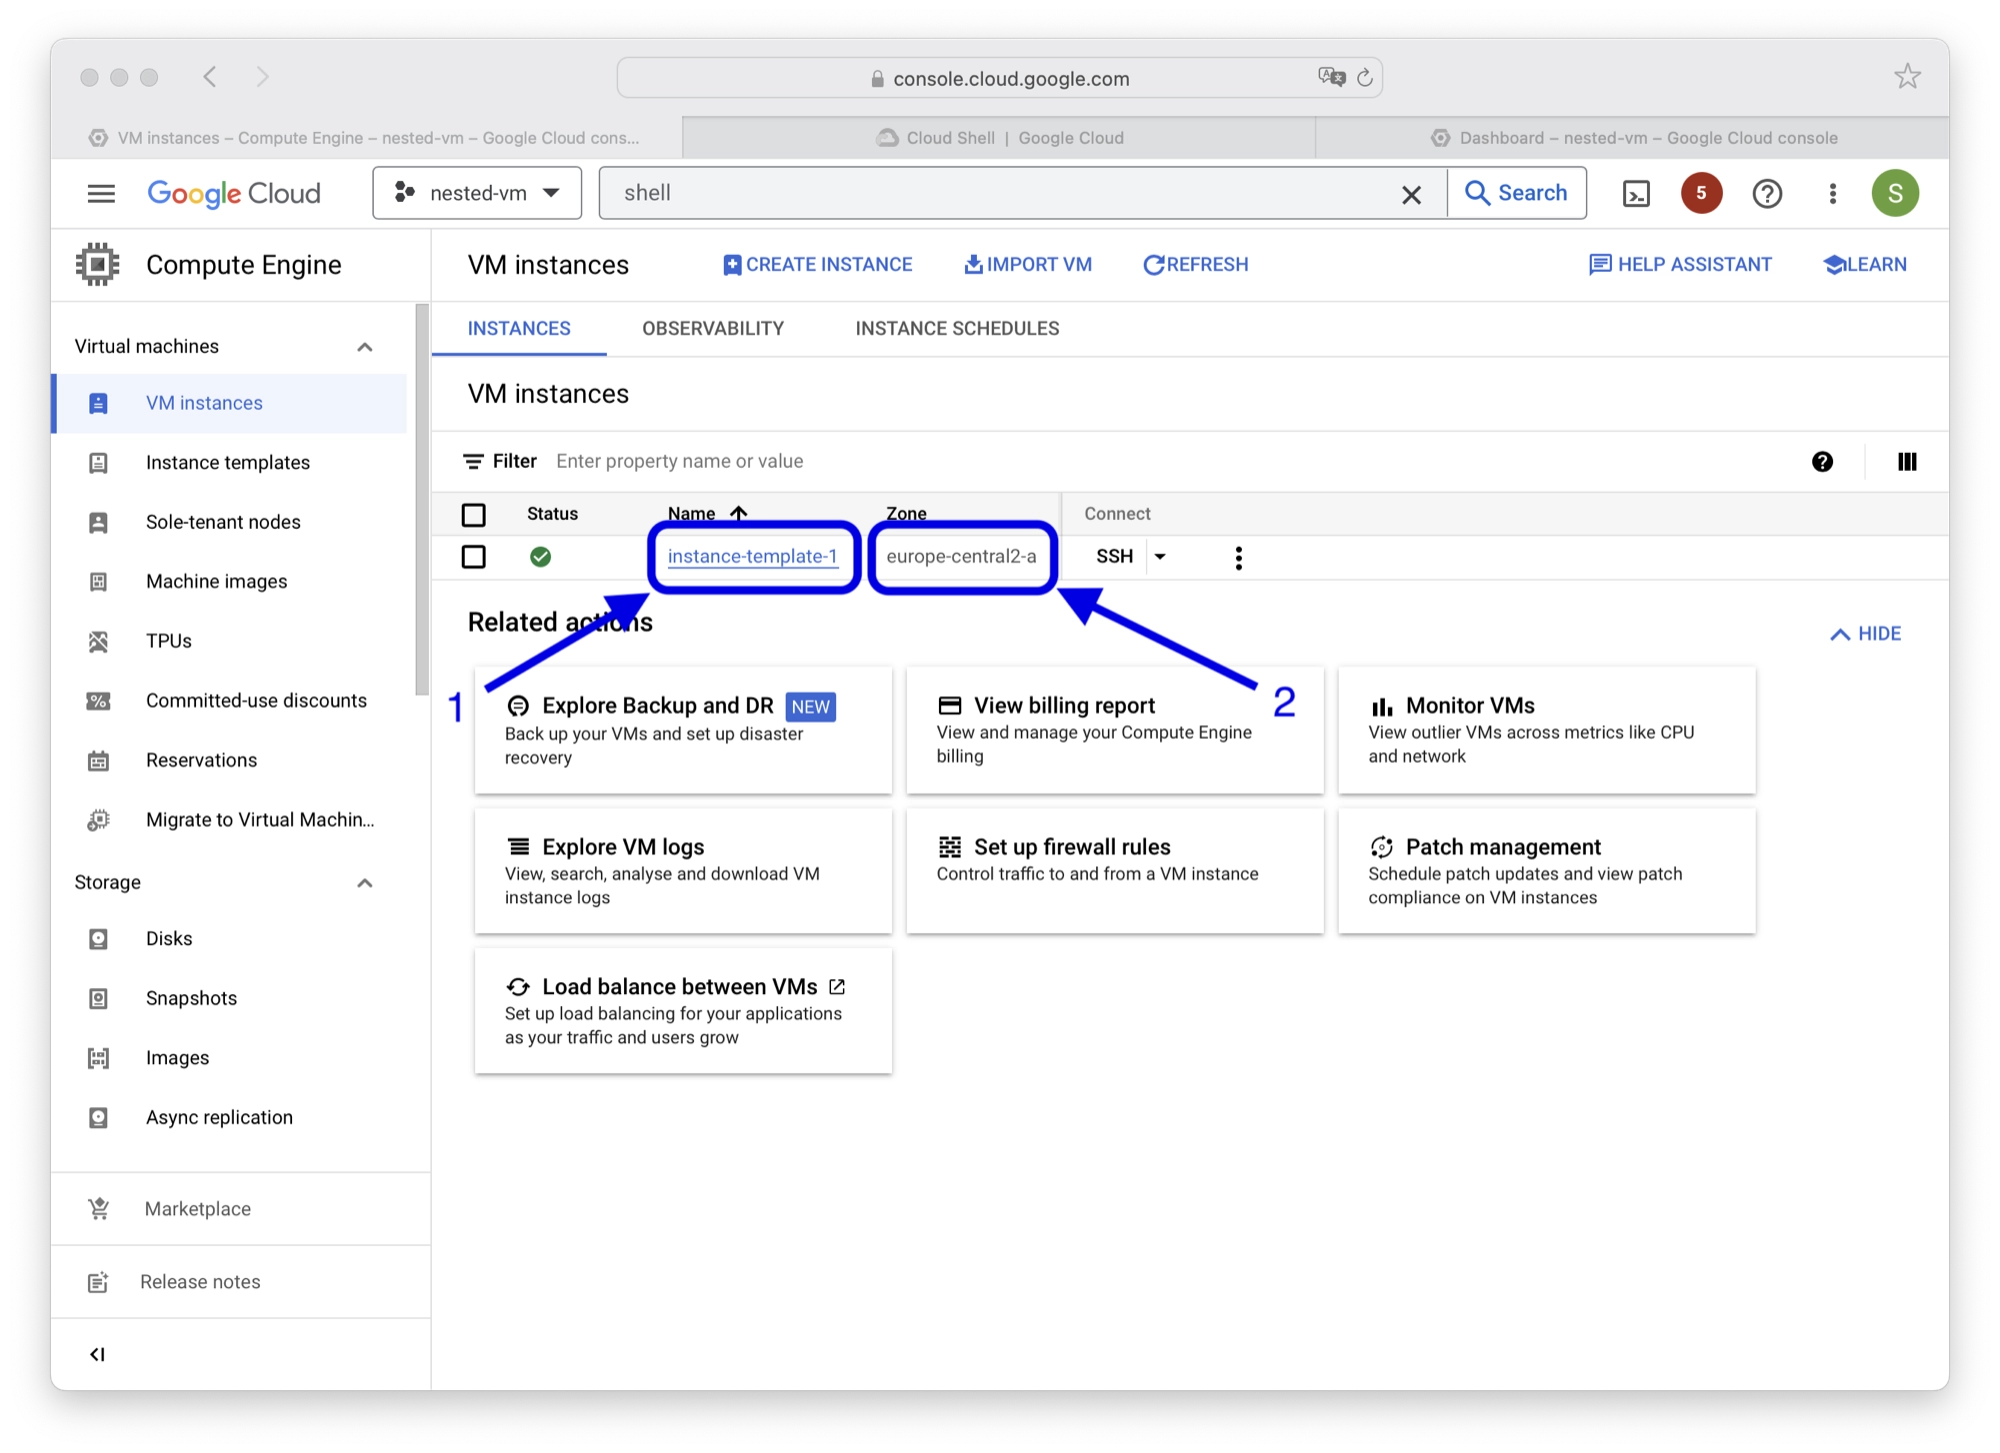
- Make a note of the Instance (1) Name and (2) Zone.
Enabling Nested Virtualization
Once the machine has started, you will need to enable nested virtualization:
- Use the search bar to locate the Cloud Shell Editor and open it.
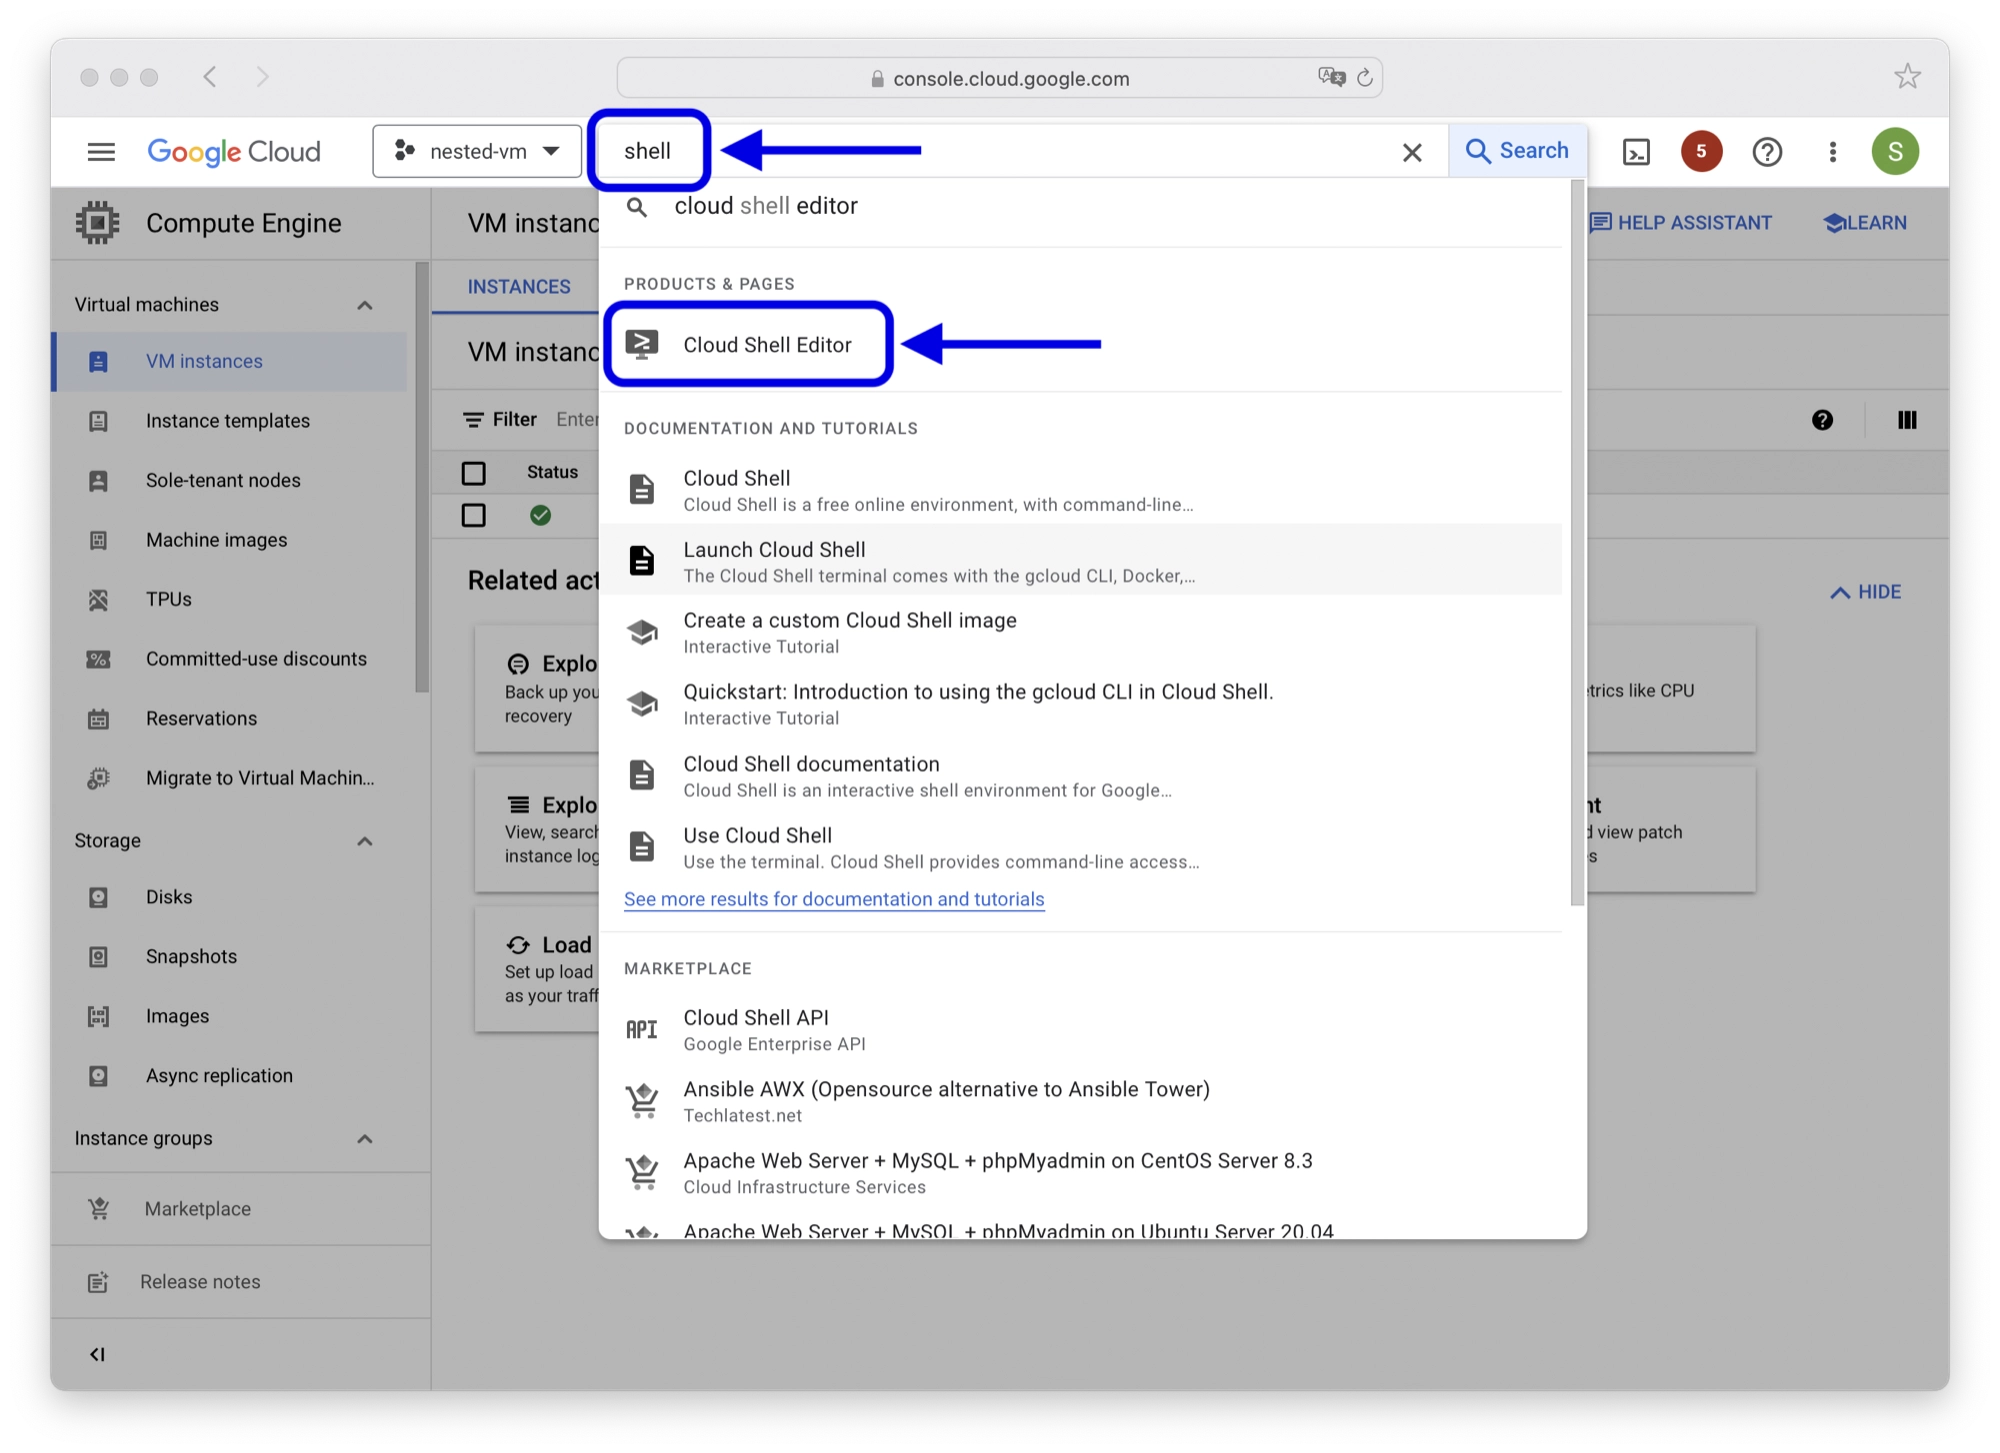
- Click Go To Console to open the cloud shell.
- Enter the following command into the shell to list the projects on your account:
gcloud projects list
- Locate the
project IDfor the project containing your instance and enter the following command to set the project, replacing<project ID>for the project ID of your project:
gcloud config set project <name>
- Enter the following command into the shell, replacing
<name>and<zone>with the name and zone of your instance:
gcloud compute instances export <name> \
  --destination=config.yaml \
  --zone=<zone>
- Enter the following command to edit the config.yaml file created in the previous step:
nano config.yaml
- Append the following to the end of the file. Press ctrl + x to exit and then enter y to save the changes.
advancedMachineFeatures:
  enableNestedVirtualization: true
- Update the instance configuration using the following command, replacing
<name>and<zone>with the name and zone of your instance:
gcloud compute instances update-from-file <name> \
  --source=config.yaml \
  --most-disruptive-allowed-action=RESTART \
  --zone=<zone>
Your VM instance will now reboot with nested virtualization supported enabled.
Error: SEV_SNP_CAPABLE
At the time of writing there is currently an error with the configuration file:
WARNING: 'SEV_SNP_CAPABLE' is not one of ['FEATURE_TYPE_UNSPECIFIED', 'GVNIC', 'MULTI_IP_SUBNET', 'SECURE_BOOT', 'SEV_CAPABLE', 'UEFI_COMPATIBLE', 'VIRTIO_SCSI_MULTIQUEUE', 'WINDOWS', 'SEV_LIVE_MIGRATABLE']
The workaround is to remove the following line from the config.yaml file:
- type: SEV_SNP_CAPABLE
Testing Nested Virtualization
Once you have enabled nested virtualization, you can open an SSH connection to the virtual machine and check that the updated configuration worked:
- Use the search bar at the top of the console to locate the VM Instances page.
- Select VM Instances from the search results.
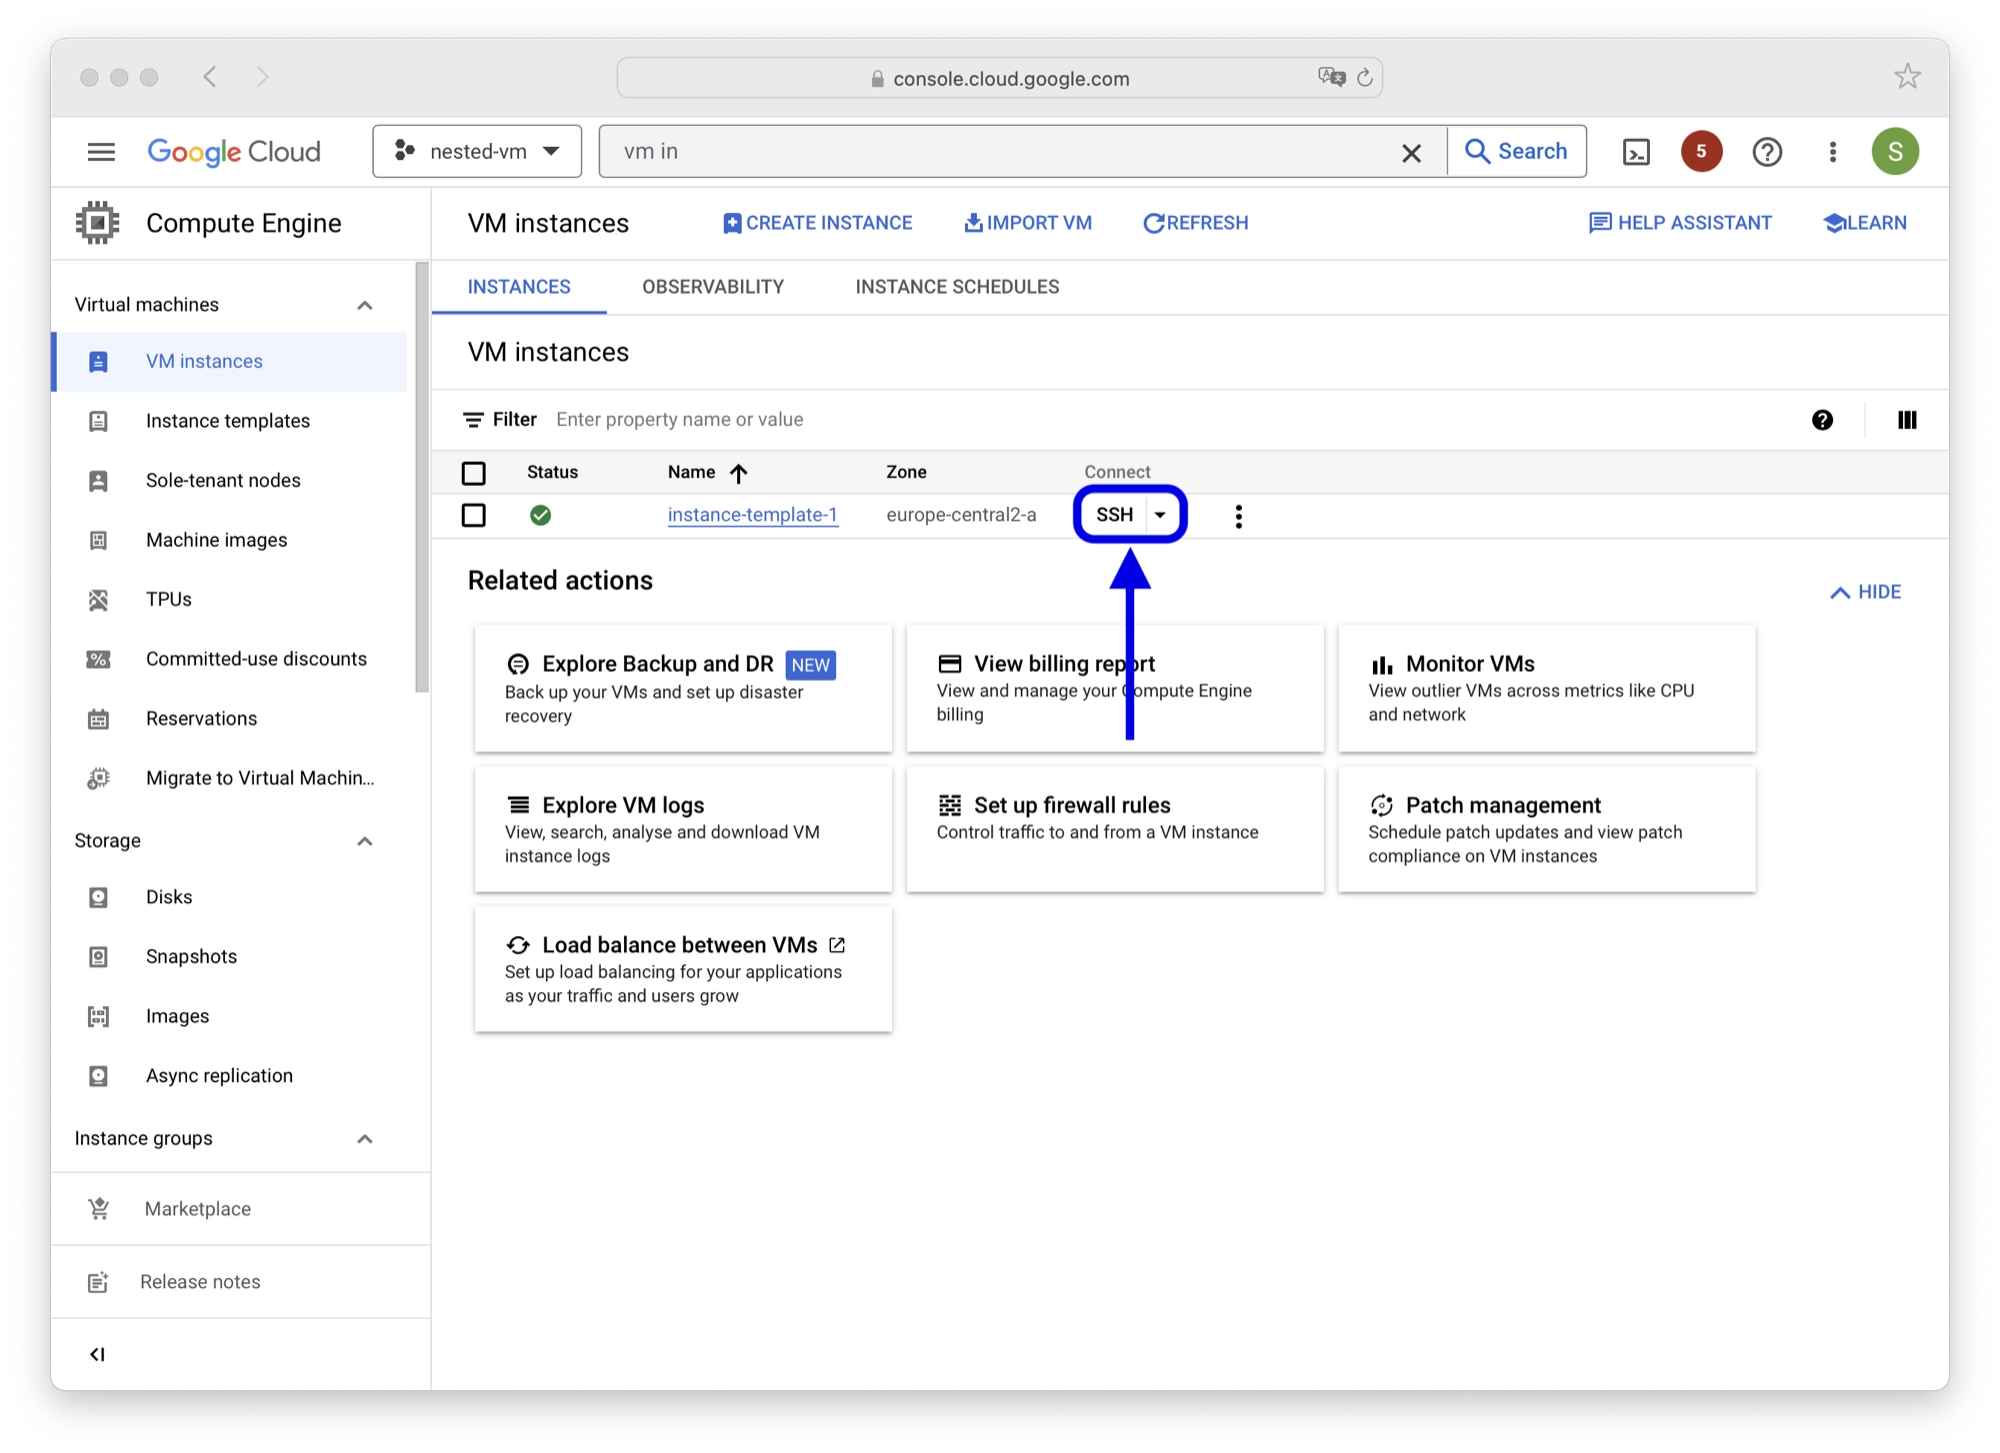
- Click SSH on the instance you created for nested virtualization.
- Enter the following command in order to install the CPU checker tool:
sudo apt install cpu-checker
- Next, enter the following command to check if virtualization has been enabled:
kvm ok
- If you have successfully enabled virtualization, you should receive the following message:
INFO: /dev/kvm exists
KVM acceleration can be used
Creating a QEMU L2 Virtual Machine
Now that you have successfully created an L1 instance on GCP, you are ready to create an L2 instance that will run your guest OS.
At this stage you may want to just grab yourself a copy of Virtualbox or jump onto Libvert to get your L2 hypervisor up and running.
However you might be interested in throwing together a quick test machine using nothing but QEMU. It is a nice little exercise for the brain!
For this example we will use Debian 11 for the guest OS, but you can choose a different operating system. Note that if you wish to run either a host or guest OS with a GUI, you should first install a GUI environment.
- First we should make sure everything is up to date:
sudo apt-get update && sudo apt-get upgrade -y
- Next, we need to install QEMU using the following command:
sudo apt install qemu qemu-utils qemu-system-x86 -y
- Before we can run a virtual machine, we need to create a disk image that we will use to install and boot Debian from. In this example we will allocate 10G, but you can choose a different size if you prefer:
qemu-img create debian.img 10G
- We also need to download the Debian installer. Visit the official download page and copy the download link to the
.isofile download. Then usewgetto download the.isofile, for example:
wget https://cdimage.debian.org/debian-cd/current/amd64/iso-cd/debian-11.6.0-amd64-netinst.iso
- We will also need to download the OVMF firmware for UEFI booting:
sudo apt-get install ovmf
- Once the OVMF firmware has downloaded, we can copy it to our working directory:
dpkg -L ovmf | grep /ovmf/OVMF.fd | xargs cp -t .
- We also need to extract the Debian kernel and ramdrive from the installation
.iso, so that we can inject a serial terminal configuration. First create a new directory and mount the.iso, amending the filename where necessary:
mkdir cdiso && sudo mount -o loop debian-11.6.0-amd64-netinst.iso cdiso
- Next, copy the kernel and ramdrive files from the mount directory to the current directory containing the QEMU start script:
cp cdiso/install.amd/initrd.gz . && cp cdiso/install.amd/vmlinuz .
- Next we will create a script to launch QEMU:
sudo nano start-debian.sh
- Add the following command to the script, which will configure and launch QEMU. Note that you may need to adjust the path for the Debian
.isoas necessary. Press ctrl + x followed by y in order to save and exit:
qemu-system-x86_64 \
   -bios /usr/share/ovmf/OVMF.fd \
   -m 1000 \
   -display default,show-cursor=on \
   -drive format=raw,file=debian.img \
   -cdrom debian-11.6.0-amd64-netinst.iso \
   -netdev user,id=n1 \
   -device virtio-net-pci,netdev=n1 \
   -kernel vmlinuz \
   -initrd initrd.gz \
   -append "console=ttyS0 nokaslr" \
   -nographic \
   -serial mon:stdio \
   -accel kvm
- Next we need to make the script executable:
sudo chmod +x start-debian.sh
- Now we can launch our L2 guest OS by executing the script:
sudo ./start-debian.sh
- When you reach the end of the Debian installation, it will ask you to remove the installation media (CD-ROM). Press
Ctrl + A, followed byCto enter the QEMU console and then enter the following command:
info block
- You will see a list of drives connected to your QEMU VM. Find the name of the CD drive, for example
ide1-cd0, and then type the following command, replacing<drive>with your virtual CD drive name.
eject <drive>
- Press
Ctrl + A, followed byCto exit the QEMU console and return to the Debian installation. Complete the installation and restart the VM.
- When the machine reboots, the installation might start fresh. Ignore this and quit QEMU. Next, edit the
start-debian.shscript so that it no longer uses the custom kernel and ramdisk. We also want to remove the installation media (CD-ROM):
qemu-system-x86_64 \
   -bios /usr/share/ovmf/OVMF.fd \
   -m 1000 \
   -display default,show-cursor=on \
   -drive format=raw,file=debian.img \
   -netdev user,id=n1 \
   -device virtio-net-pci,netdev=n1 \
   -nographic \
   -serial mon:stdio \
   -accel kvm
- Now we are finally ready to start our L2 hypervisor:
sudo ./start-debian.sh
Congratulations! You have now successfully configured nested virtualization on Google Cloud Platform and launched an L1 and L2 hypervisor!
Thanks so much for visiting my site! If this article helped you achieve your goal and you want to say thanks, you can now support my work by buying me a coffee. I promise I won't spend it on beer instead... 😏


Thank you very much.
Very helpful and I was able to get it to work with GCE + qemu-system-x86_64!
Fantastic! Very glad it helped and thanks for taking a moment to leave a comment!