Welcome to the beginner’s guide to integrating audio into your Swift macOS applications!
In this comprehensive article, we’ll walk you through the process of adding delightful sound effects, background music, or even voice-overs to enhance the user experience of your app.
This is Part 4 of the complete beginners guide to building a macOS app using Swift UI and Xcode.
Complete Beginners Guide: Swift & Xcode
- Part 1 – How to Make a macOS Desktop App: Beginners Start Here
- Part 2 – Beginners Guide to Adding Images, Sounds and Icons to Xcode
- Part 3 – An Easy Beginners Guide to Making a macOS GUI using Swift
- Part 4 – How to Add Audio to your macOS App Using Swift
- Part 5 – Beginners Guide to Xcode & Swift: Completing the App
By the end of this guide, you’ll have the skills and knowledge to bring your app to life with captivating audio.
We’ll be using a simple yet powerful code snippet in the form of a sound player class. This class leverages the capabilities of AVFoundation and SwiftUI to play audio files seamlessly within your macOS app.
Even if you’re new to Swift or audio integration, fear not! We’ll explain each step in detail, making it easy to follow along.
First, we’ll cover the basics of setting up your development environment and importing the necessary frameworks. You’ll learn about AVFoundation, the framework that enables audio playback, and SwiftUI, which allows for elegant user interface design.
Next, we’ll dive into the core functionality of the SoundPlayer class. You’ll discover how to play audio files using AVAudioPlayer, set delegates for handling playback events, and prepare the audio for seamless playback.
We’ll also explore the vital task of locating sound files within your app’s bundle and handling scenarios where a file might not be found. Additionally, you’ll learn how to manage multiple AVAudioPlayer instances efficiently, ensuring a smooth user experience.
Throughout the guide, we’ll provide explanations and insights into the code, making it accessible for beginners while also offering valuable tips for more experienced developers.
So, whether you’re building a music player, a game, or an interactive application, get ready to add that special touch to your Swift macOS app with the magic of audio. Let’s embark on this sonic journey and unlock the power of sound together!
Prerequisite
This article follows on from the previous three parts in this tutorial series. If you are following on from part 3 of the tutorial series then you can skip this section as you are already good to go!
If you have landed here directly and just want to learn how play audio in your Swift project, it is not essential that read the previous articles in the series, however you will need to ensure that you have the following ready:
- Xcode installed and macOS 11.0 or newer.
- A SwiftUI Xcode project configured and ready to use.
- Some suitable audio assets.
However if you are new to Swift and are still learning the basics, I would highly recommend checking out our complete Swift beginners guide to building a macOS app. It is entirely free and you can click here to get started with part 1.
Creating a New SoundPlayer File
The first thing that we are going to want to do is create a new source code file for our Xcode project that can handle the playback of audio.
Whether you are following on from the previous part of the series or just looking to add sound playing capabilities to your project, the process will be the same.
To maintain organization and modularity, we will create a separate source code file for the sound player class. This class acts as a self-contained module within our main application, responsible for managing the playback of sound.
By isolating its implementation in its own file, we ensure a clearer and more structured codebase, making it easier to manage and maintain our audio playback functionality.
This will help to keep our code organized, but it is also useful should you ever want to use the code in a different project. Simply import the file and voila! You have audio playback capability in your project.
To create a new Swift file we first need to choose exactly where we want to create the file. Select the Content View file is selected in the Navigator in order to ensure that the new file we create is placed along side it in the project.
Next, click File > New > File… and then choose the macOS tab, followed by Swift File to create a new Swift file.
Name the file SoundPlayer and save it into your project folder. You should notice that you now have a new file shown in the project tree of the Navigator display named SoundPlayer.
Double-click the SoundPlayer file in order to open it in the main code editor.
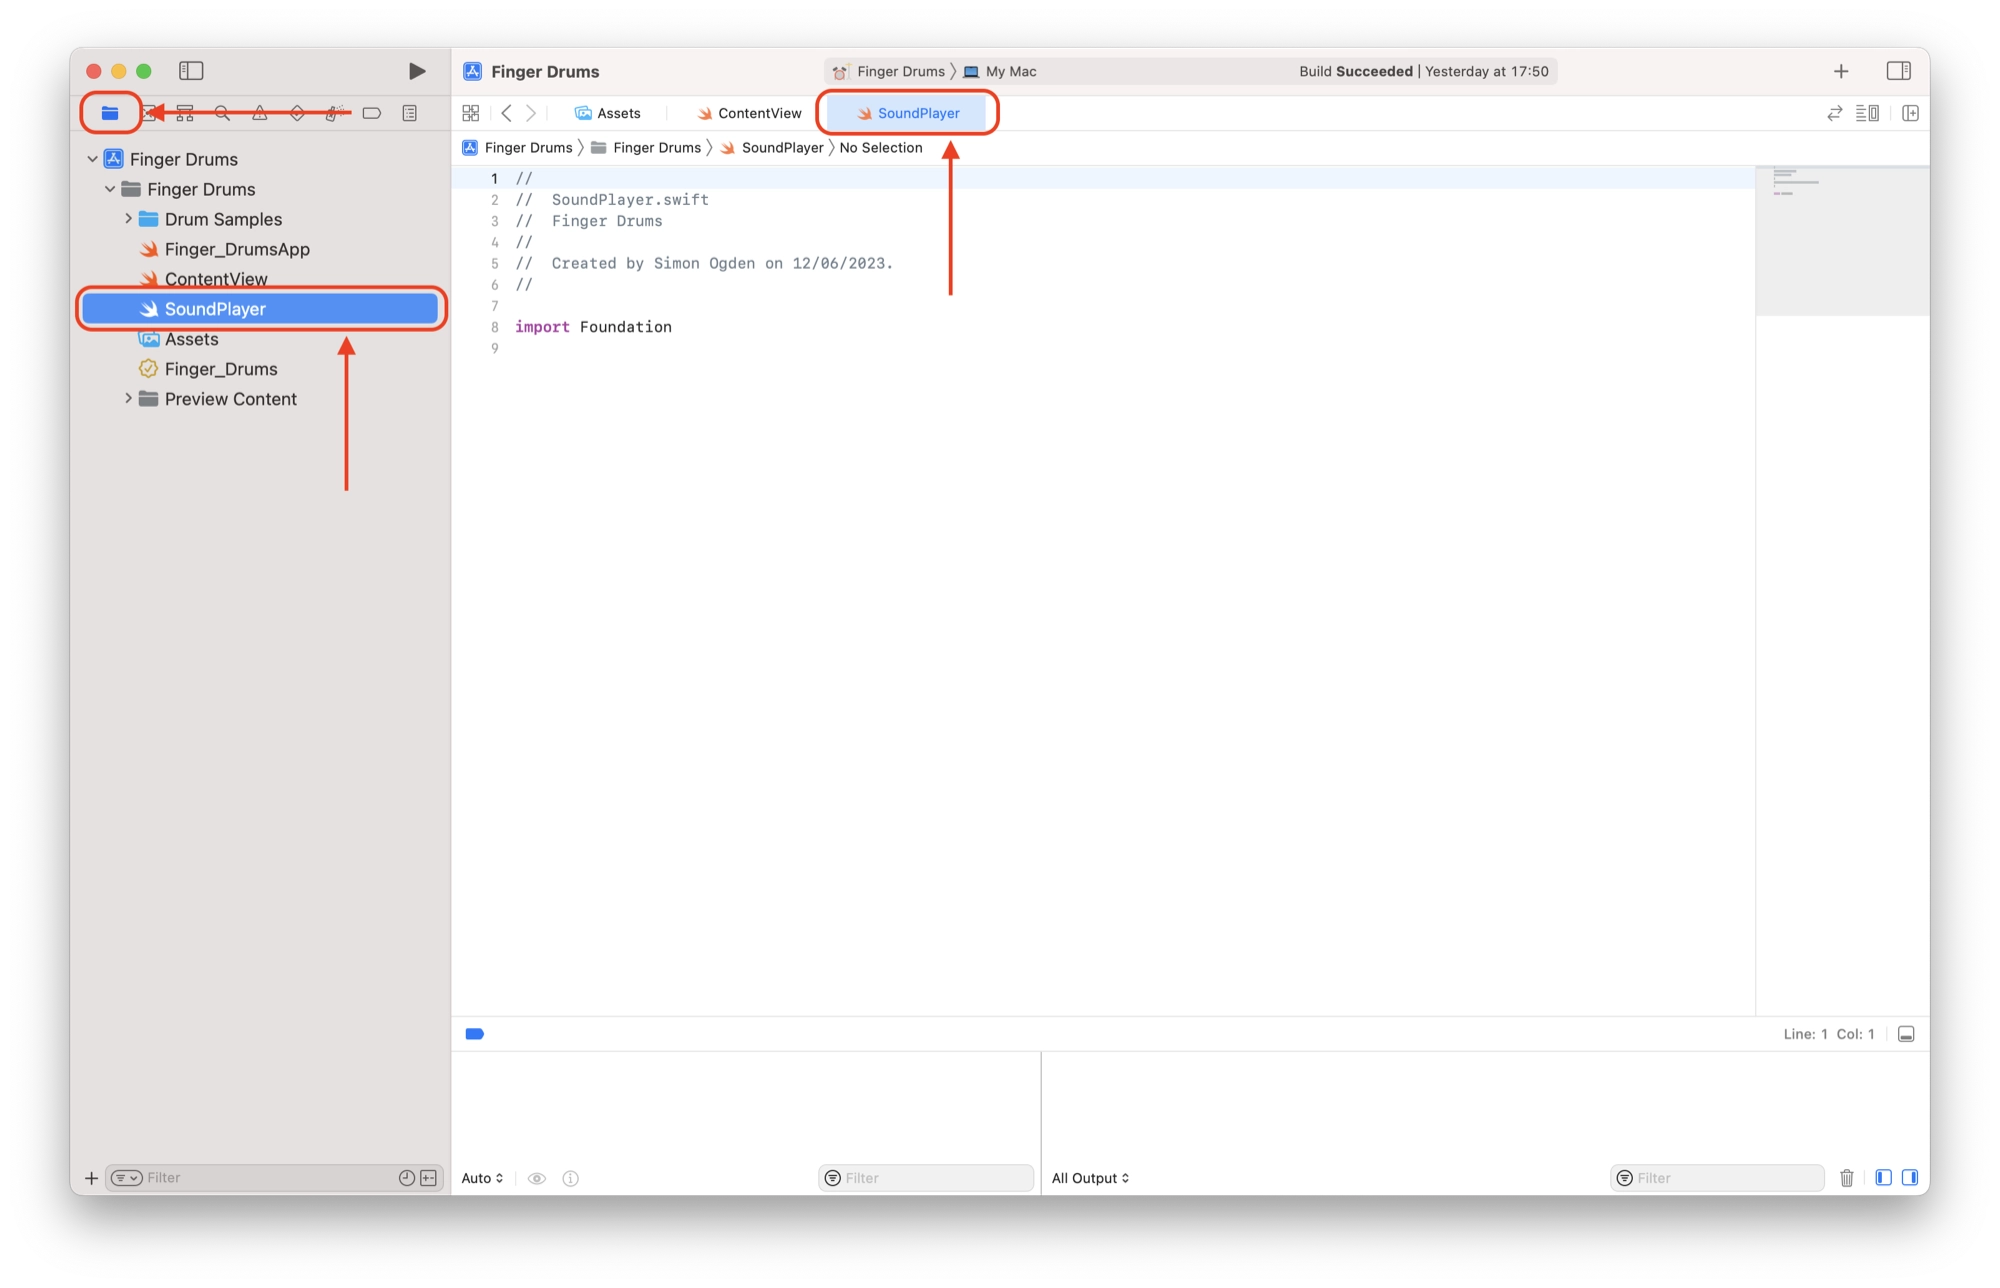
When creating new Swift files, they typically come with a default comment header that contains information such as the file name, author, and creation date. It is generally recommended to keep this comment header as is or update it with relevant information.
Additionally, new Swift files often include an import statement that may import foundation or other modules depending on the template or project settings. However, in the specific case of the SoundPlayer file, the import statement for the foundation module is not necessary.
Therefore, you can leave the default comment header as is or modify it if needed, and you can remove the import statement for the foundation module if it is present in the SoundPlayer file.
Importing the Necessary Modules
We will however be using the AVFoundation module to play back sound, therefore the first thing we need to do is import the AVFoundation module:
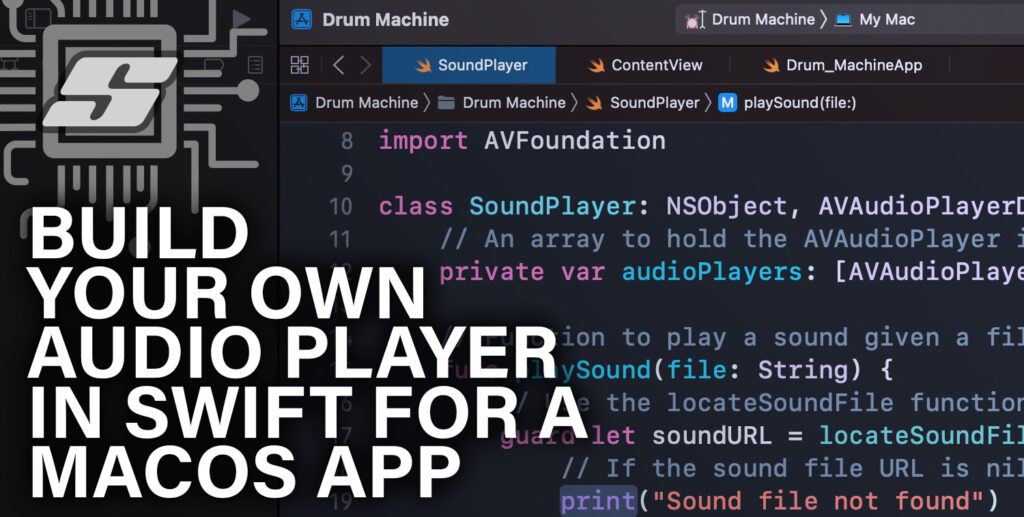
//
//  SoundPlayer.swift
//  Finger Drums
//
//  Created by Siytek on 12/06/2023.
//

import AVFoundation
The line import AVFoundation in the code is like a special instruction that tells the computer to bring in a ready-to-use set of tools and functions called AVFoundation.
It’s a collection of resources created by Apple that helps developers work with audio and video media in their apps.
By importing AVFoundation, the code gains access to all the handy tools and features it provides, making it easier to handle tasks like playing, recording, and manipulating audio.
In essence, by using import AVFoundation, the code is saying, “Hey, I want to use this cool library called AVFoundation that Apple has already built for working with audio and video stuff.”
It’s like borrowing a well-equipped toolbox instead of building all the tools from scratch. The AVFoundation framework saves time and effort for developers by providing a ready-made set of functionalities to handle audio-related tasks efficiently.
Creating the Sound Player Class
The next thing that we need to add to our file is a new class, which we will name SoundPlayer. First we will take a look at the complete code and then we will break it down line by line to better understand what is happening.
class SoundPlayer: NSObject, AVAudioPlayerDelegate {
    // An array to hold the AVAudioPlayer instances
    private var audioPlayers: [AVAudioPlayer] = []

    // Function to play a sound given a file name
    func playSound(file: String) {
        // Use the locateSoundFile function to get the URL of the sound file
        guard let soundURL = locateSoundFile(file) else {
            // If the sound file URL is nil, print an error message and return
            print("Sound file not found")
            return
        }

        do {
            // Create an AVAudioPlayer instance with the sound file URL
            let audioPlayer = try AVAudioPlayer(contentsOf: soundURL)

            // Set the delegate of the audioPlayer to self (SoundPlayer)
            audioPlayer.delegate = self

            // Prepare the audioPlayer for playback
            audioPlayer.prepareToPlay()

            // Start playing the audio
            audioPlayer.play()

            // Add the audioPlayer to the array
            audioPlayers.append(audioPlayer)
        } catch {
            // If there is an error initializing the AVAudioPlayer, print the error message
            print("Failed to play sound: \(error.localizedDescription)")
        }
    }

    // Function to locate the sound file URL given a file name
    private func locateSoundFile(_ fileName: String) -> URL? {
        // Get the URL of the sound file from the main bundle
        return Bundle.main.url(forResource: fileName, withExtension: nil)
    }

    // Delegate method called when the AVAudioPlayer finishes playing a sound
    func audioPlayerDidFinishPlaying(_ player: AVAudioPlayer, successfully flag: Bool) {
        // Find the index of the finished audioPlayer in the array
        if let index = audioPlayers.firstIndex(of: player) {
            // Remove the finished audioPlayer from the array
            audioPlayers.remove(at: index)
        }
    }
}
This code is defining a blueprint or a template for something called a “SoundPlayer”. It’s like a blueprint for a specific type of object that can do certain things.
This SoundPlayer blueprint is designed to inherit properties and behaviors from two other things called NSObject and AVAudioPlayerDelegate.
These are like building blocks or pre-defined components that provide the SoundPlayer with additional functionality and capabilities.
class SoundPlayer: NSObject, AVAudioPlayerDelegate {This line defines a new class called SoundPlayer. It is a subclass of NSObject and conforms to the AVAudioPlayerDelegate protocol. In Swift, a class is a blueprint for creating objects that have properties and methods.
private var audioPlayers: [AVAudioPlayer] = []
This line declares a private property called audioPlayers, which is an array of AVAudioPlayer instances. The AVAudioPlayer class allows you to play audio files.
func playSound(file: String) {This line declares a function called playSound that takes a String parameter called file. This function is used to play a sound given a file name.
guard let soundURL = locateSoundFile(file) else {
    print("Sound file not found")
    return
}
This line uses a guard statement to safely unwrap the result of calling the locateSoundFile function with the file parameter. If the result is nil, which means the sound file could not be found, it prints an error message and returns from the function.
do {
    let audioPlayer = try AVAudioPlayer(contentsOf: soundURL)
    audioPlayer.delegate = self
    audioPlayer.prepareToPlay()
    audioPlayer.play()
    audioPlayers.append(audioPlayer)
} catch {
    print("Failed to play sound: \(error.localizedDescription)")
}
This block of code is executed if the sound file URL was successfully obtained. It creates an AVAudioPlayer instance called audioPlayer using the sound file URL.
Then, it sets the delegate of the audioPlayer to self, which means the SoundPlayer object will receive notifications about the player’s events. It prepares the audioPlayer for playback, plays the audio, and adds the audioPlayer to the audioPlayers array.
If there is an error initializing the AVAudioPlayer, it catches the error and prints the error message.
private func locateSoundFile(_ fileName: String) -> URL? {
    return Bundle.main.url(forResource: fileName, withExtension: nil)
}
This is a private function called locateSoundFile that takes a file name as a parameter. It uses the Bundle class to get the URL of the sound file from the main bundle. The main bundle typically contains the resources (like sound files) included in the app.
func audioPlayerDidFinishPlaying(_ player: AVAudioPlayer, successfully flag: Bool) {
    if let index = audioPlayers.firstIndex(of: player) {
        audioPlayers.remove(at: index)
    }
}
This function is called when an AVAudioPlayer finishes playing a sound. It receives the finished player and a flag indicating whether the playback was successful. Inside the function, it finds the index of the finished audioPlayer in the audioPlayers array and removes it from the array.
That’s a breakdown of the code. Overall, the SoundPlayer class provides functionality to play sound files using AVAudioPlayer and keeps track of the active audio players.
How to Use The SoundPlayer Class
Now that we have created our new sound player class, let’s take a look at how we can use it.
First, we will look at the generic usage of the class. This will be useful for those looking to use the SoundPlayer class in any project that requires audio playback.
We will then take a look at how to include the class in the Finger Drums project, for those who have been following along with the whole tutorial series.
Adding SoundPlayer to Your Project
Assuming that you have now created the SoundPlayer.swift file and have it included in your project, the first thing to do is create a new instance of the SoundPlayer class in your application window.
For a generic project, you can create a new instance of SoundPlayer directly in the ContentView file:
import SwiftUI

struct ContentView: View {
    let soundPlayer = SoundPlayer()
	// Your code here
}
Using the PlaySound Function
Once you have initialized a new instance of the class, you can play sounds by calling the playSound function within the class:
soundPlayer.playSound(file: "mySound")
The following code demonstrates a very simple example, where a button is created which will play back the sound mySound.wav.
import SwiftUI

struct ContentView: View {
    let soundPlayer = SoundPlayer()

    var body: some View {
        VStack {
            Button(action: {
                soundPlayer.playSound(file: "mySound.wav")
            }) {
                Text("Play Sound")
            }
        }
    }
}
Adding the SoundPlayer to the Finger Drums Project
In this tutorial, we explored how to build a SoundPlayer in SwiftUI, allowing us to play audio files within our app.
We started by creating a SoundPlayer class that utilizes the AVAudioPlayer framework for audio playback. We implemented functions to play a sound given a file name, locate the sound file URL, and handle the completion of audio playback.
In part 5 of this tutorial we will learn how to link the new SoundPlayer class to our Finger Drums project, as well as putting the final touches on the app!
I am currently writing the part 5 article and expect it to be published in the next couple of days. If you want to be notified, send a quick email to [email protected]
Thanks so much for visiting my site! If this article helped you achieve your goal and you want to say thanks, you can now support my work by buying me a coffee. I promise I won't spend it on beer instead... 😏


I like your work, however, it is most difficult to follow because the advertisements continually shift the screen away from what I am trying to read and/or copy into my own Xcode. Even the copy-code buttons often won’t stay still long enough for me to click on them.
Hi Patrick, many thanks for visiting and taking the time to comment. Sorry to hear you are having difficulties with the ads. Ads are unfortunately a necessary evil and although they can be annoying, they allow content creators to give a whole bunch of content away for free.
With that said, I regularly visit my sites in different countries from cafes and hotels using a variety of internet speeds and I almost never experience layout shift due to ads. What browser are you using? How fast is your internet connection? What is the spec of your Mac?
I was using Google Chrome with a MacBook Pro. I have a cable connection to the Internet. The Mac is three or four years old, but rarely has slow-down problems.