
Importing graphics into KiCad 6 is absolutely possible and has been made very easy with the Image Converter tool.
This guide will walk you through the process of using Image Convertor, so that you can add your logos and other images to your PCB design.
Why Is an Image Converter Required, anyway?
Printed circuit board designs are stored within the computer as CAD data, similar to vector formatted images. This allows the design to be output in machine friendly formats such as Gerber so that board fabricators can manufacture the design.
Logos and artwork tend to be stored in pixel format as rasterized data. For more information you can read a good comparison between the two here.
The image converter tool serves as a tool to convert rasterized images, such as logos, into vector type data that can be used in KiCad.
Bitmaps can be converted in KiCad to either to a schematic symbol or for use in the actual PCB design. The image conversion tool can be used for both purposes.
Converting An Image With Image Converter
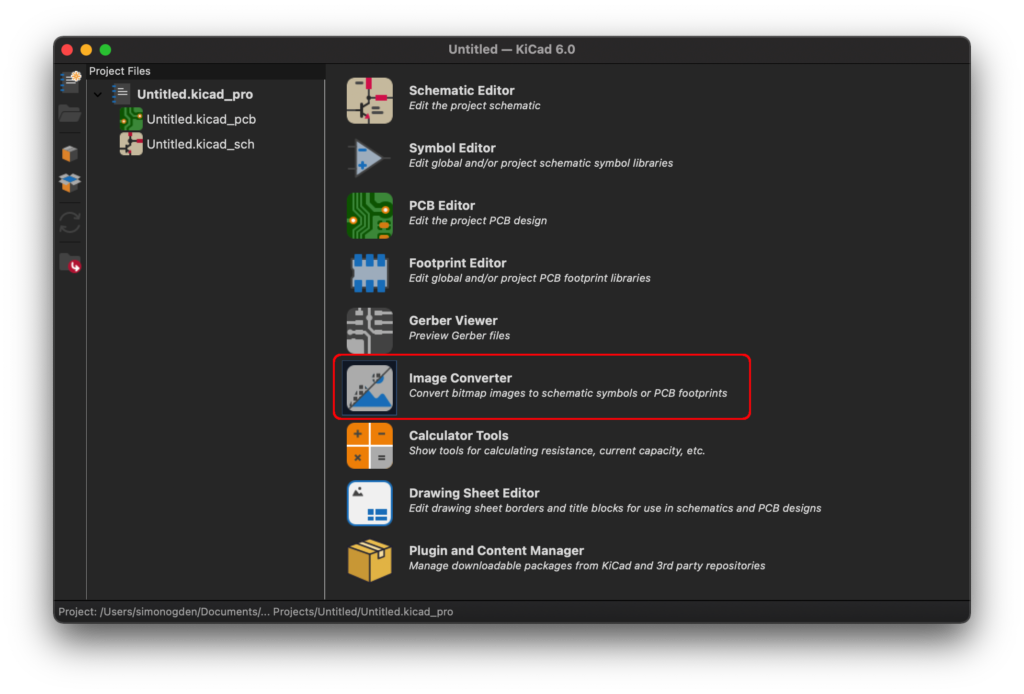
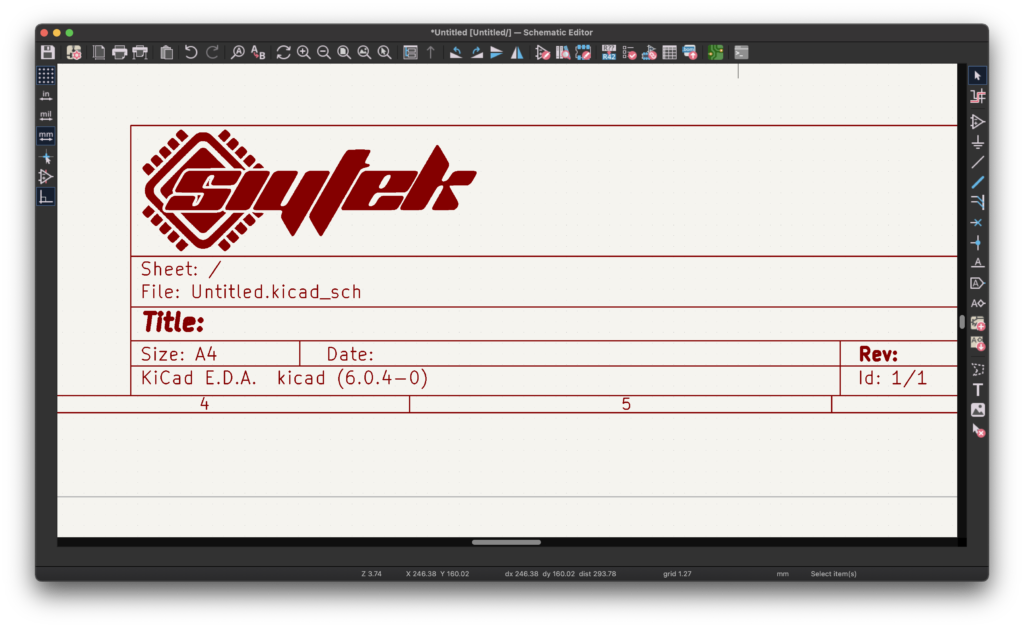
In order to begin converting an image for use in KiCad, first open the Image Converter from the main KiCad screen.
The image converter is fairly simple to use but it should be noted that as the image will be converted to a vector, there is a limitation in that only one color and a background color can be used.
The conversion uses a black to white threshold that can be set to generate the desired result. In order to demonstrate in this example, we will use the Siytek logo.
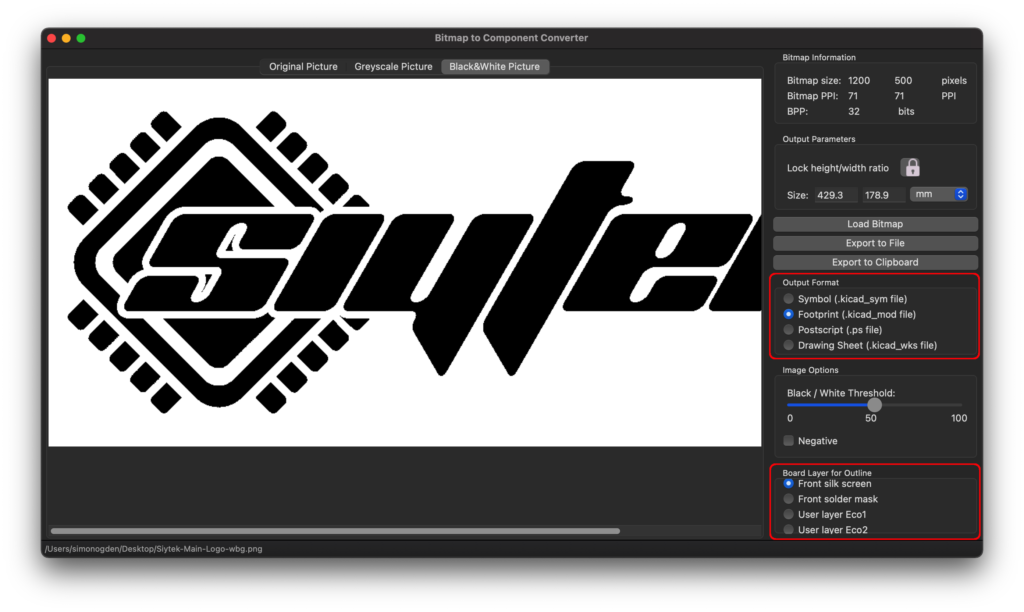
Step 1: In order to load an image, click Load Bitmap in the right-hand toolbar and choose the image.
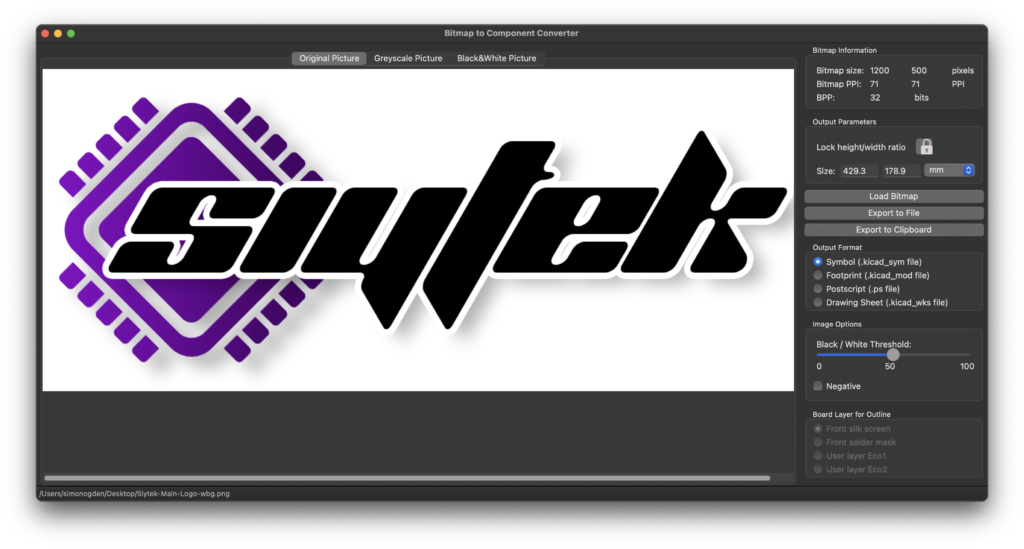
There are three tabs above the picture, original picture, greyscale picture and black & white picture. These assist in previewing what the final image will look like.
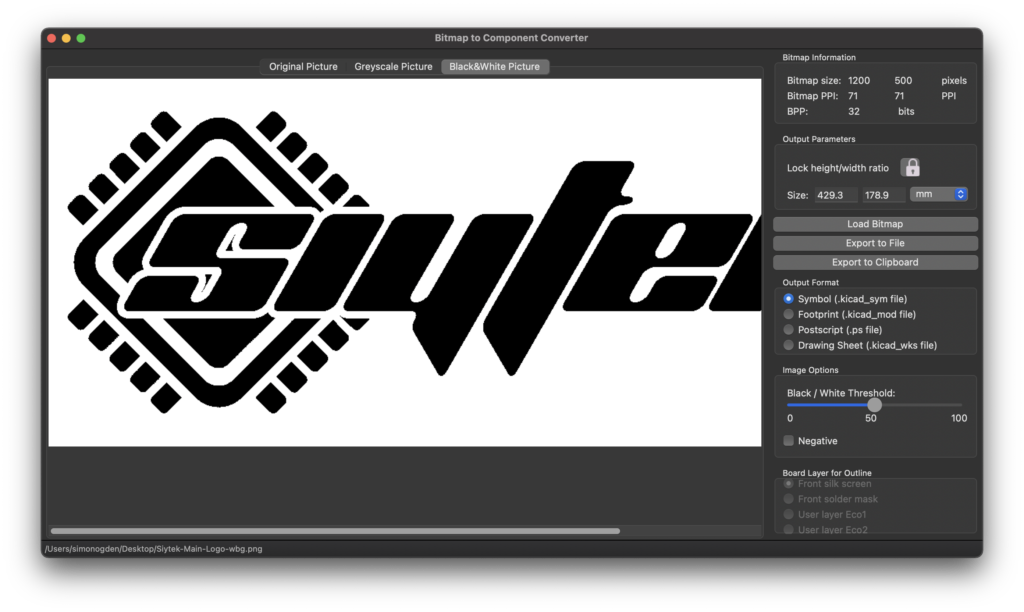
Switching to black & white picture will give a preview of what the image will look like when used in a KiCad schematic or PCB design.
Step 2: The following parameters can be set in order to achieve the desired result:
Bitmap Information: Useful information about the bitmap file is given here.
Output Parameters: Here it is possible to choose the output size of the graphic. It is worth measuring the rough size required within the design first and entering the dimension here so that the graphic fits in the desired location.
Output Format: The output format should be chosen based upon the target location for the graphic. Symbol should be chosen for schematic sheets and component symbols, footprint should be chosen for graphics to be used in PCBs.
Image Options: Adjust the black and white Threshold option on the right-hand toolbar between 0 and 100 to achieve the desired result, although in many cases the default value of 50 will give good results, especially if the image is a simple logo on black or white background.
Board Layer for Outline: These options are available when outputting to footprint and define the target layer within the PCB.
Convert A Bitmap To Schematic Symbol
The image converter allows us to convert a bitmap image into a schematic symbol. These can be used either as individual images to add to the schematic sheet or as part of a component symbol, such as in the following examples.
Step 3: Once you have loaded an image into the converter and set the parameters as desired, if you wish to simply paste it into an existing symbol within the symbol library editor, you can click export to clipboard and then simply paste it into the symbol design.
Step 4: It is also possible to turn the graphic into its own symbol, for example to be stored within a logo library. In this case choose export to file and save the file to a known location.
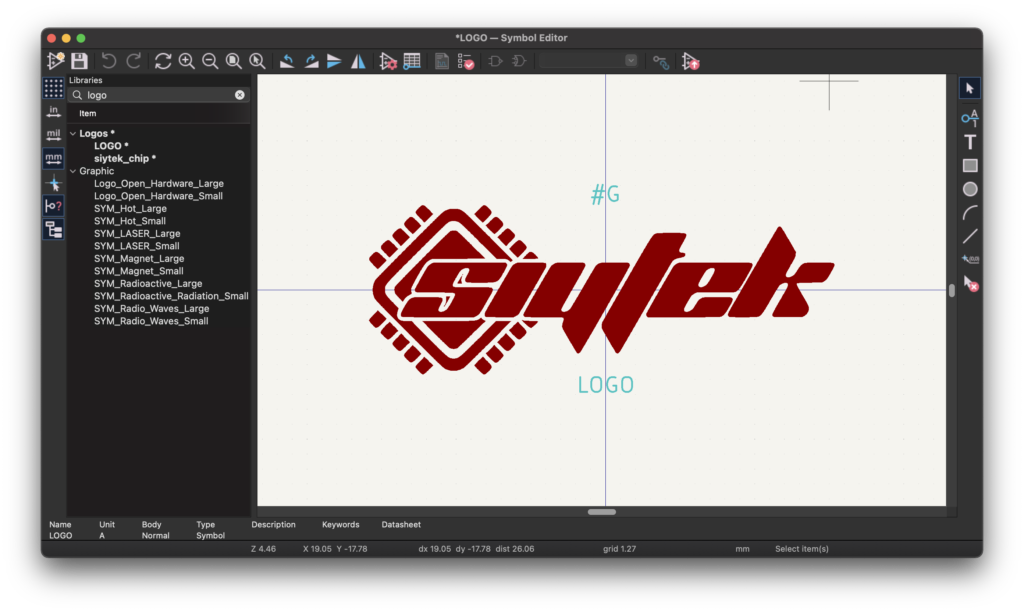
Step 5: Next, open the symbol editor and either create a new library by clicking File > New Library or locate an existing library you wish to add the logo symbol to.
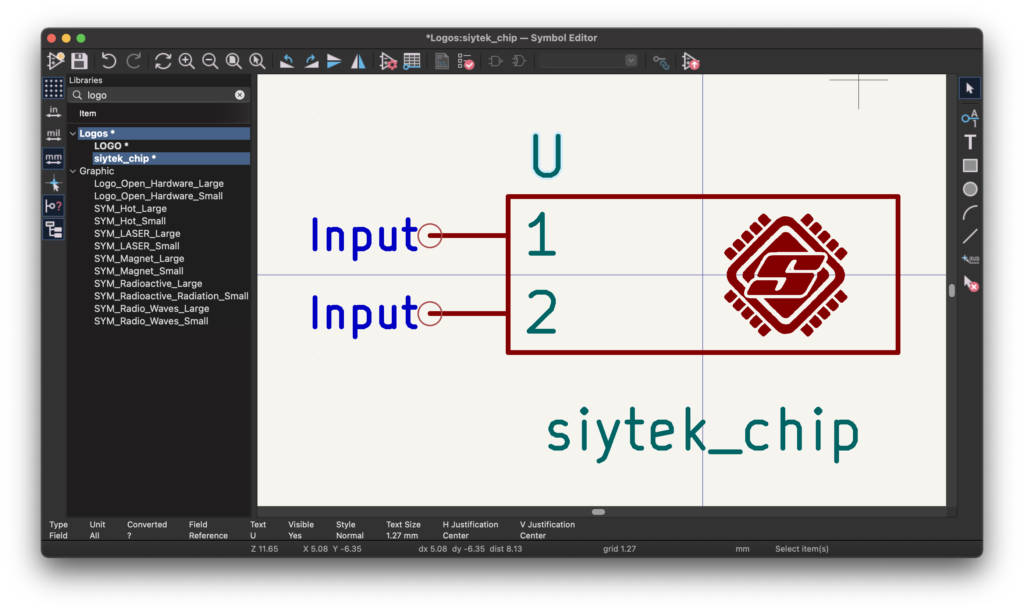
Right-click the desired library in the left-hand menu and choose import symbol. Locate and select the symbol file that you create with the image converter.
This will create a new symbol within the library containing the graphic that you converted earlier. This can be placed within a schematic like any other component.
Add A Bitmap To a PCB
If you wish to import a graphic into a PCB board, such as on the silkscreen or in the soldermask layer, the process is very similar.
Step 6: The output format should be changed to footprint and the board layer for outline option should be set as desired.
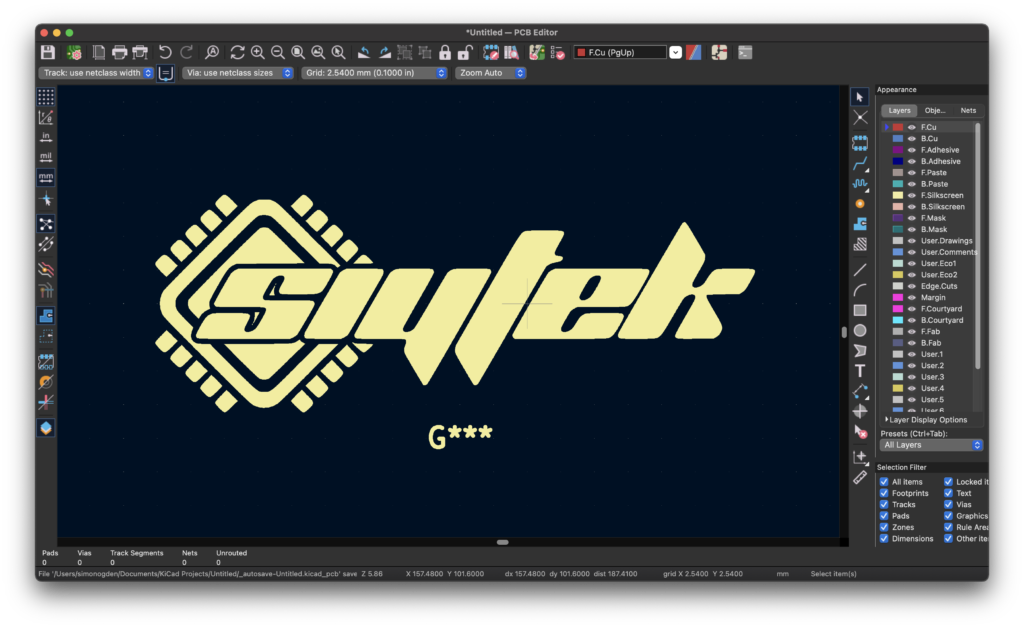
Step 7: If you simply wish to paste the graphic into the design (one time use) then go ahead and click export to clipboard. You can simply paste the graphic directly into the PCB design. It will appear on the layer set in the board layer for outline option.
Step 8: If you wish to create a footprint (for example a re-usable logo), go ahead and click export to file.
Step 9: Next, open the footprint editor and either locate the library where you wish to add the graphic or click File > New Library to create a new one.
Step 10: Right-click the target library and choose Import Footprint. Locate and import the file that you created with the image converter.
This will place the image within the newly created footprint. You can now easily place this image in multiple designs in the same way that you would add any other footprint.
Conclusion
Converting a bitmap image to a usable vector format for use in a PCB design is not always a task as simple as it should be.
As we have learned in this article, some additional steps are required to convert a bitmap format into a format that is friendly to PCB fabrication machines, such as Gerber.
However the tools in KiCad 6 make this conversion a breeze and in my opinion, a far more simple task than it can be with some of the competitor PCB design software solutions.
If you enjoyed this article, why not check out some of my other cool KiCad tips!
Thanks so much for visiting my site! If this article helped you achieve your goal and you want to say thanks, you can now support my work by buying me a coffee. I promise I won't spend it on beer instead... 😏