
I have been wanting to add a LED strip under my sofa for quite some time now. The plan is to link it in Home Assistant so that it mirrors the settings for the LEDs behind my TV cabinet.
I have had mixed results with LED strip, sometimes it can be tricky to get it to stick. I had to add additional double sided tape to the LED strip behind my TV cabinet as it refused to stay stuck down to the chip board on the back.
For the electronics I used a MagicHome WiFi controller flashed with Tasmota and linked to my Home Assistant server. Although if you are not a smart home enthusiast, using the basic MagicHome app will do just fine.
Table of Contents
- Moving the sofa
- Marking the position
- Frame materials
- Frame layout
- Trimming the frame
- Attaching the LED strip
- Configure the software
- End result
Moving the sofa
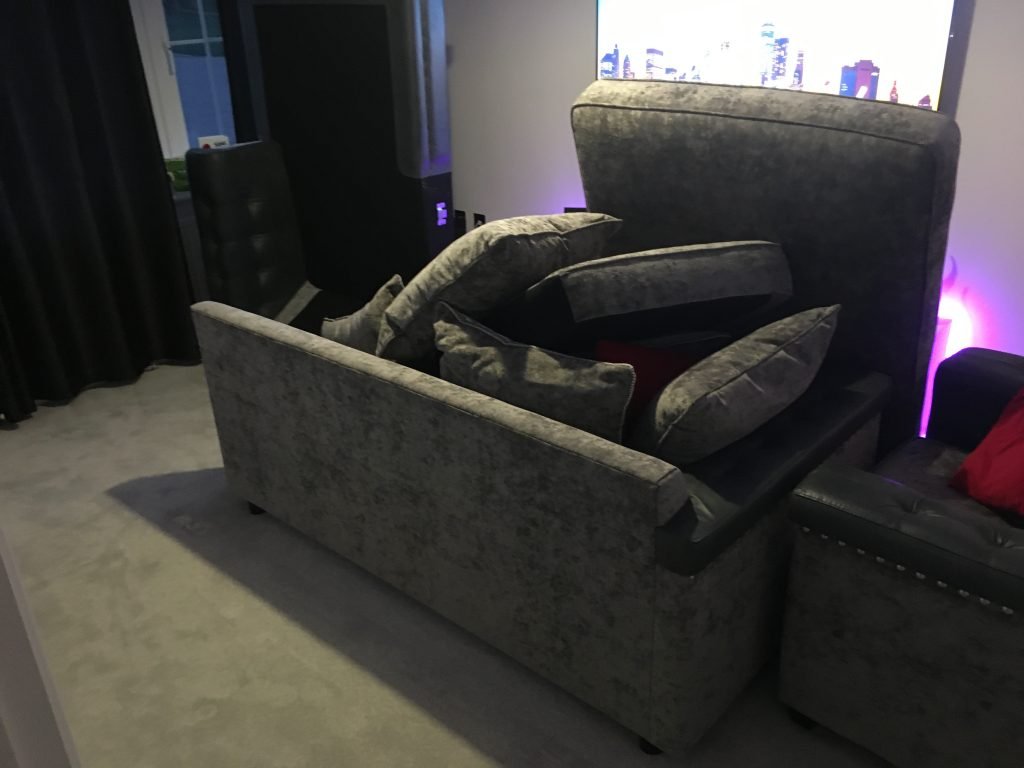
As I have yet to completely move the sofa from its resting place since moving into this house a few years ago, this is a good opportunity to give everything a good clean.
The sofa is huge compared with the living room, great for movies! Not so great for cleaning. After some sweating I managed to push everything to the front of the room.
Marking the position
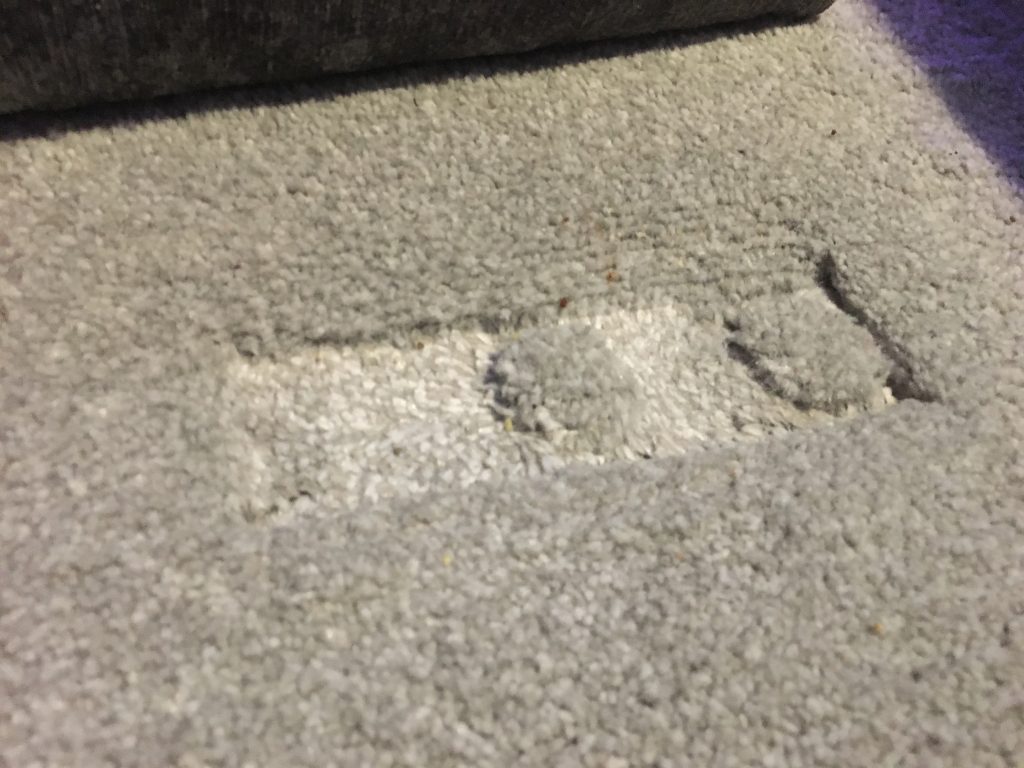
If you don’t have a carpet in the room then you will probably want to mark the position of the feet to use as a guide for placing your LEDs. If you have a carpet then you can just use the marks left by the sofa.
Frame materials
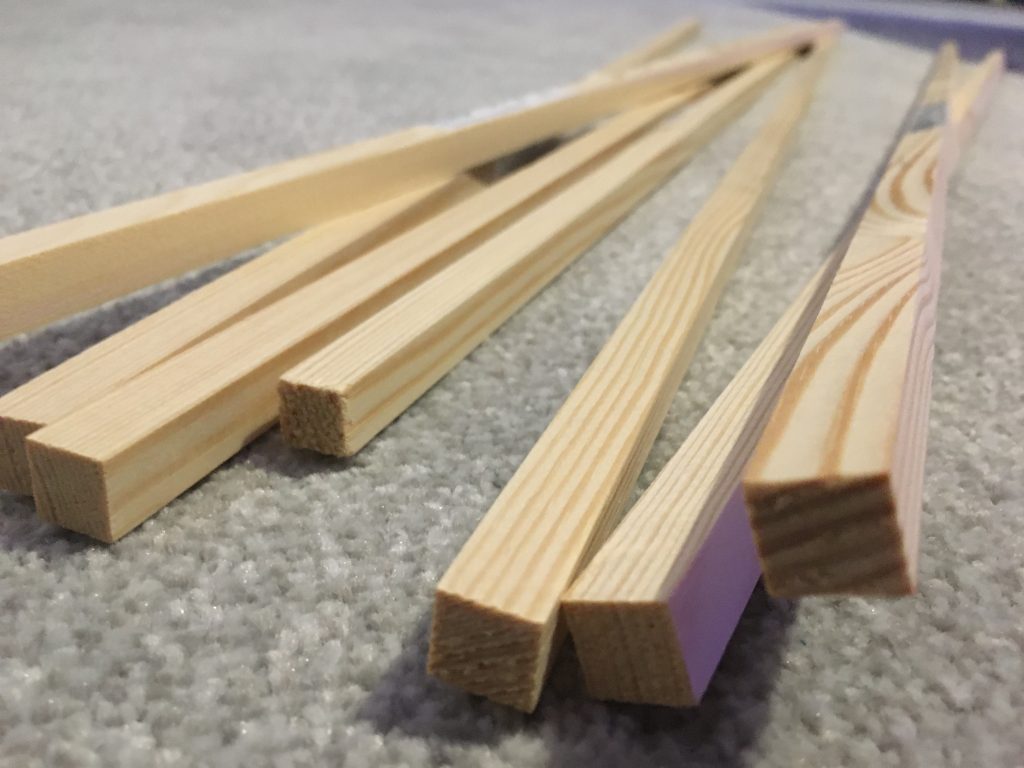
In order to build a frame to support the LEDs I went to the DIY store and purchased some 11x11mm pine in 0.9m lengths.
They sold longer pieces but this would have required driving home with them poking out of the window.
This is the perfect size for attaching the LED strip, although you could use a larger size.
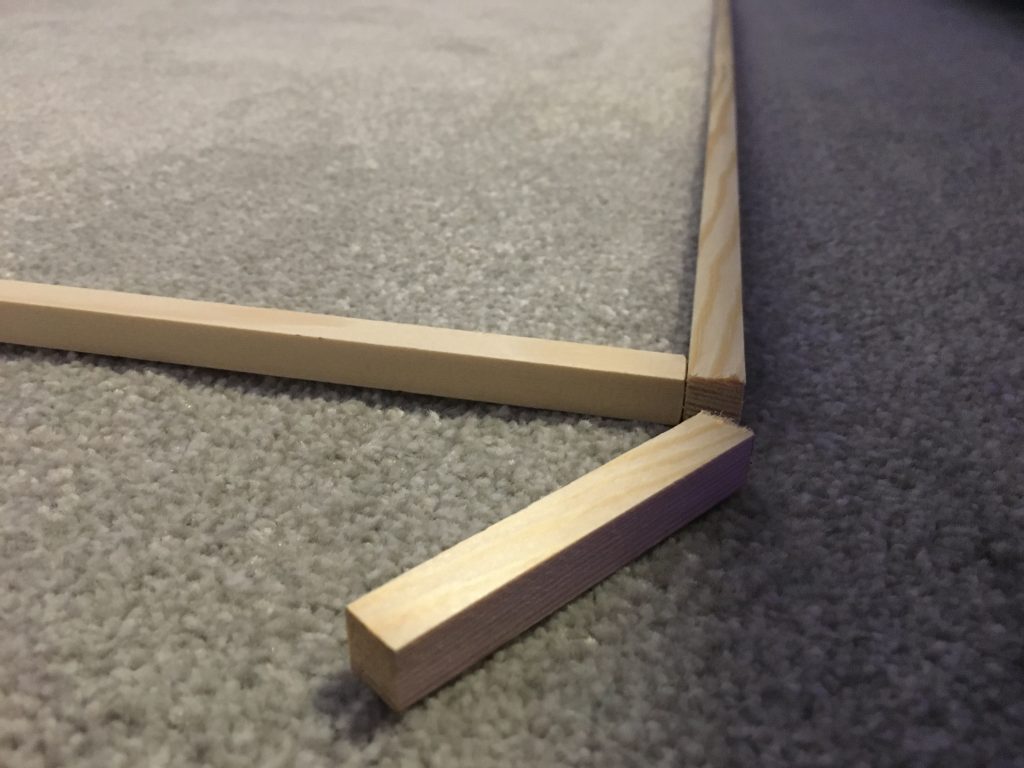
Frame layout
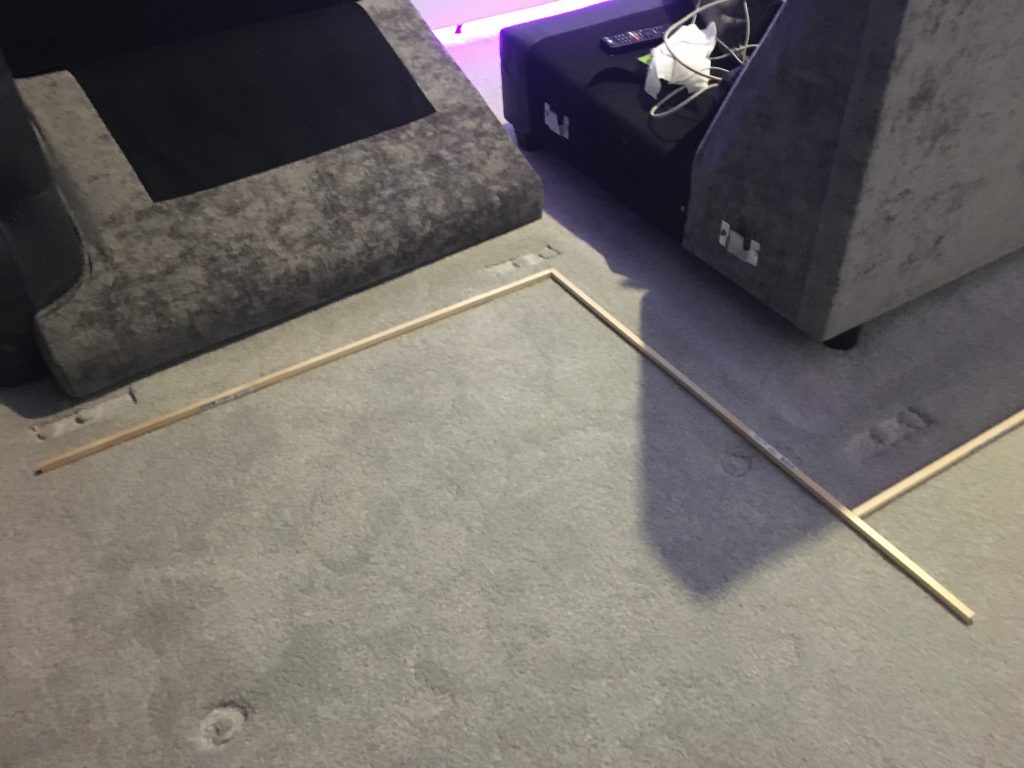
The first step was to lay out the frame using the sofa foot marks on the carpet. The 0.9m lengths work very well and needed minimal fettling.

Here you can see the marks in the carpet where the sofa feet are positioned. Once complete the sofa can be returned back to its original position.
Trimming the frame
One piece of the frame was slightly too long and needed to be trimmed in order to allow the LED strip to bend 90 degrees. A quick tickle with the handsaw was all the was required to trim it down.
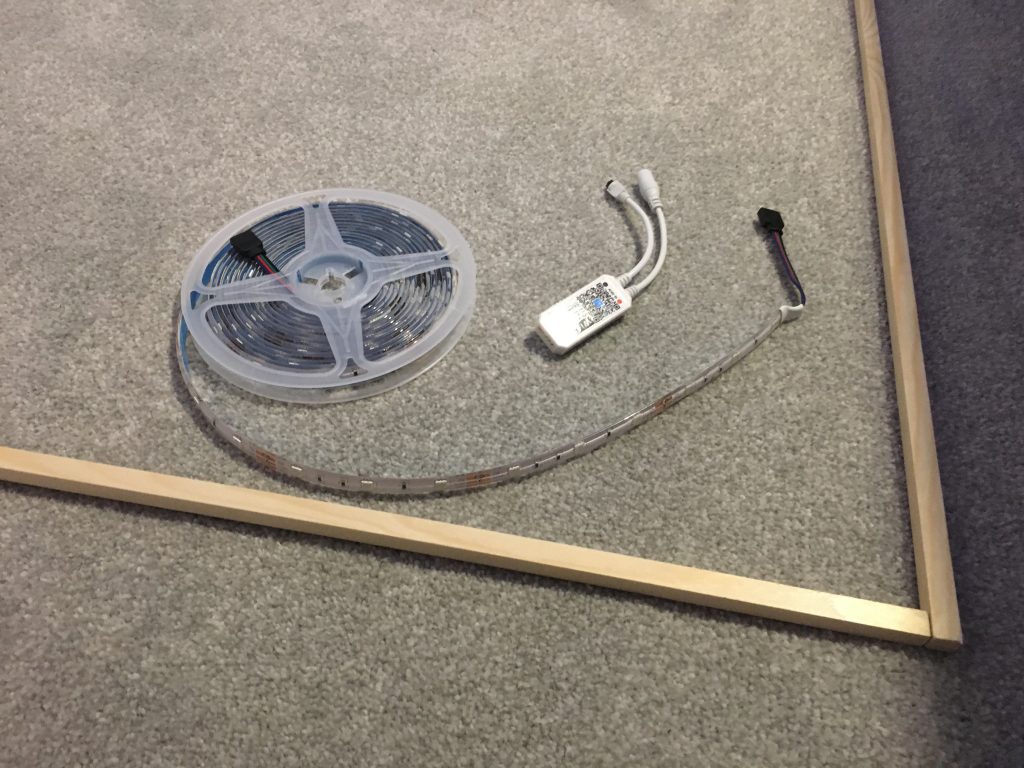
Attaching the LED strip
Now it’s time to unbox the LED strip! I decided to use a simple RGB only strip as I only want an accent of colour under the sofa.
The strip is not addressable as I don’t intend on implementing and crazy effects in this room, just some nice mood lighting. Of course you could use addressable LEDs if you wanted something a little less understated.
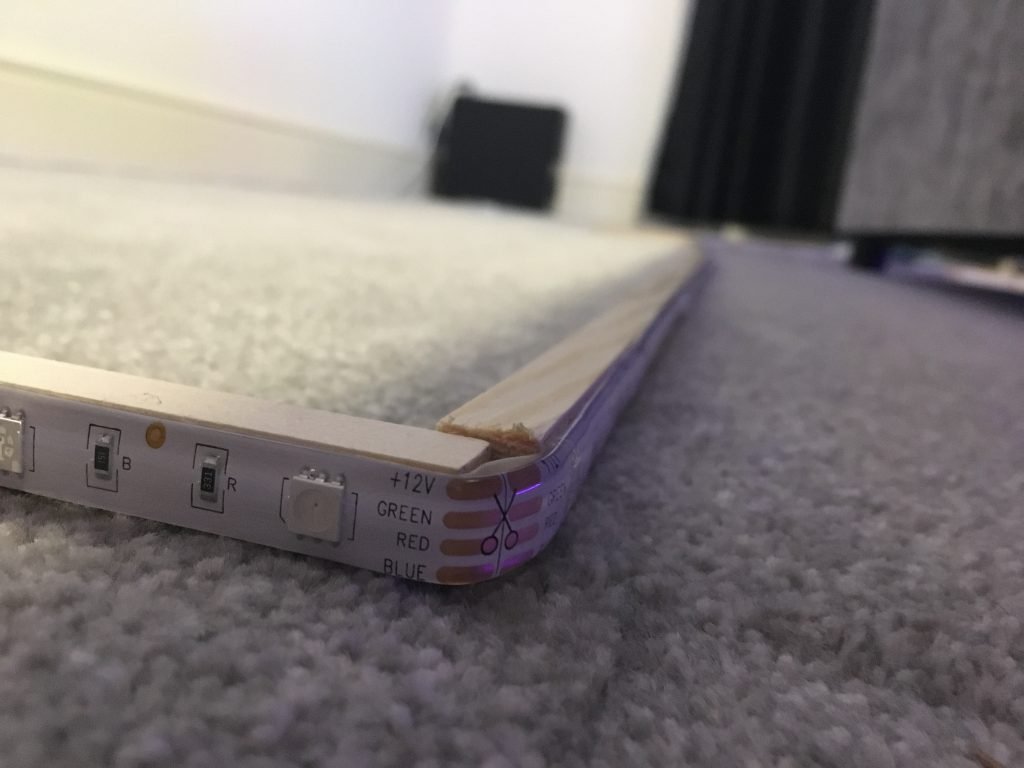
The LED strip sticks very well to the frame and the 5 meter strip is plenty long enough to span the length of the frame with around a half meter to spare.
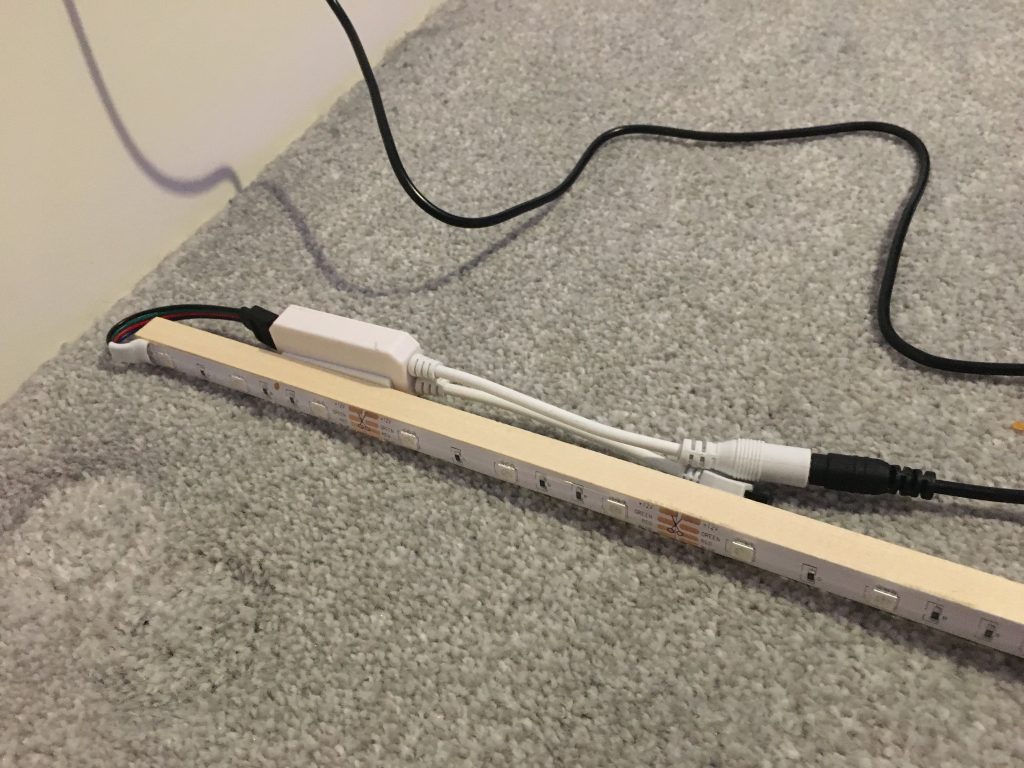
The MagicHome controllers come with a super sticky 3M pad. I cut it in half and stuck it to the bottom of the controller.

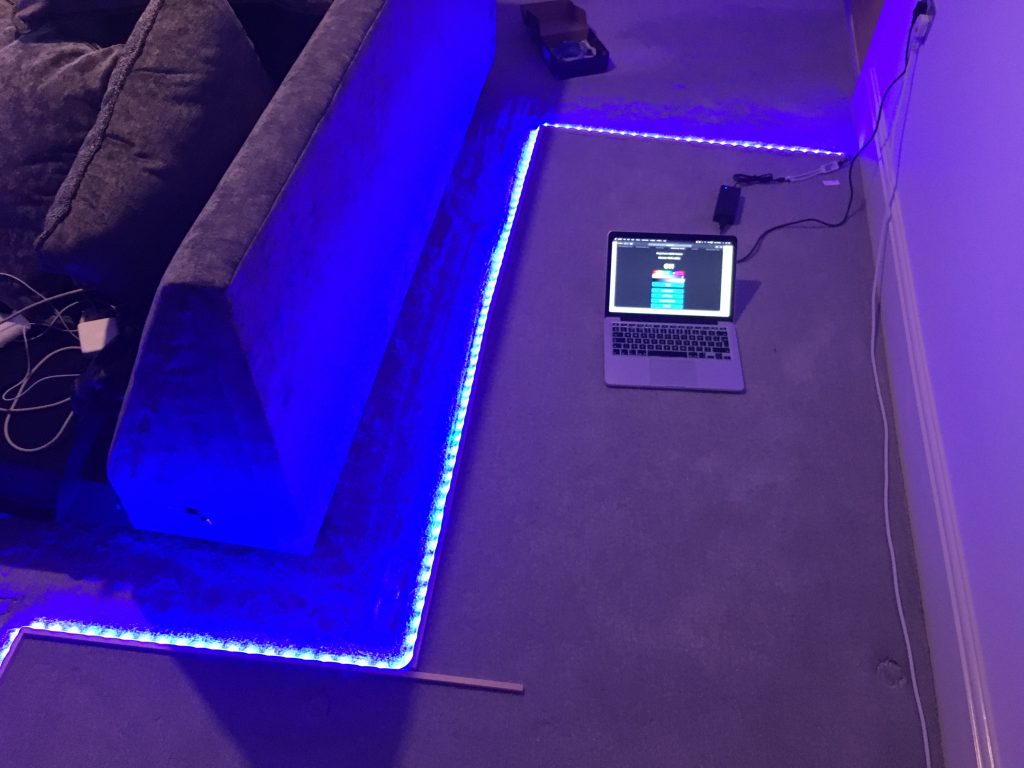
Then I stuck the controller to the frame and connected the power supply. This controller has already been flashed with Tasmota so is ready for software configuration.
If you wanted to flash the controller with Tasmota, you should do it before you stick the controller to the frame.
Configure the software
The MagicHome controllers are very easy to configure if you are using the basic app.
If you are using Home Assistant and you wish to use Tasmota I have a few guides on how to flash Tasmota. I would also recommend this guide for flashing the MagicHome devices as is covers the wiring in detail.
Once you have flashed Tasmota you can check out my detailed guide here, which explains how to configure Tasmota and set up auto detect with Home Assistant.
Awesome! The frame is finished, the LED strip is installed and Tasmota is configured. Time to put the sofa back into position. This was a little tricky as I had to be careful not to damage the frame, but I managed to lift the sofa over the frame ok.
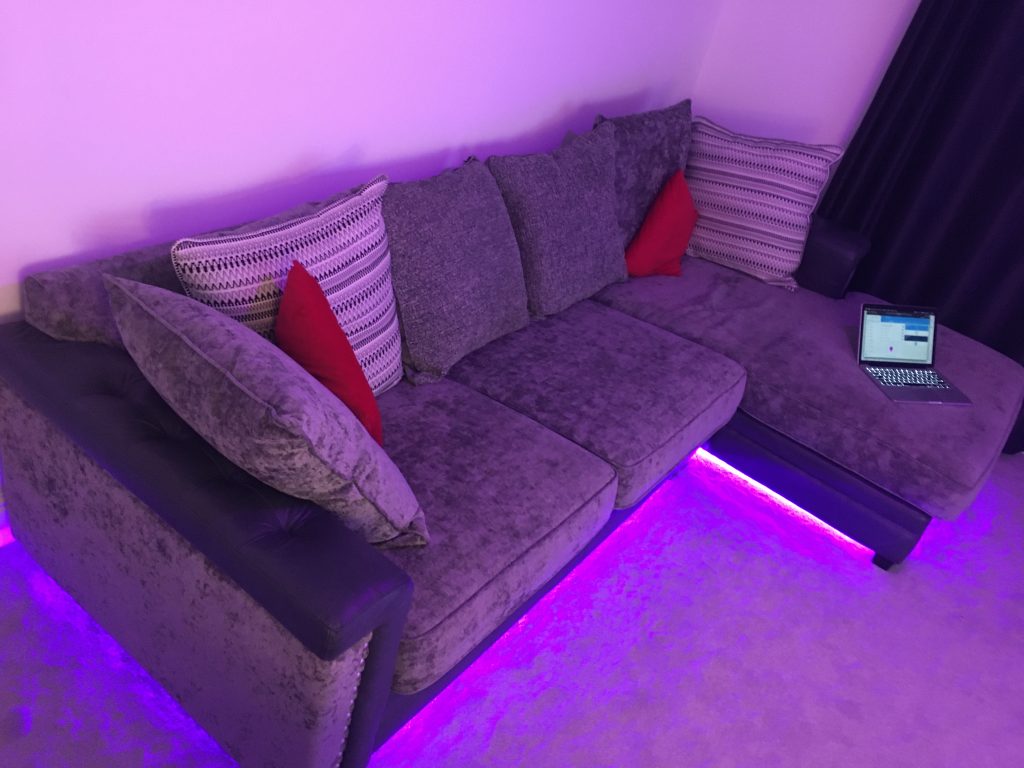
End result
So, how does it look?
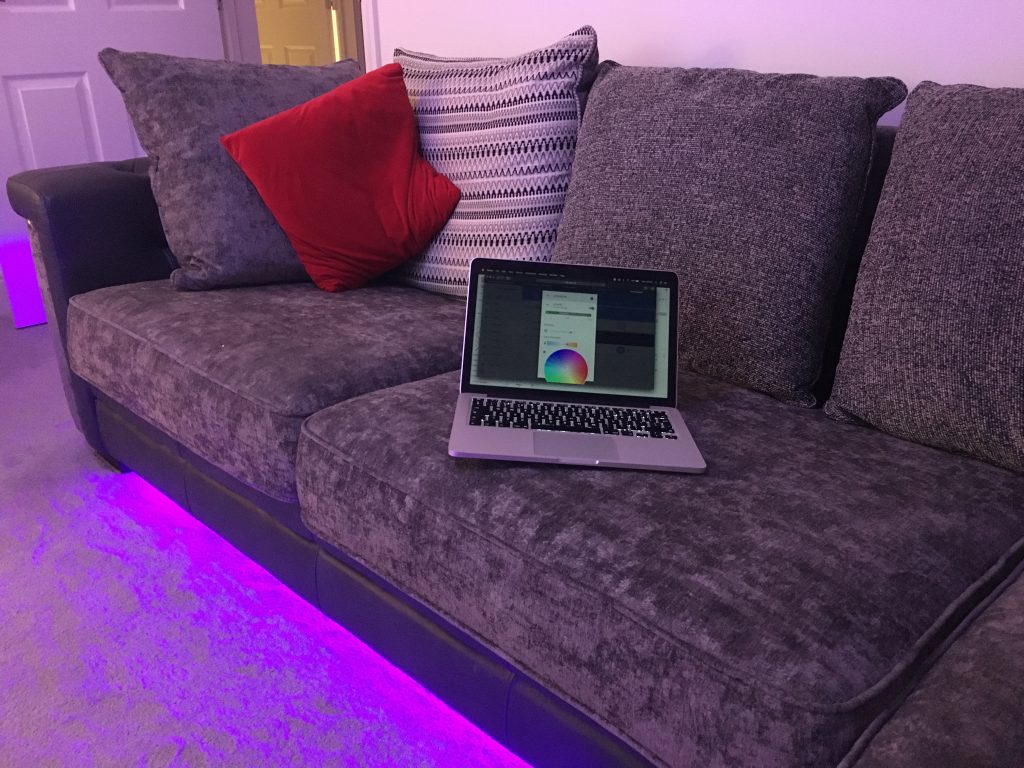
Overall I am happy with the result! I had to raise the frame a little to improve the light output. I simply cut 6 small blocks of pine and put them under the frame in the corners.
I hope this offered you some insight into one way to add LED strip lighting to your sofa! Please take a minute to leave a comment below.
If you are looking for more smart home ideas, go check out my two part tutorial that covers the process of converting a dumb lamp to a smart lamp! Alternatively I have a great section dedicated to Home Assistant!
Thanks so much for visiting my site! If this article helped you achieve your goal and you want to say thanks, you can now support my work by buying me a coffee. I promise I won't spend it on beer instead... 😏


Thank you for this idea! Very interesting article.
Thank you Karolina, really appreciate the feedback! 🙂